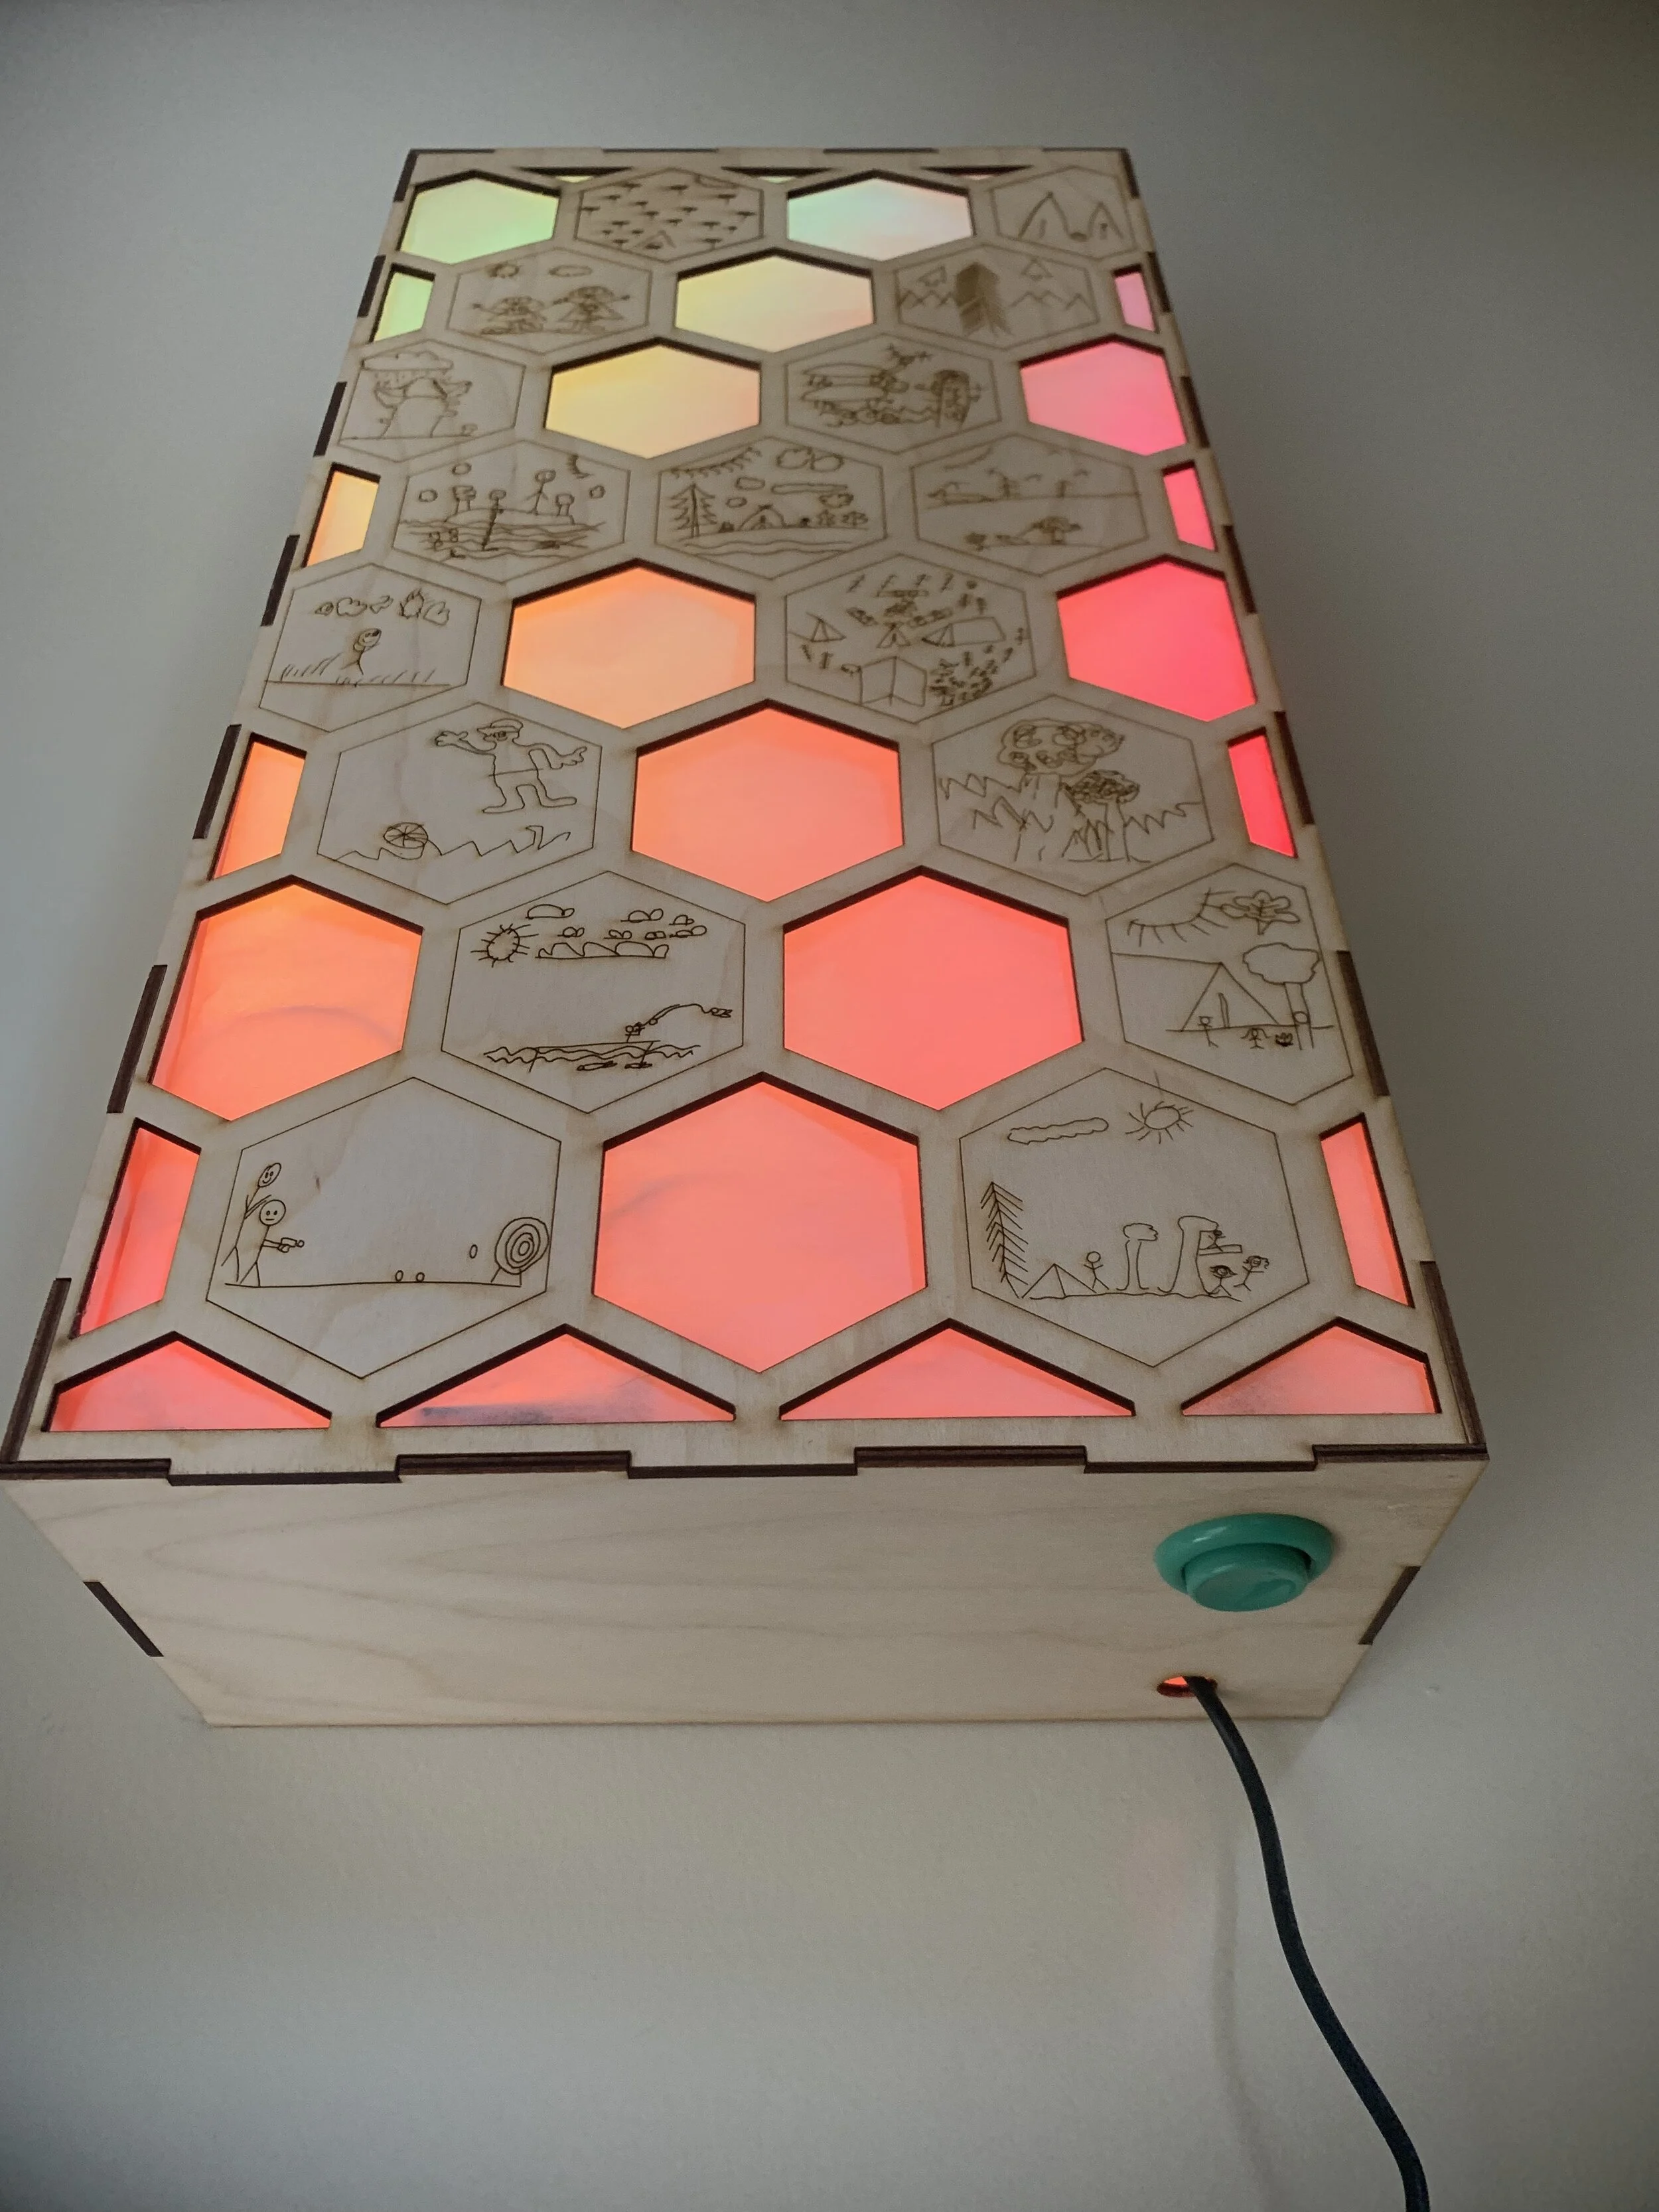
“nature | technology”
An interactive installation for my hometown elementary school in Pagosa Springs, Colorado
Built with Arduino, Illustrator, laser-cut wood, laser-cut mirrored acrylic, vellum, and hand-wired LED strips and buttons
Introduction
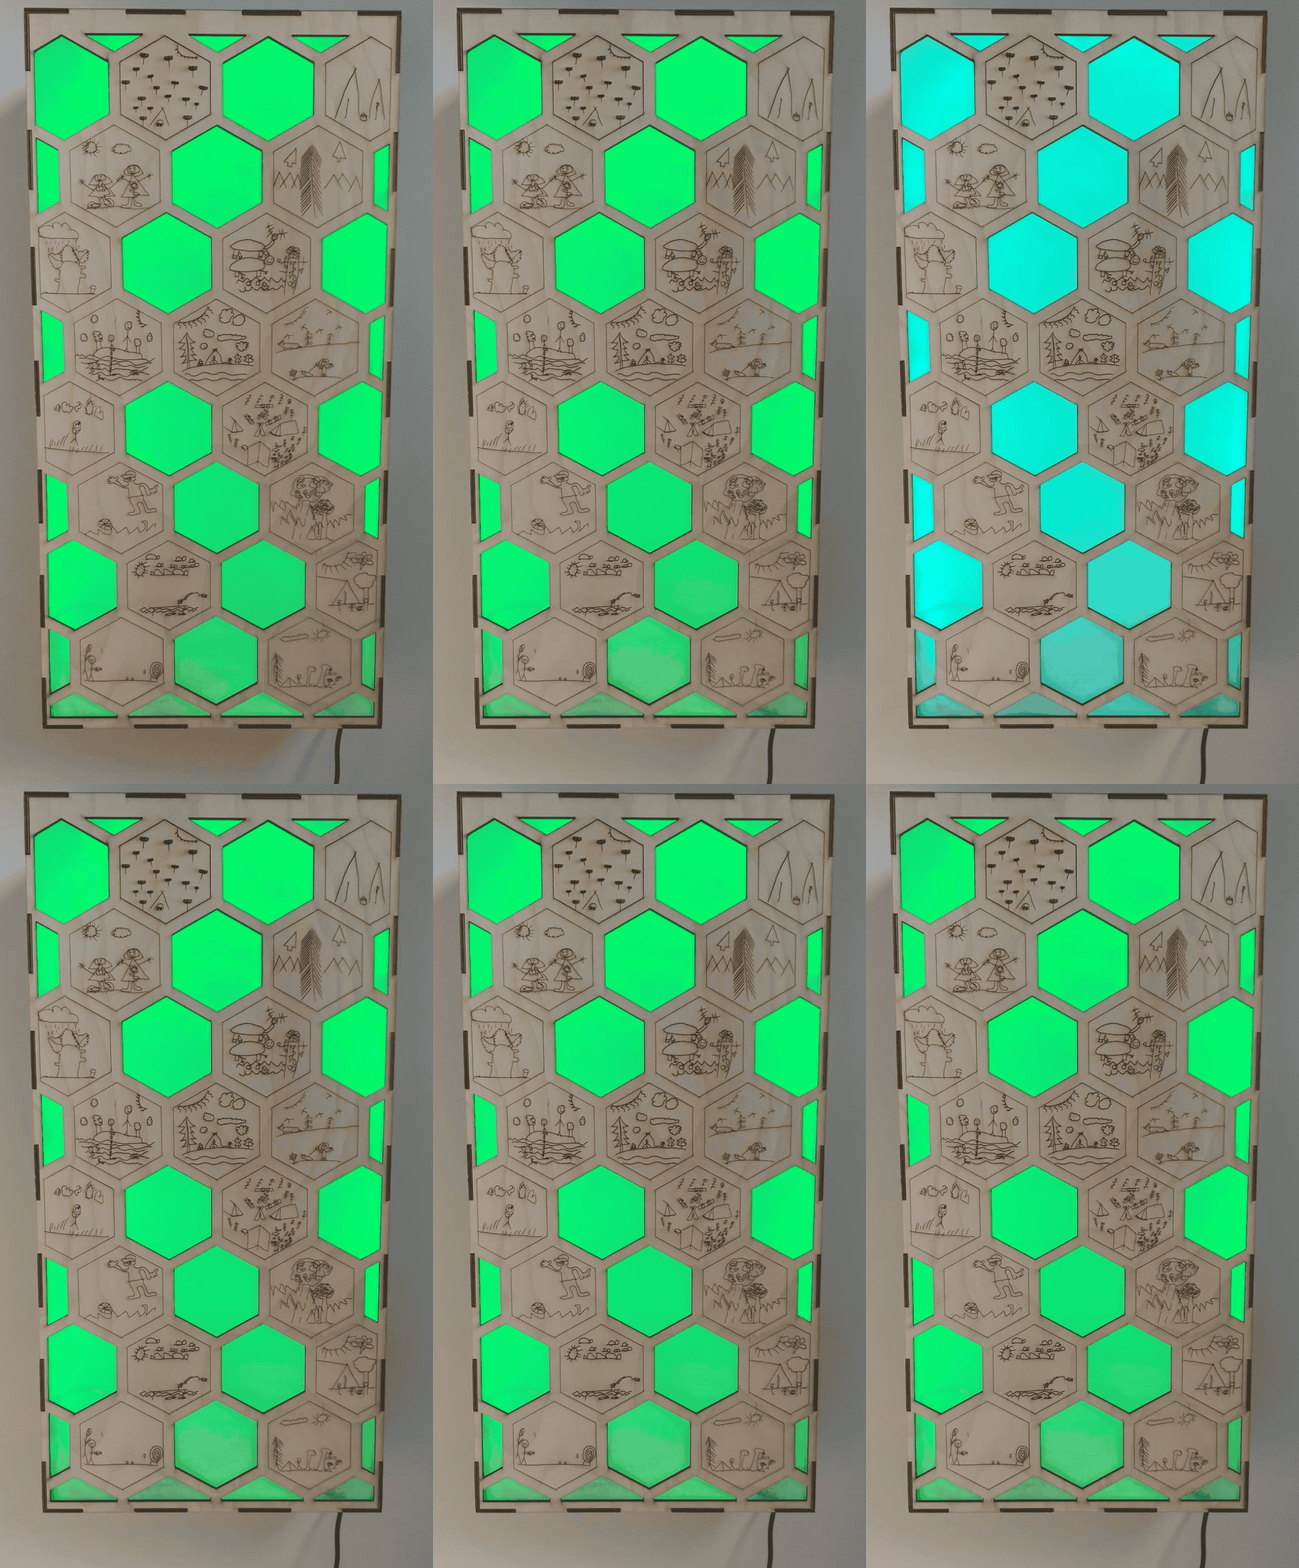
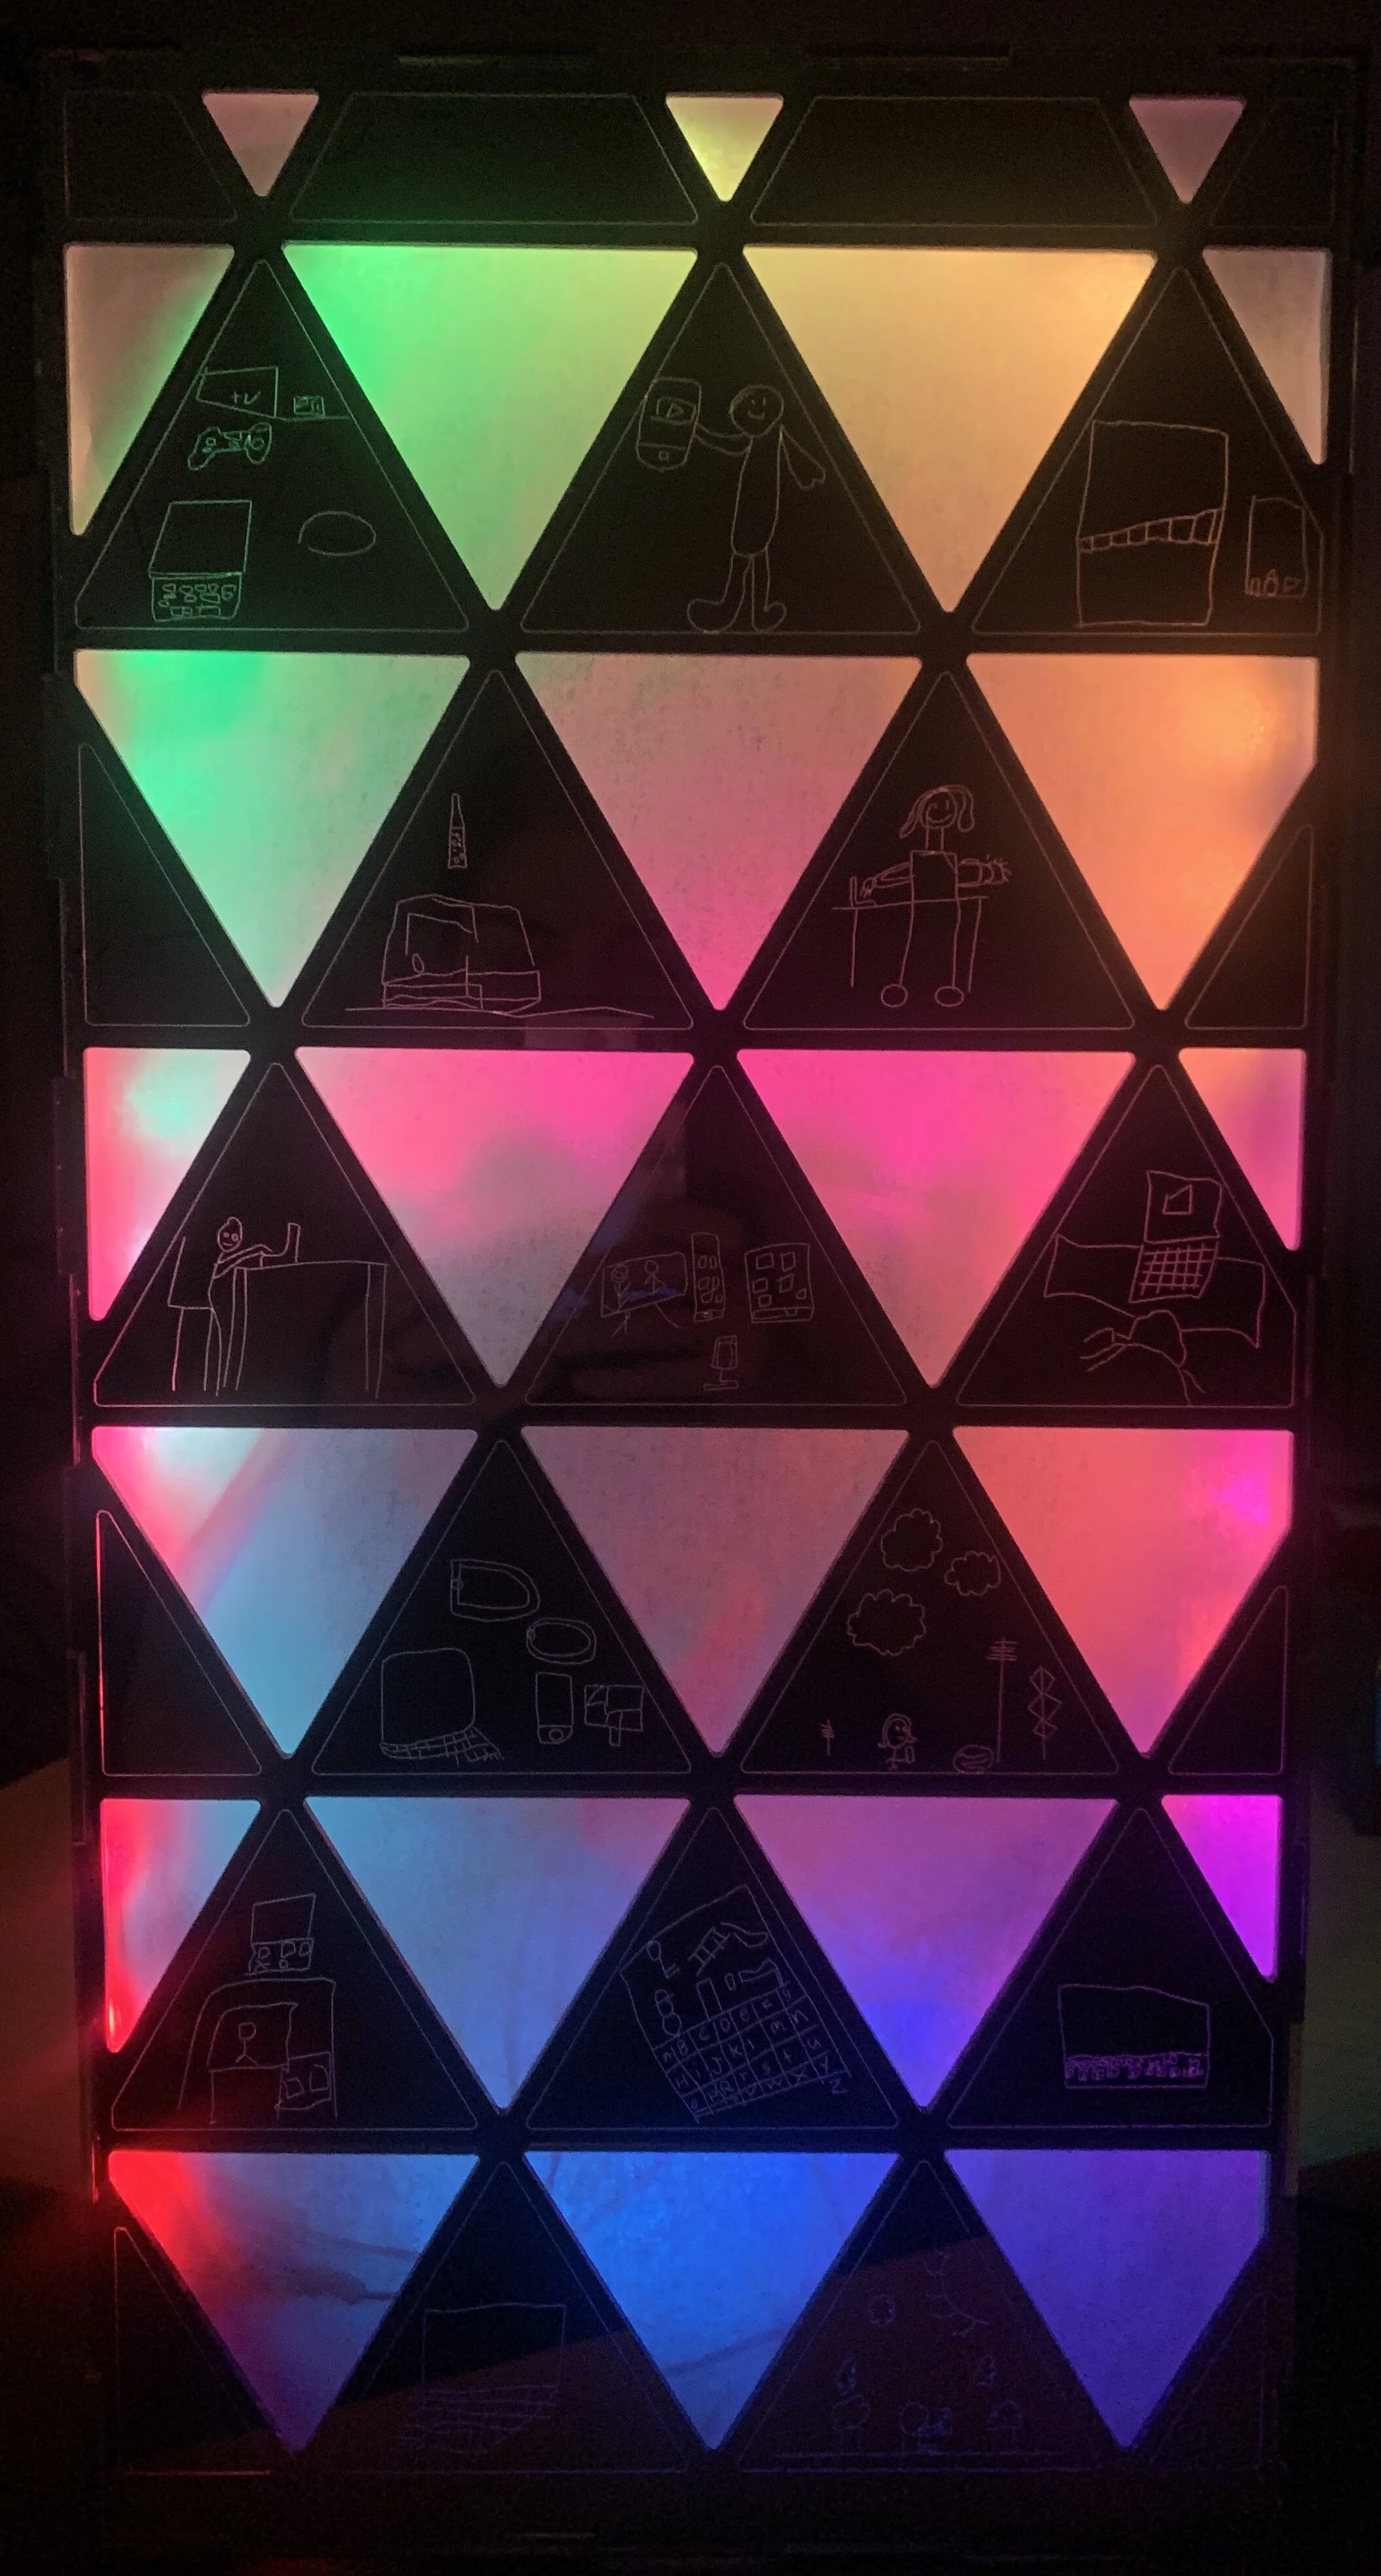
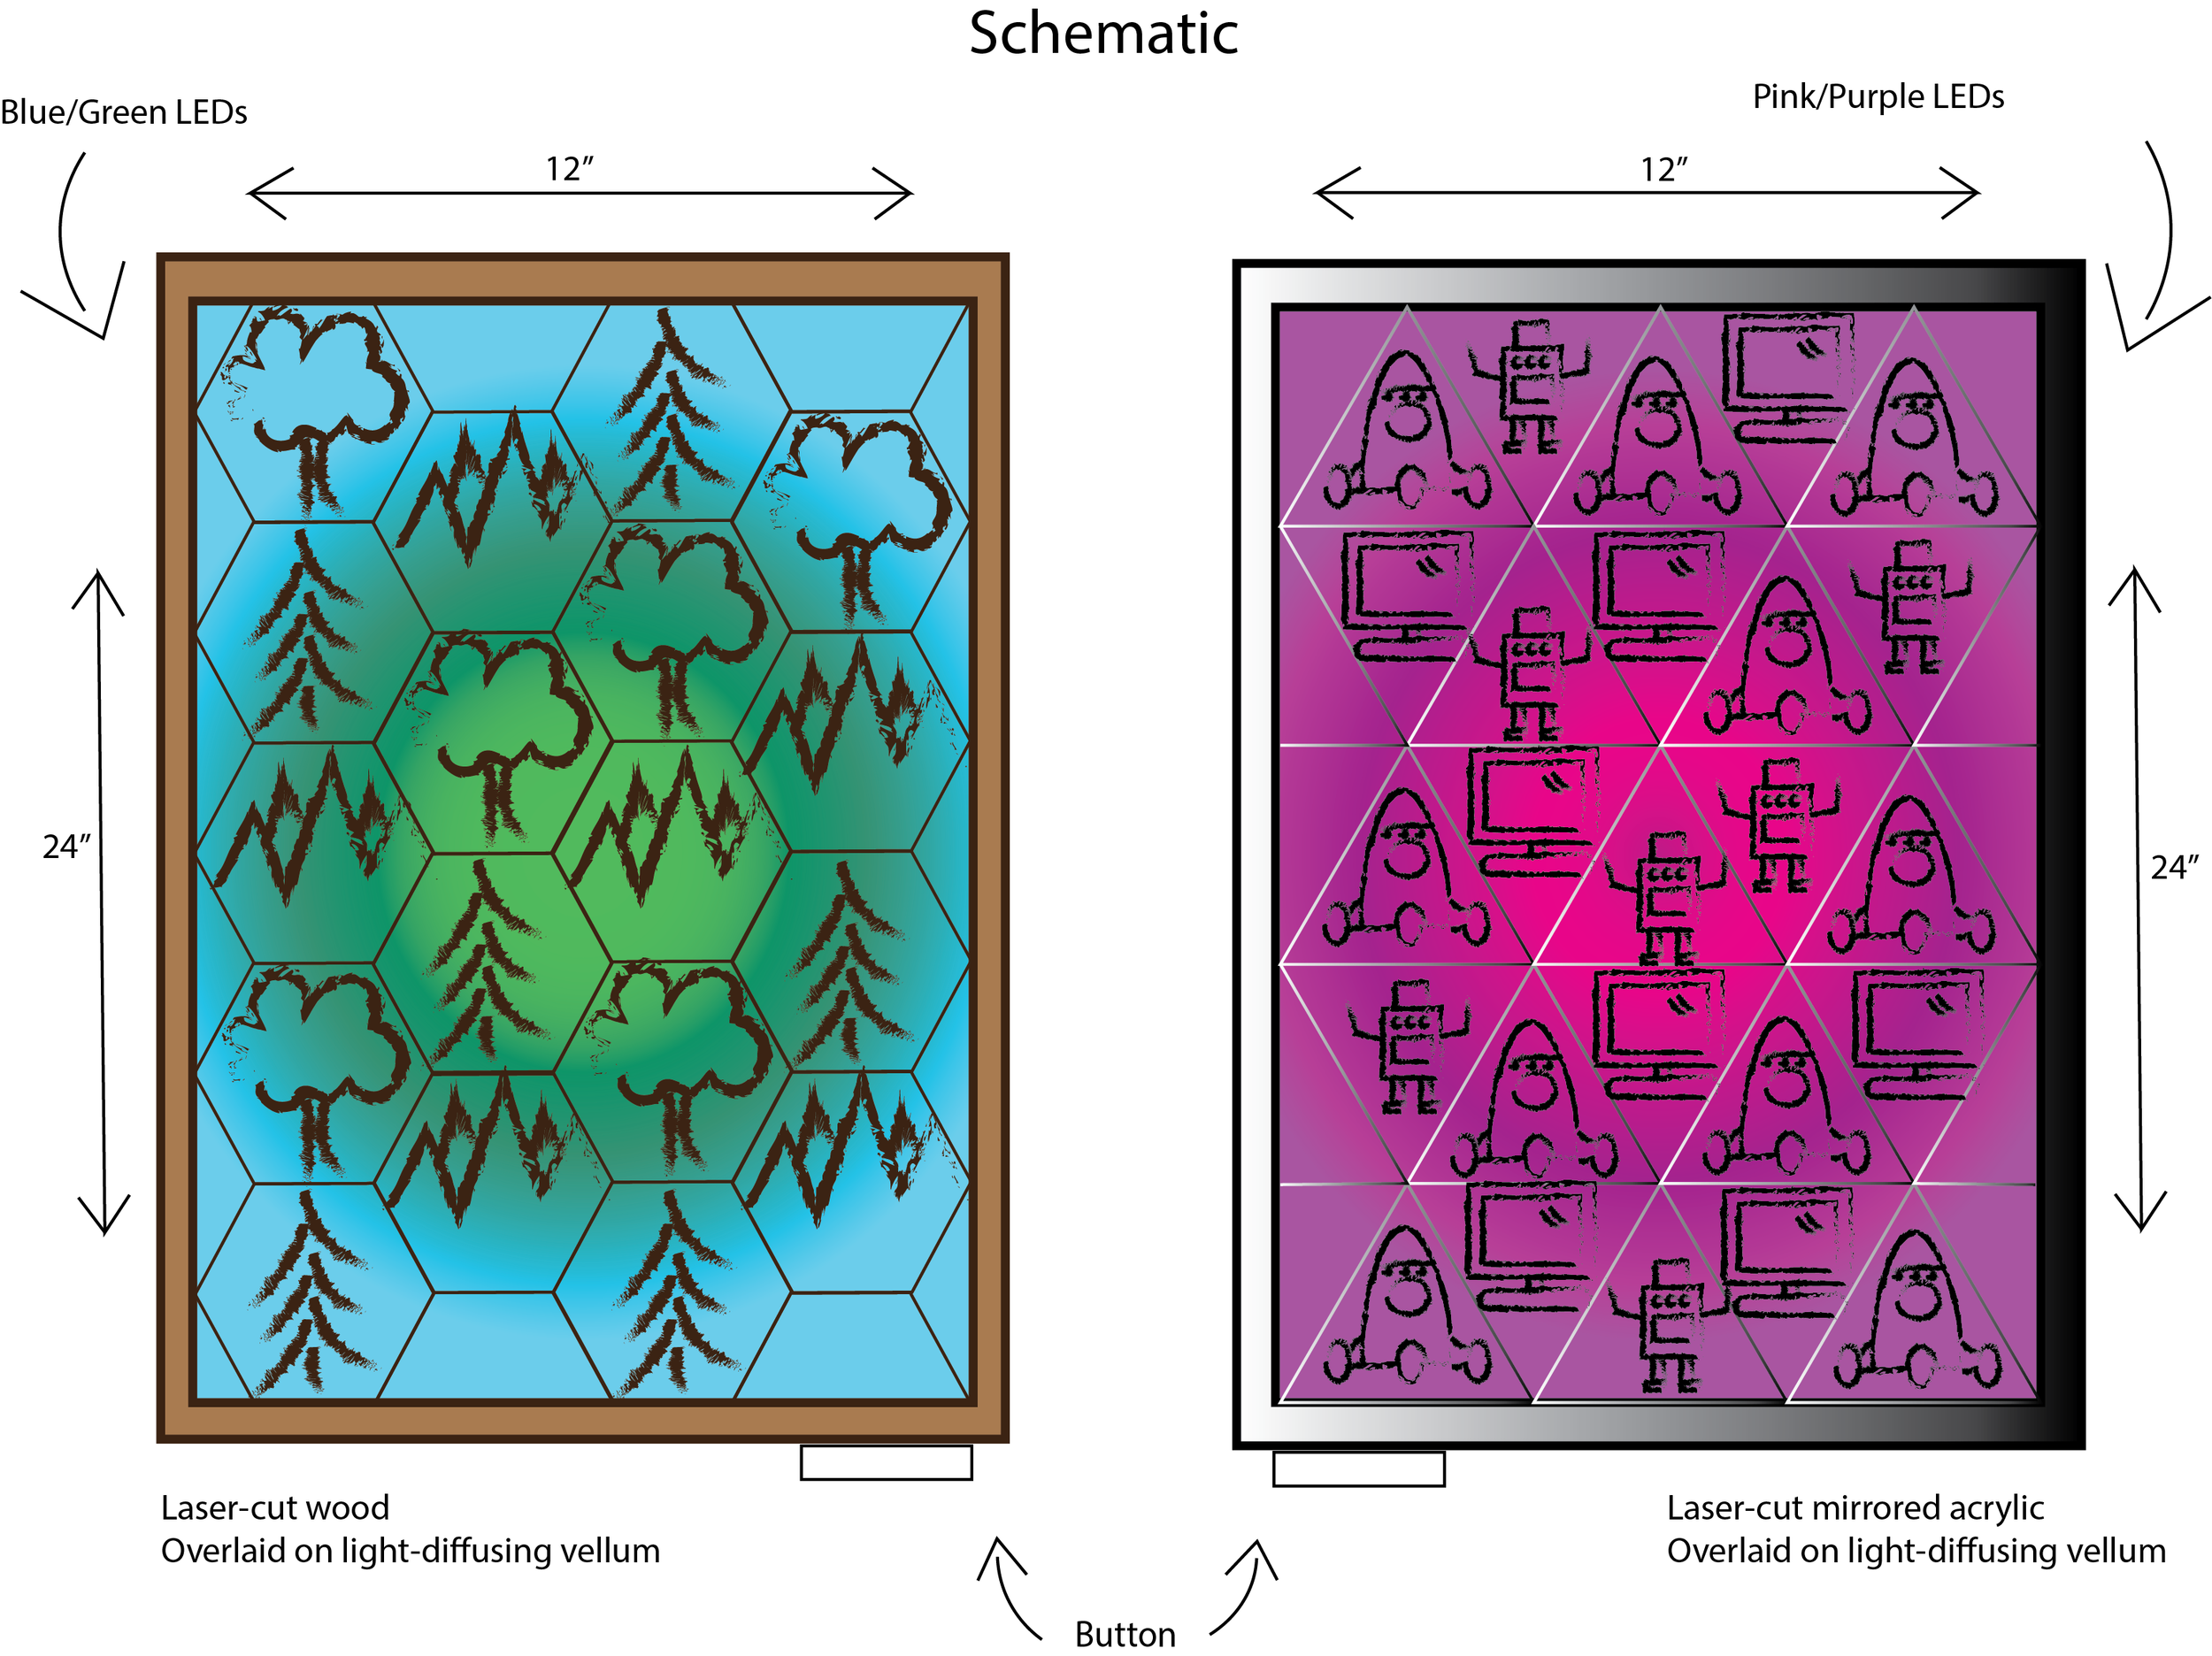
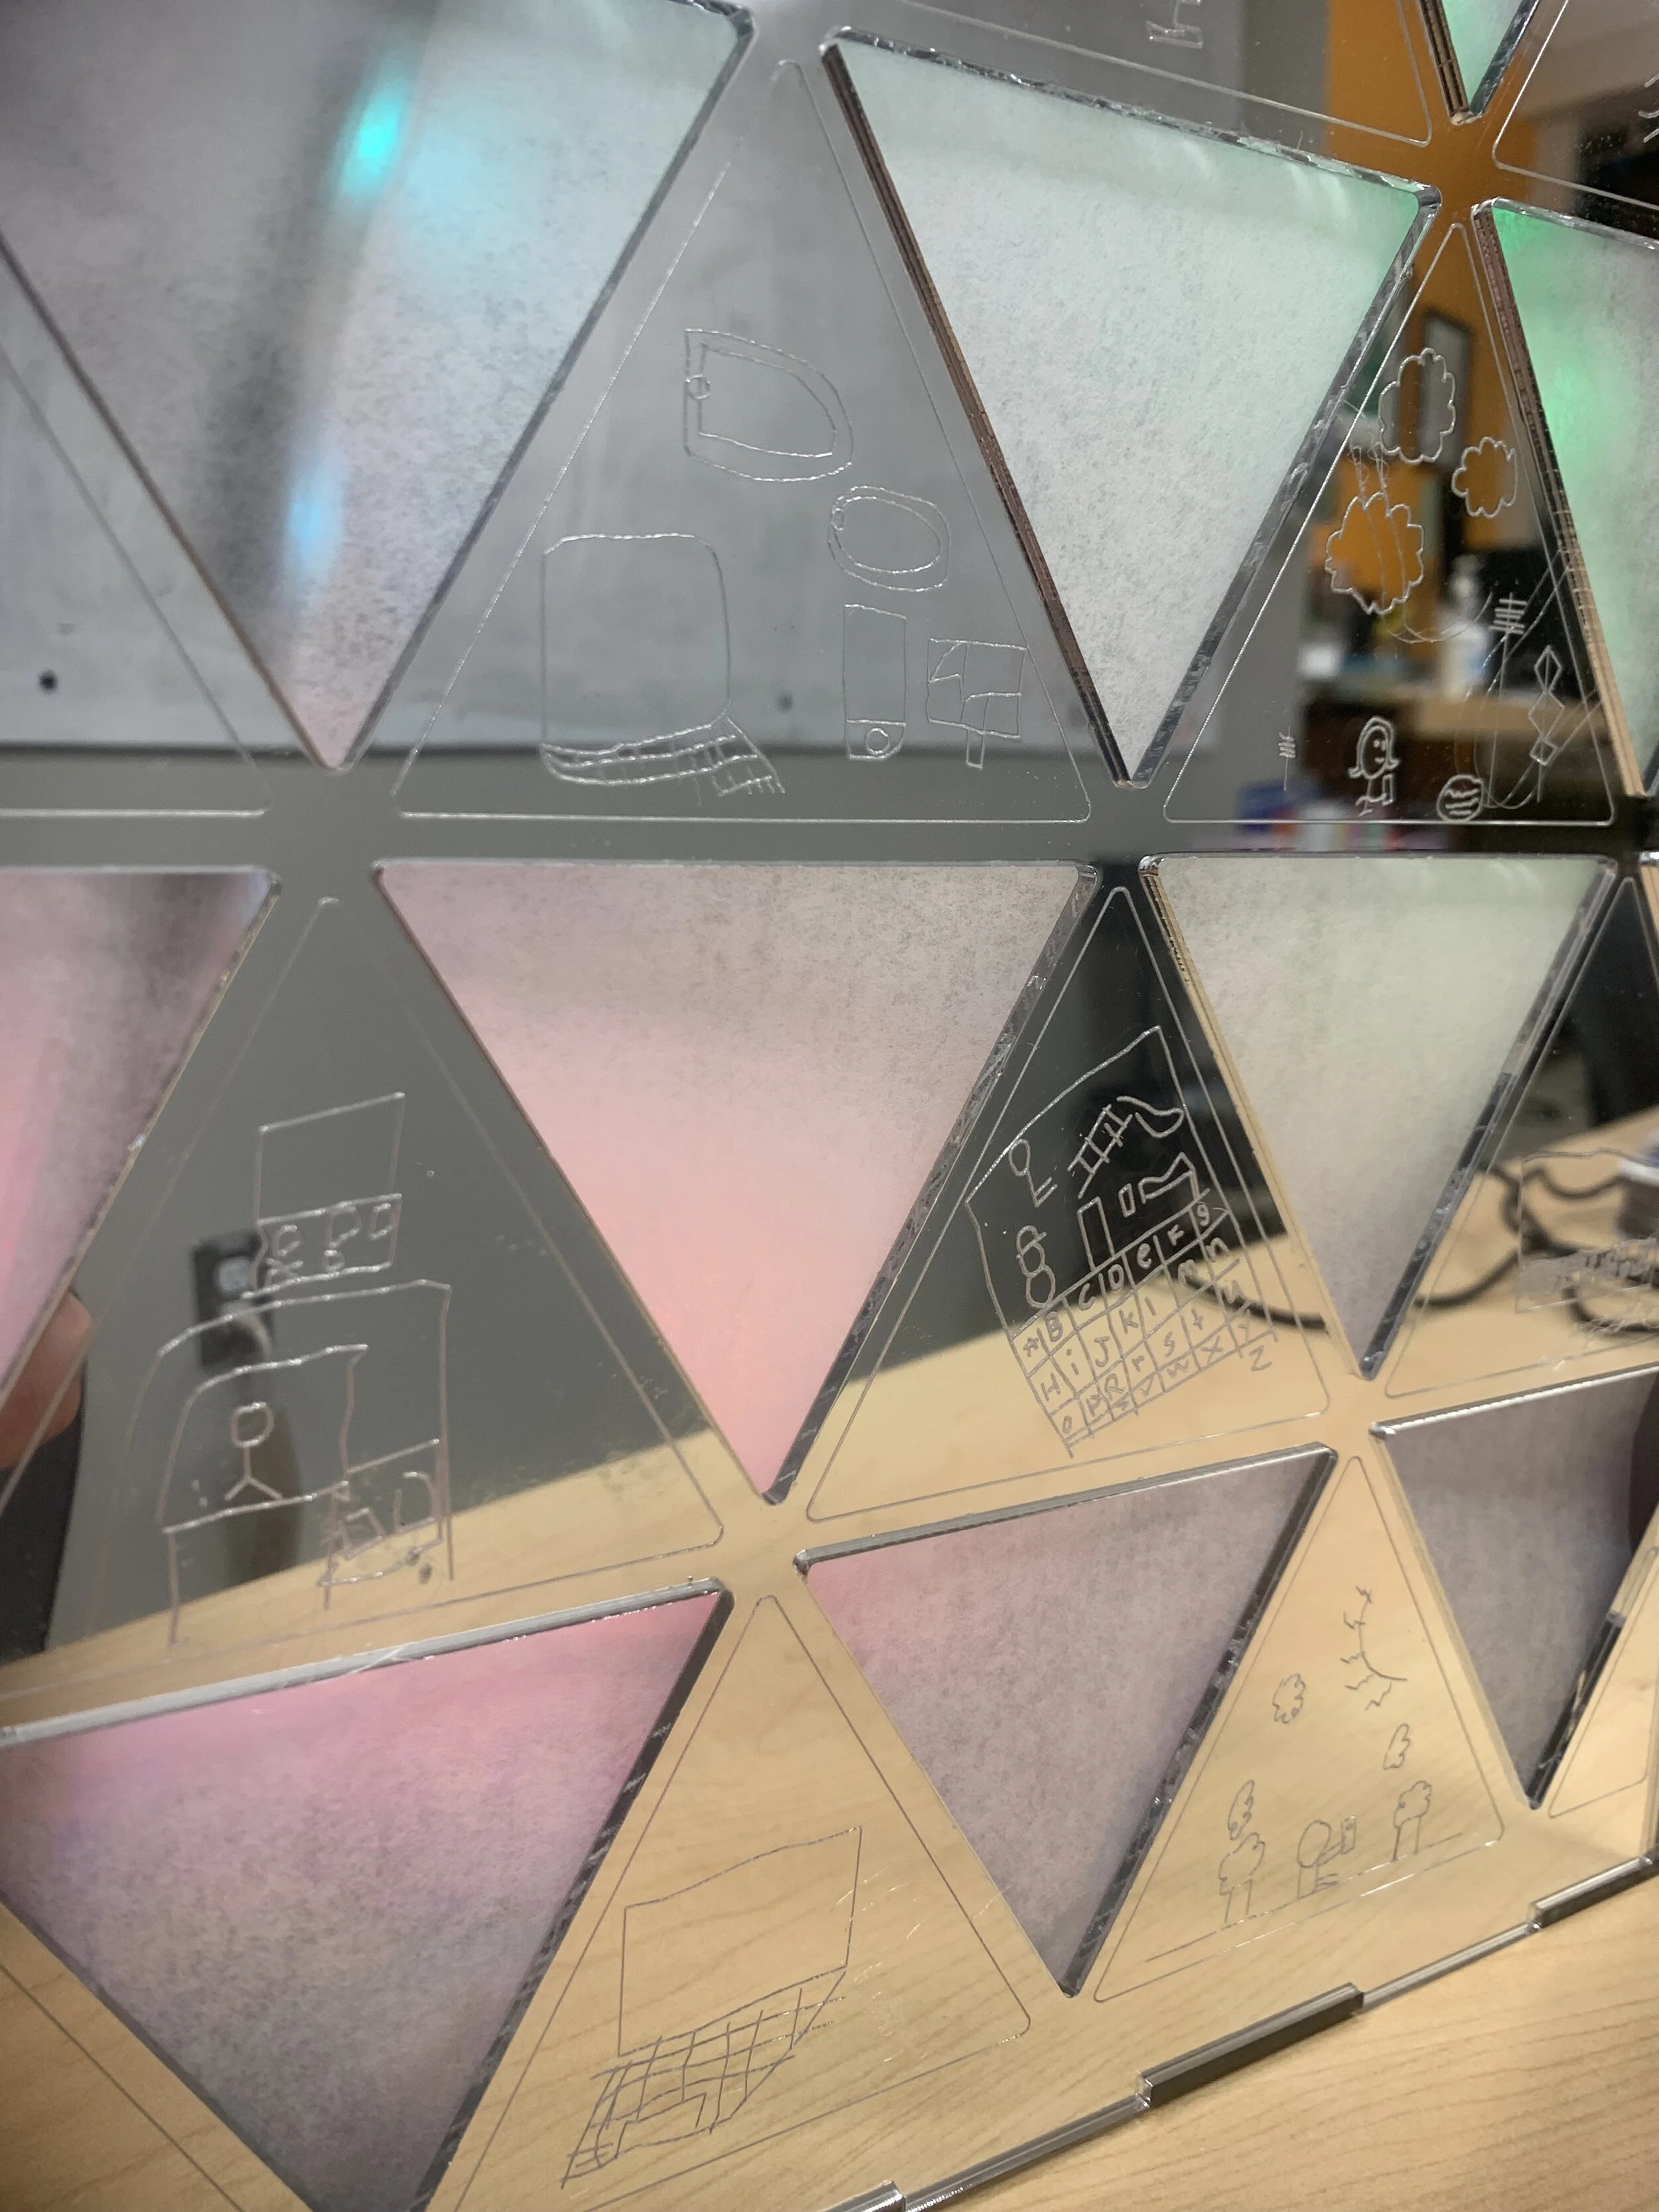
“Nature | Technology” is an interactive installation built for my hometown’s elementary school in Pagosa Springs, Colorado. The final installation consists of two mounted light boxes, one made of wood and one made of mirrored acrylic. The front of each box contains lasercut illustrations representing children’s conceptions of “nature” and “technology.” When the button on the bottom of each box is pressed, color-changing LED strips within the boxes are activated for a few seconds and diffused by vellum tracing paper, creating a mesmerizing, interactive artwork. The final light boxes will be installed at Pagosa Springs Elementary School in southern Colorado, with an accompanying presentation to the students on the technologies and processes used for this project.
the process
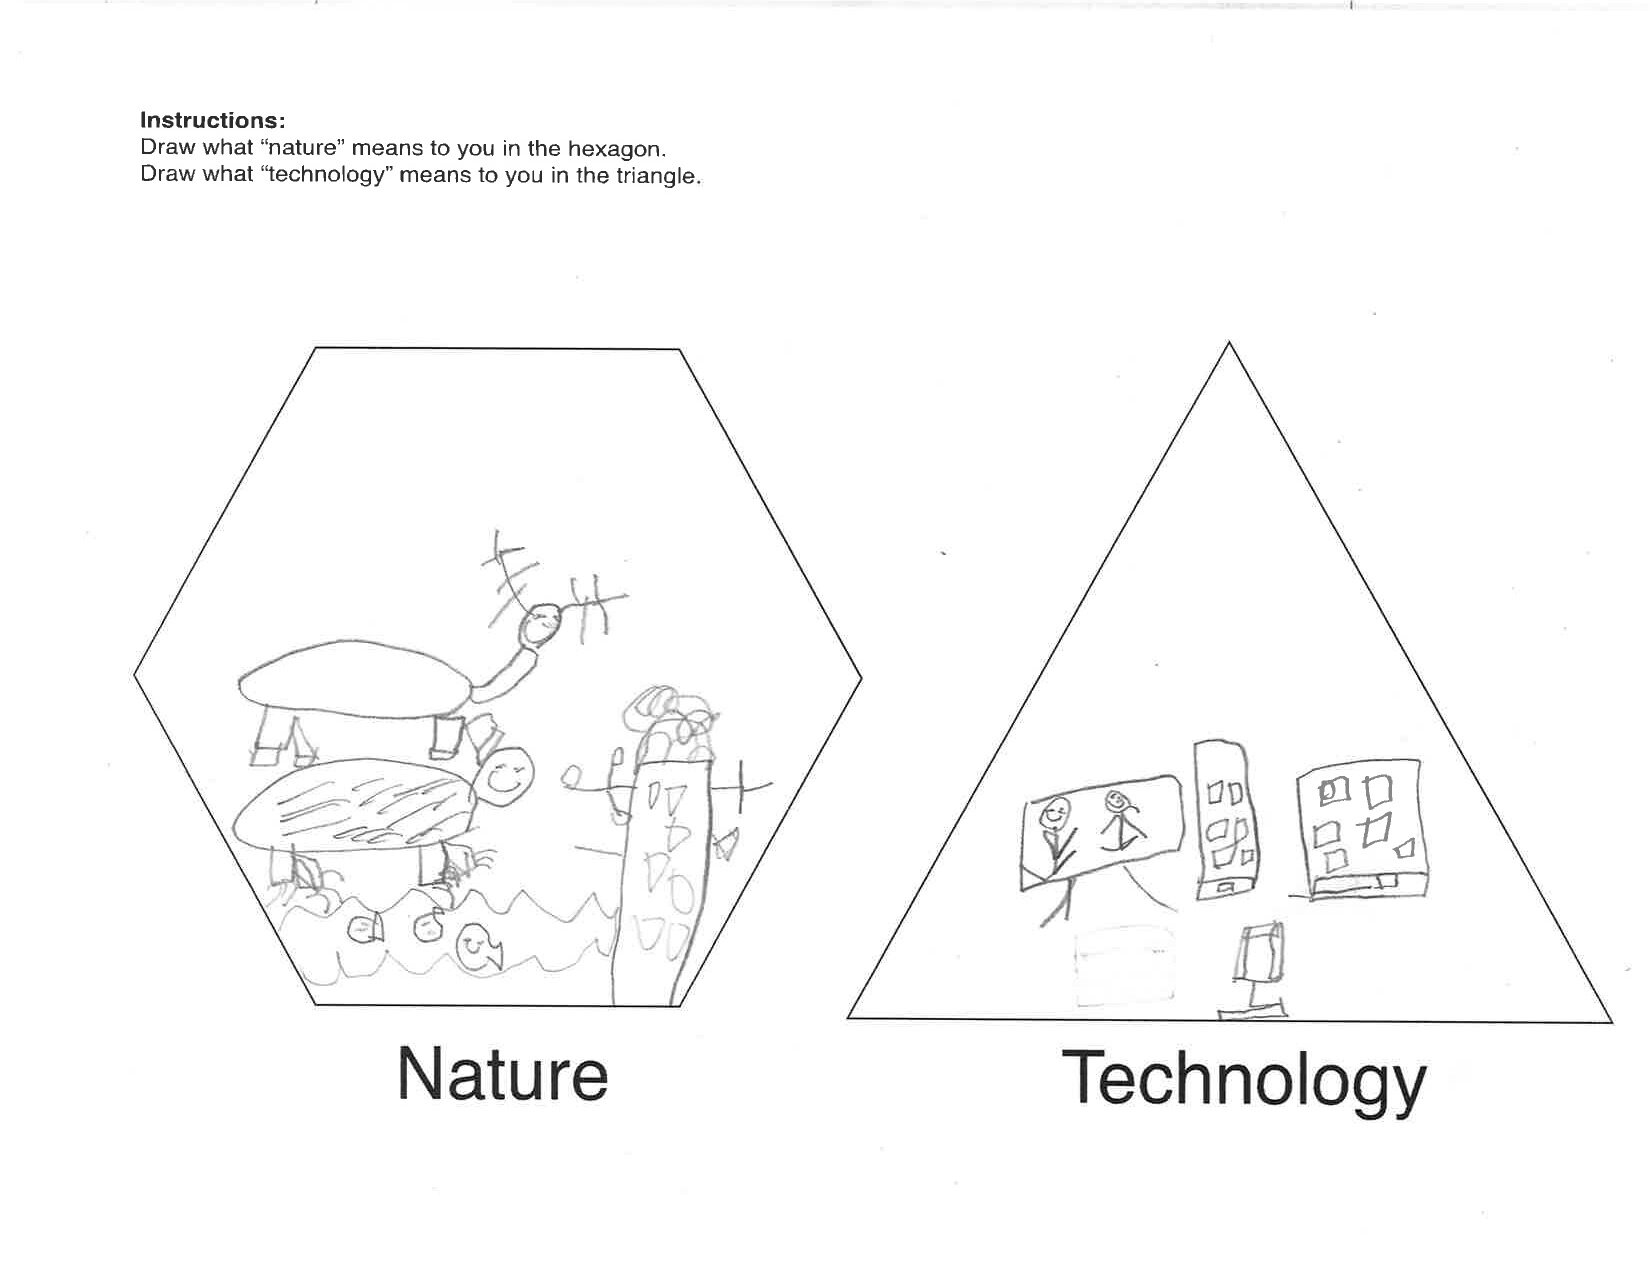
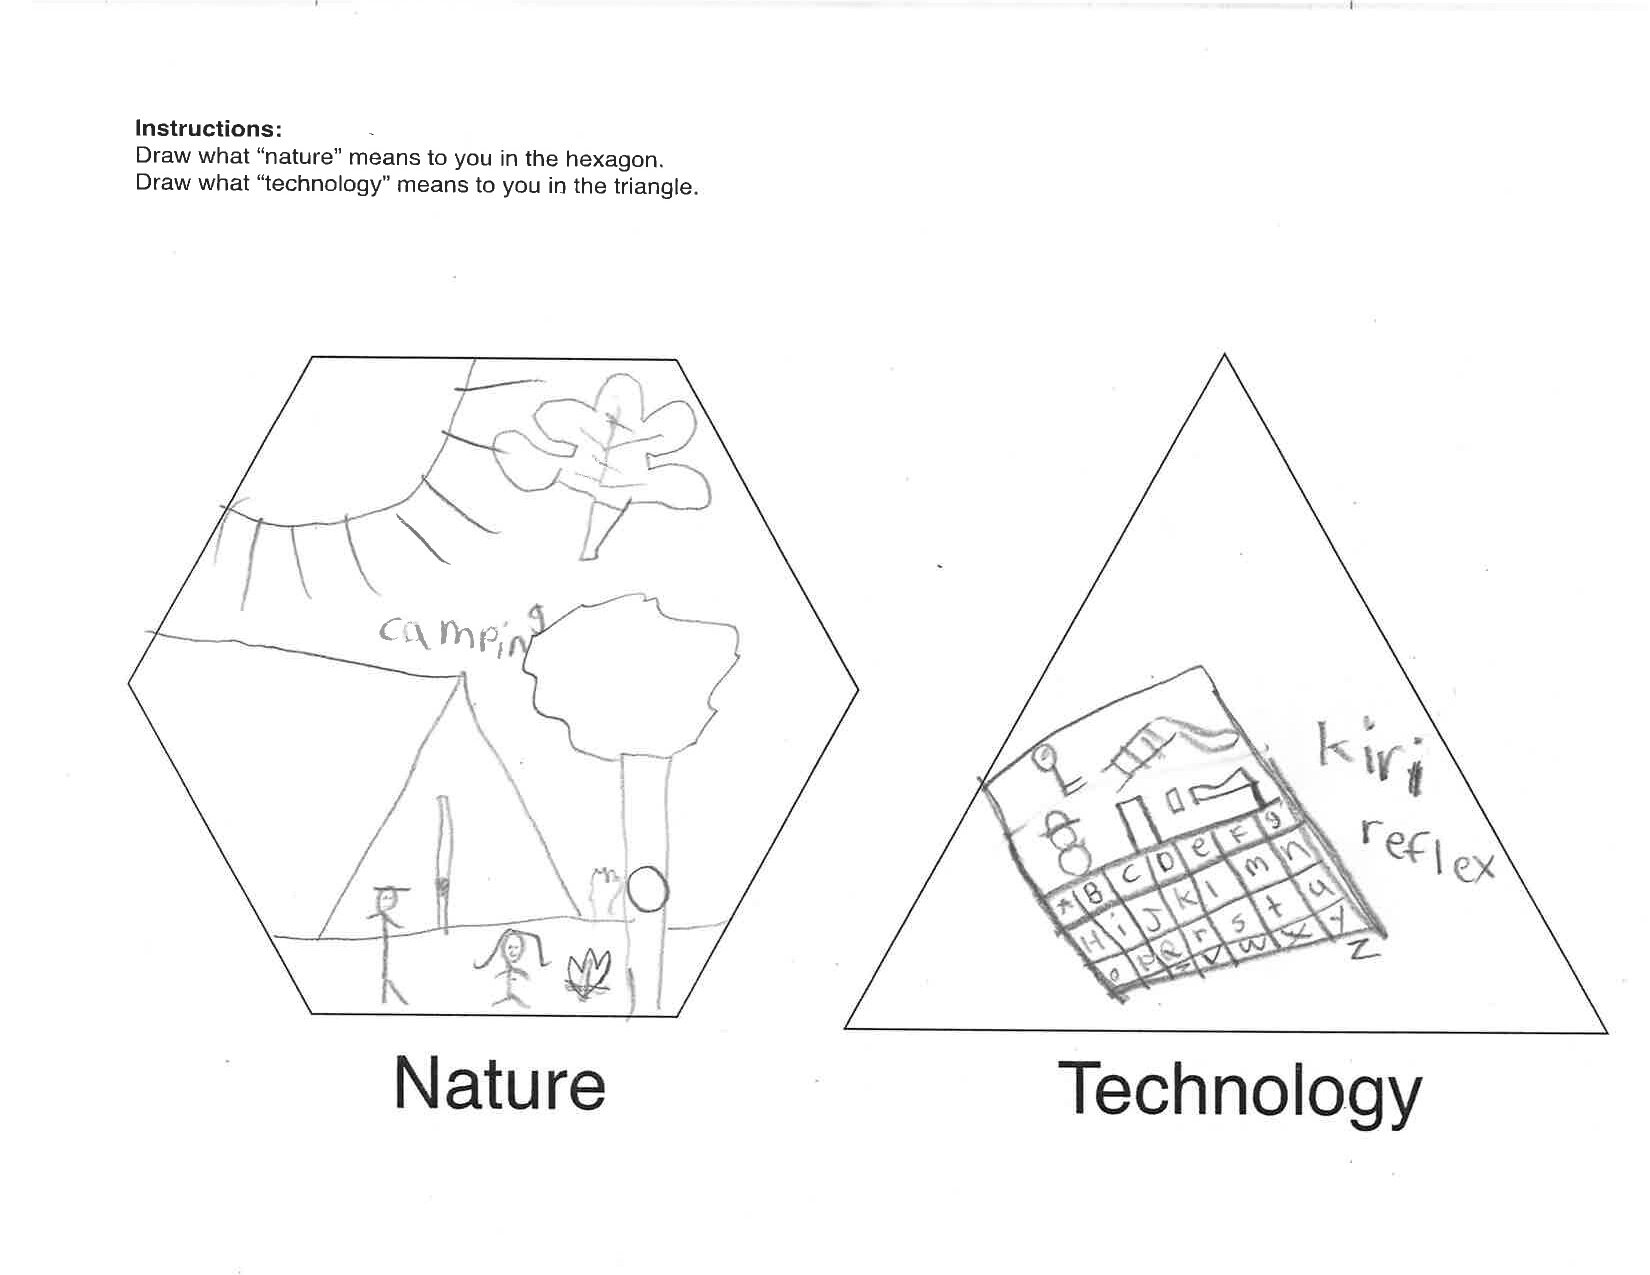
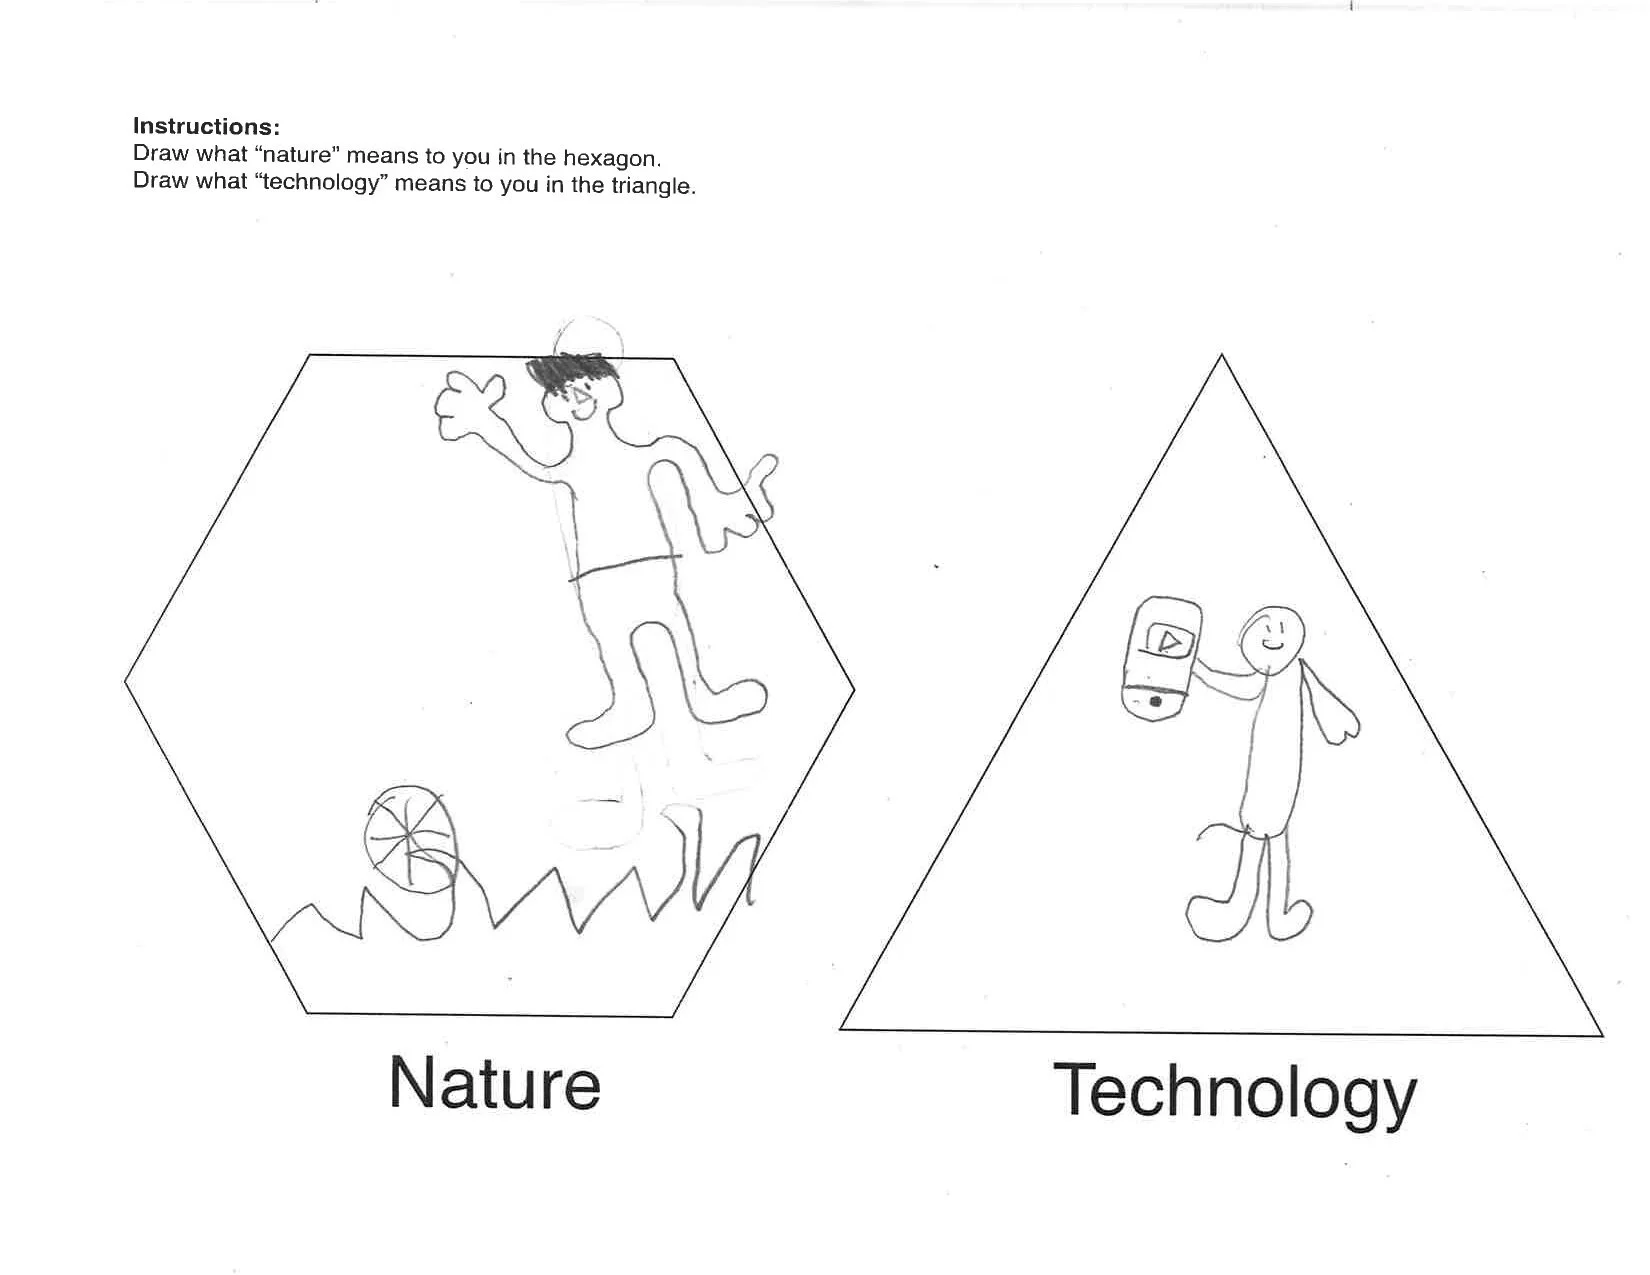
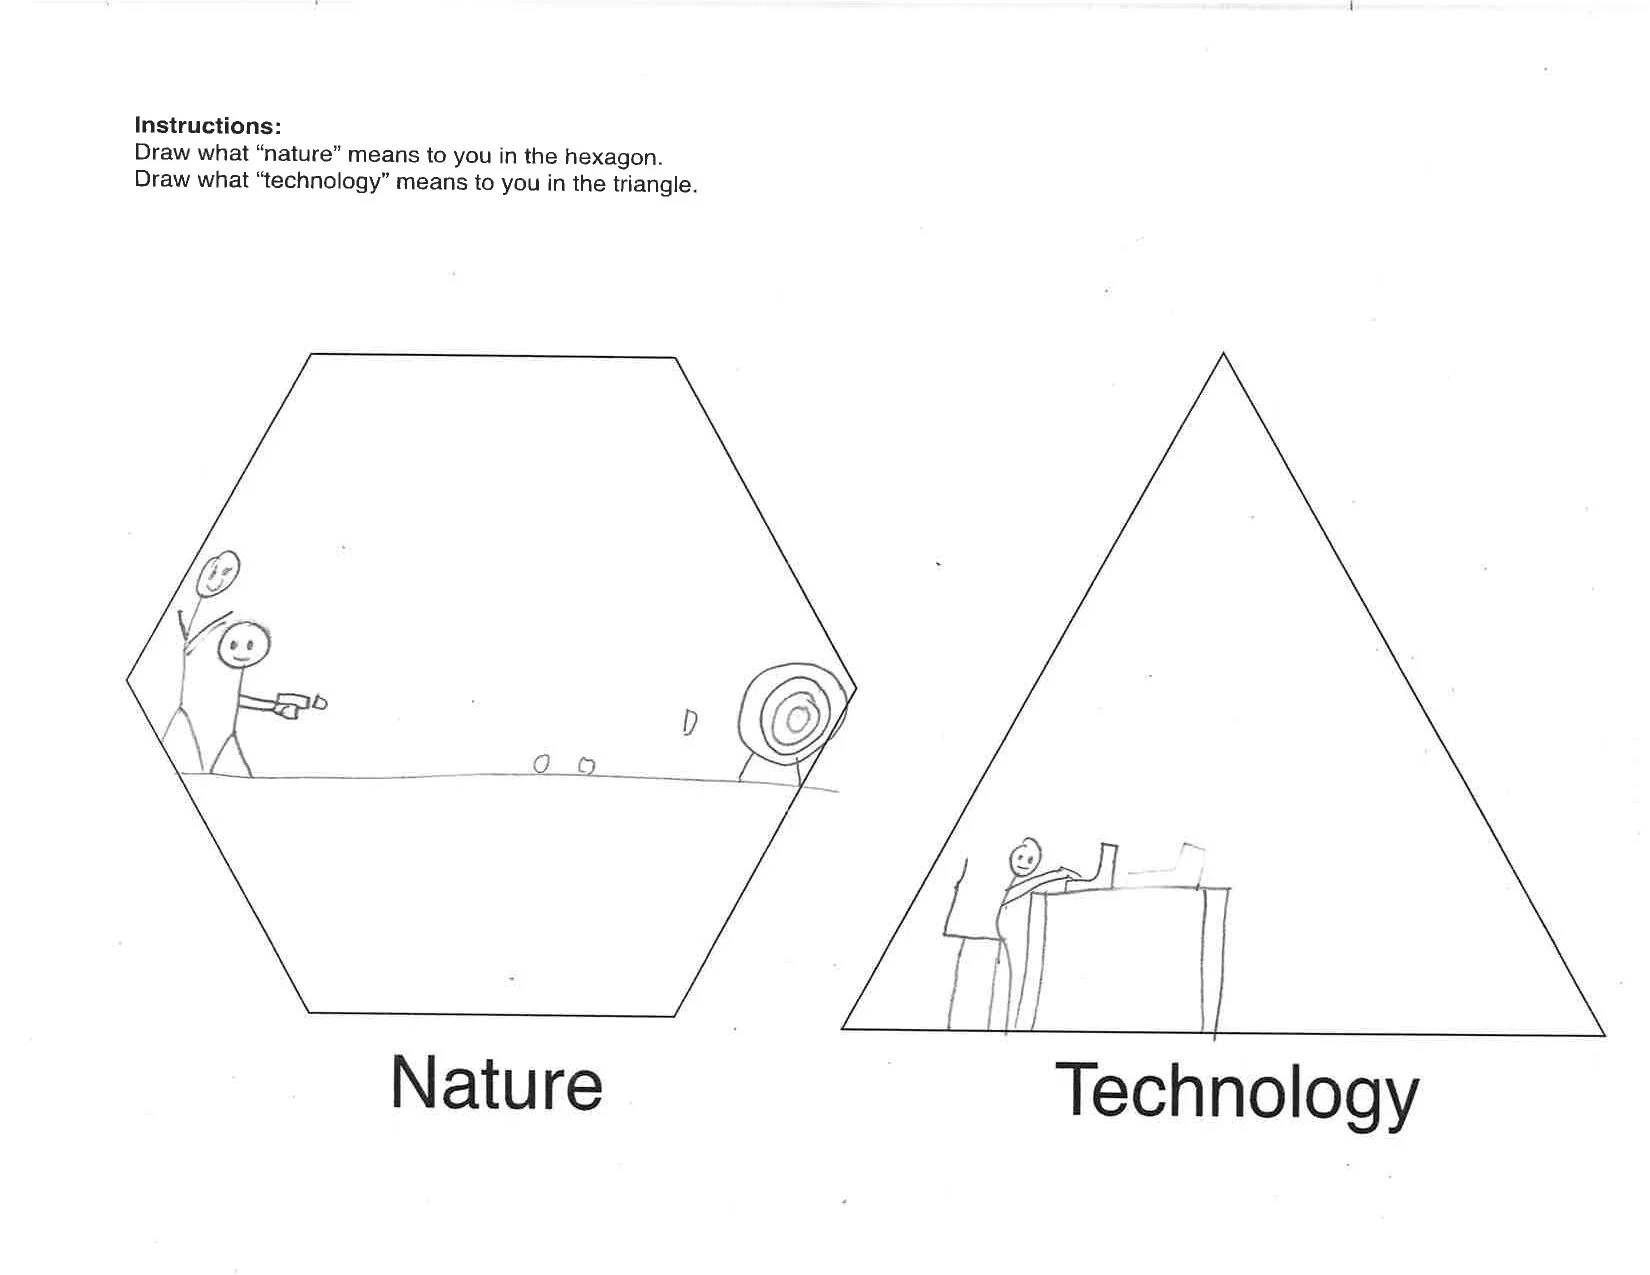
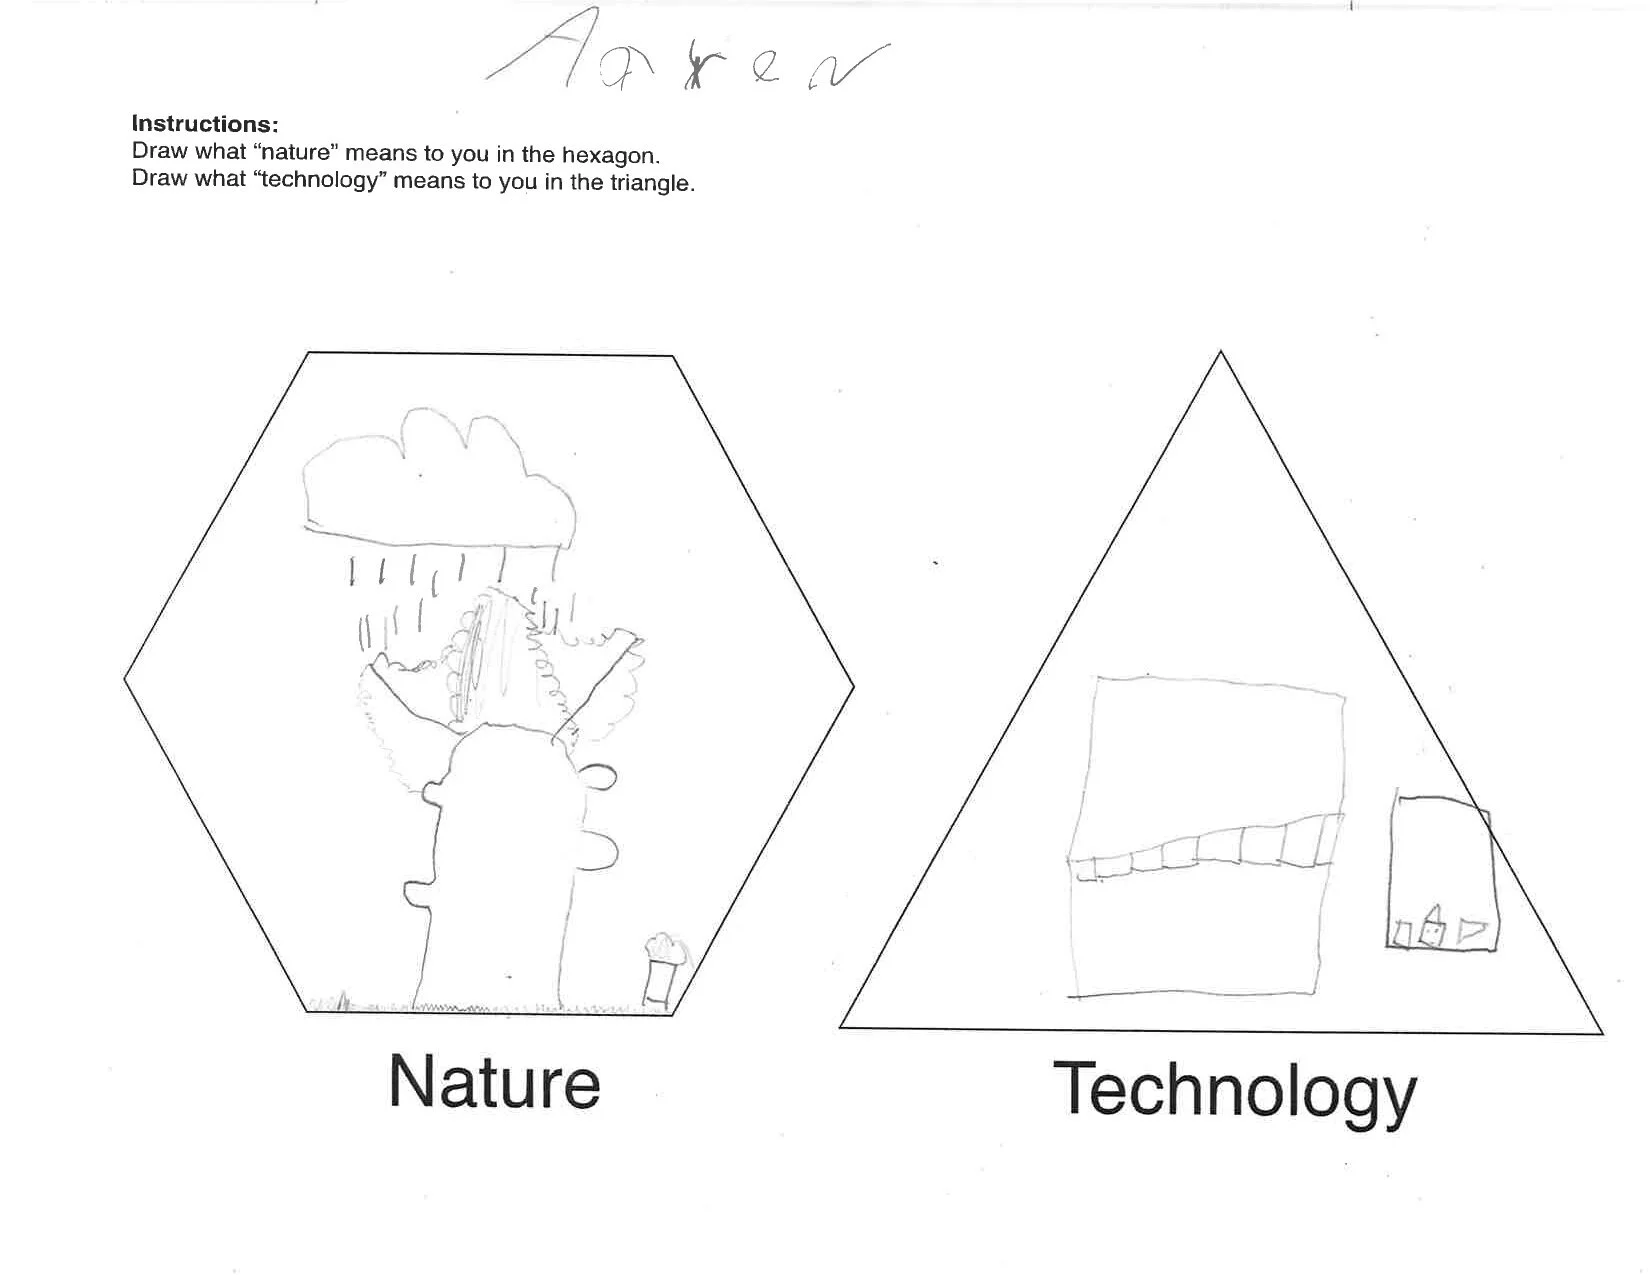
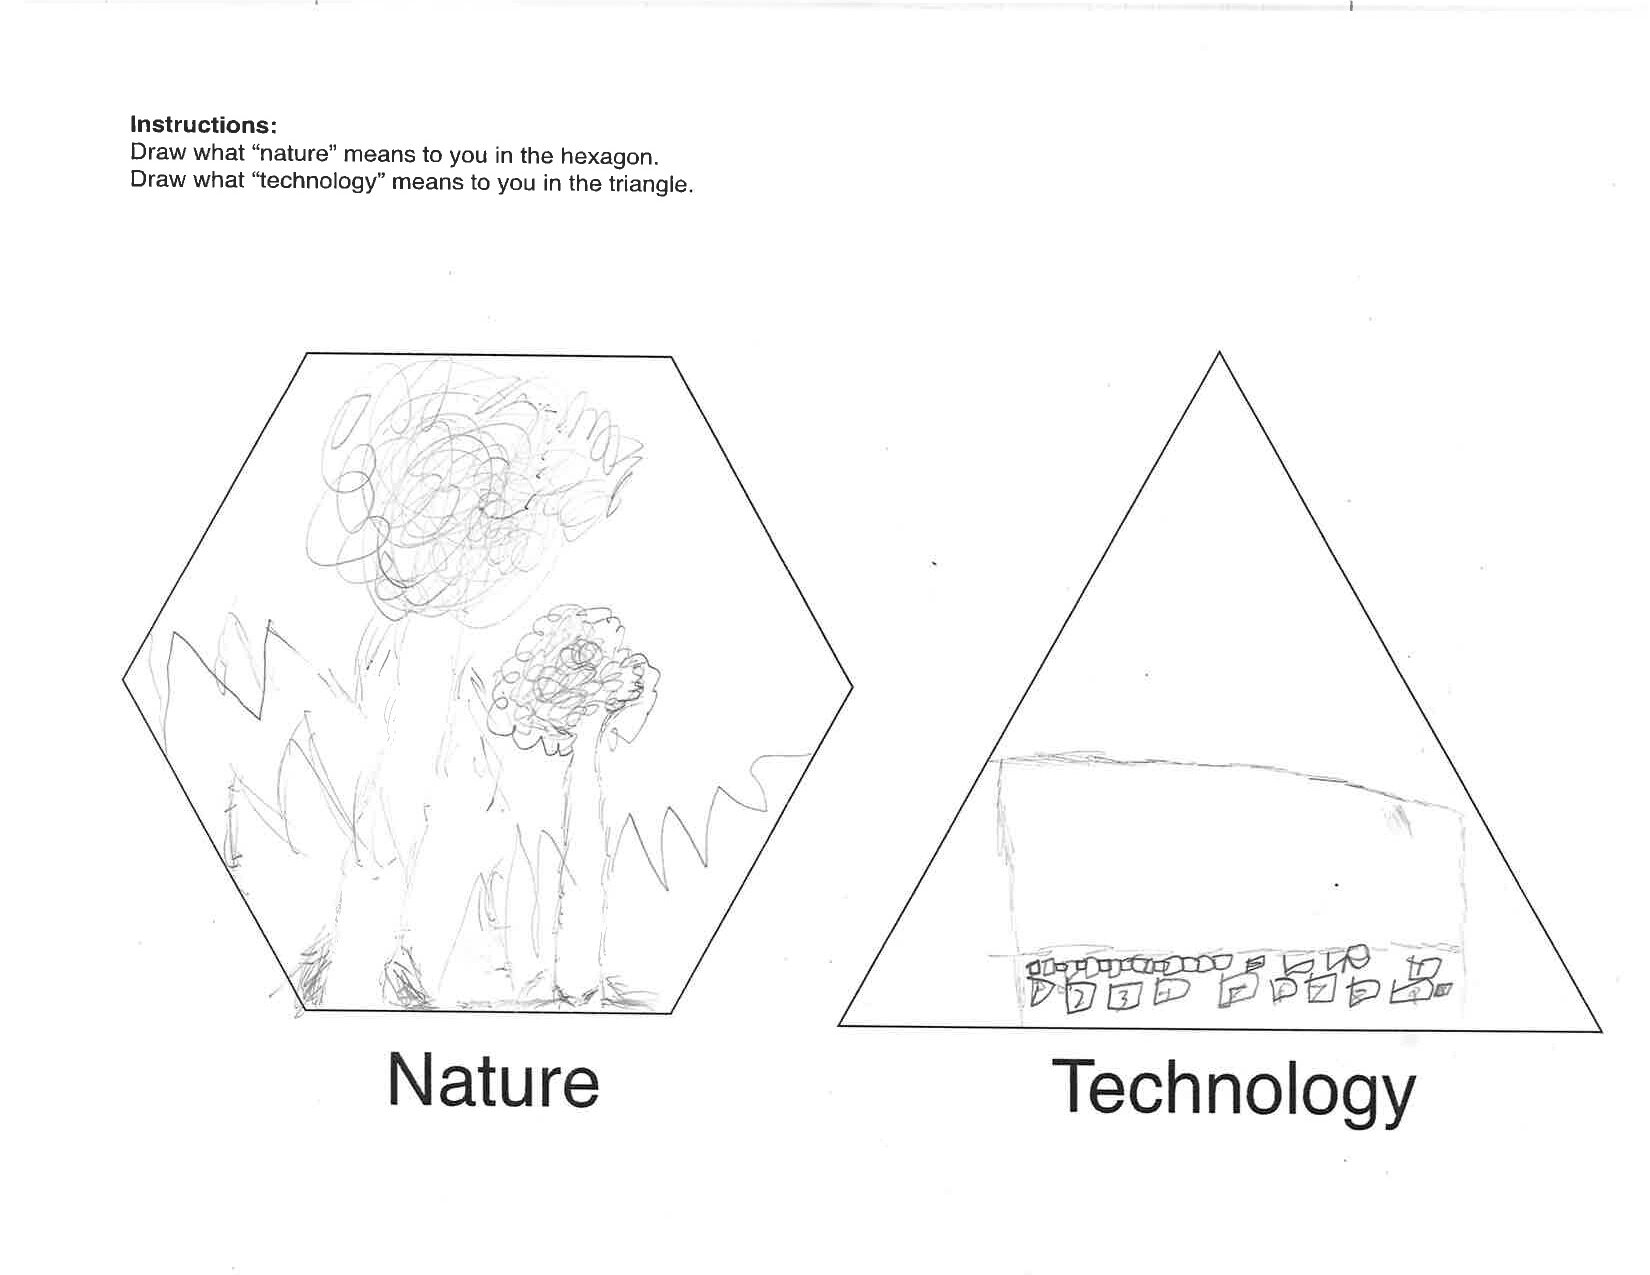
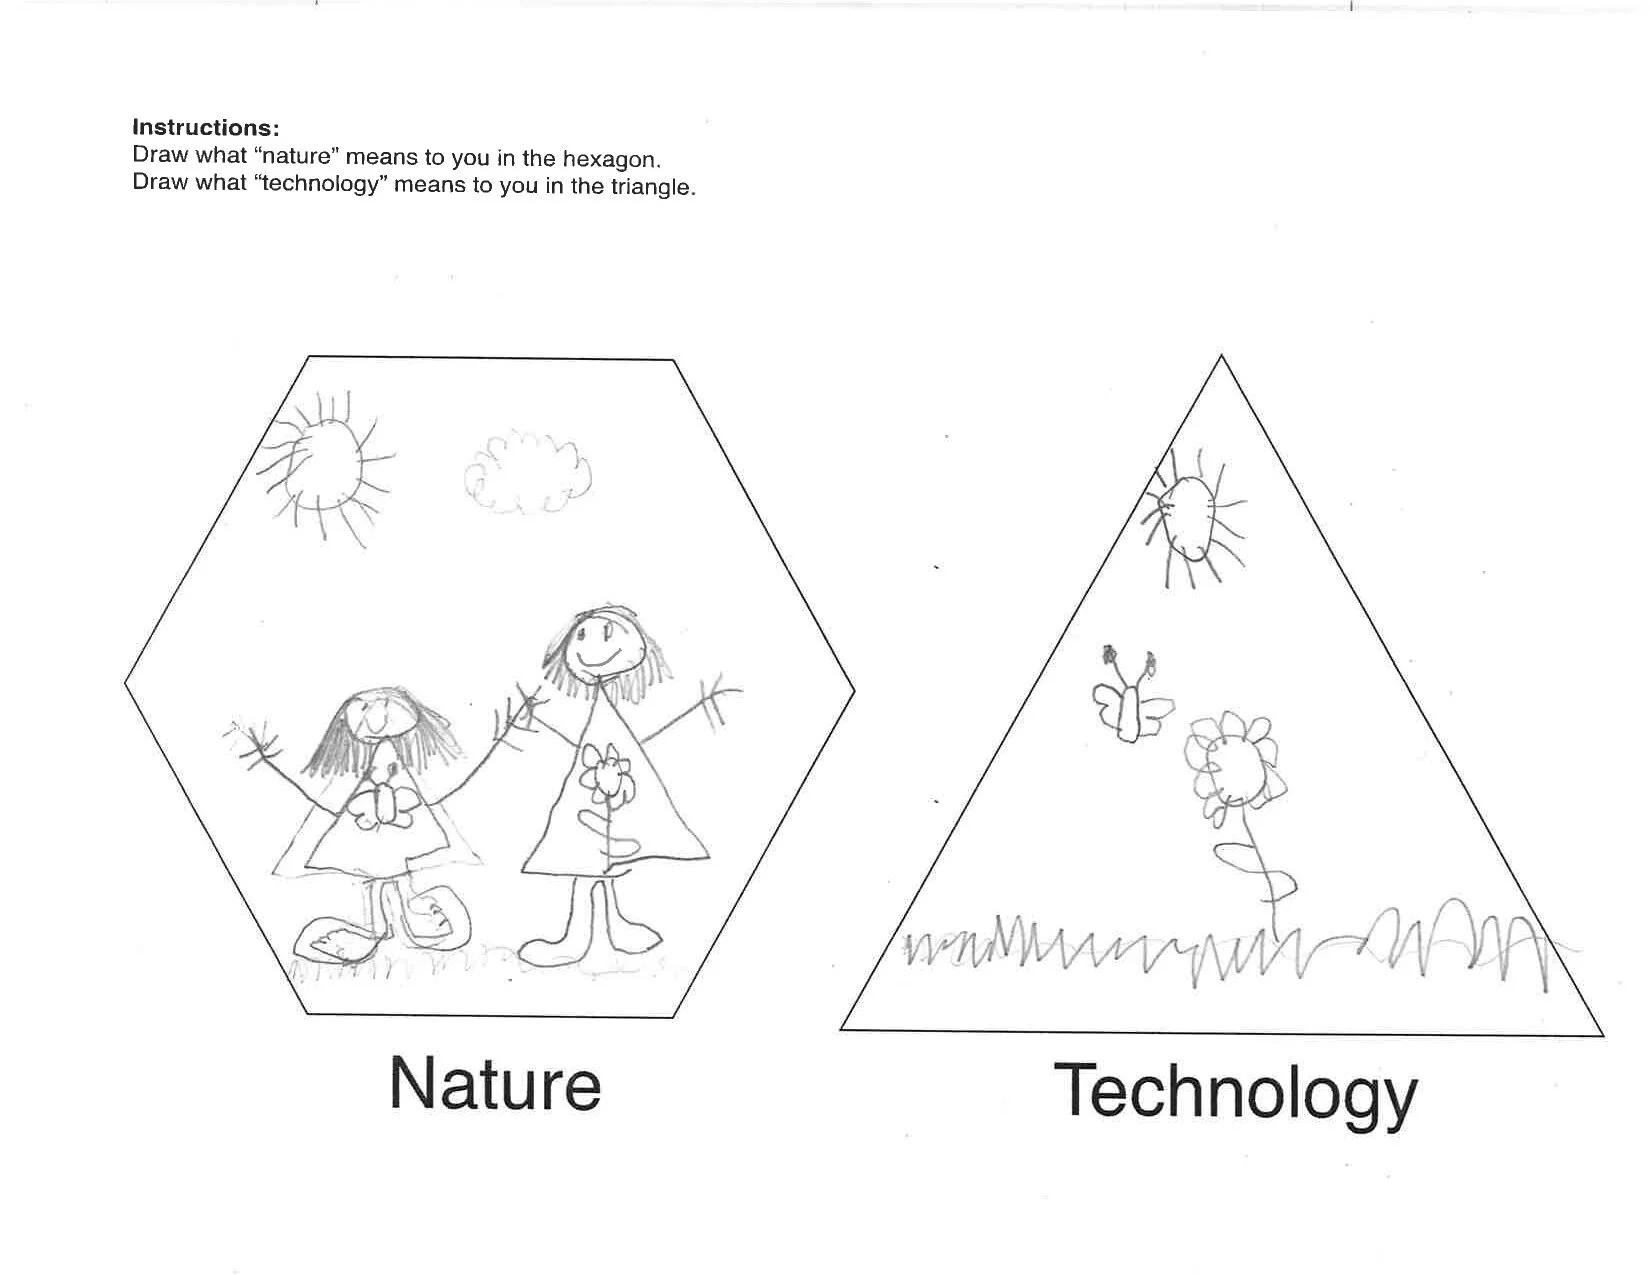
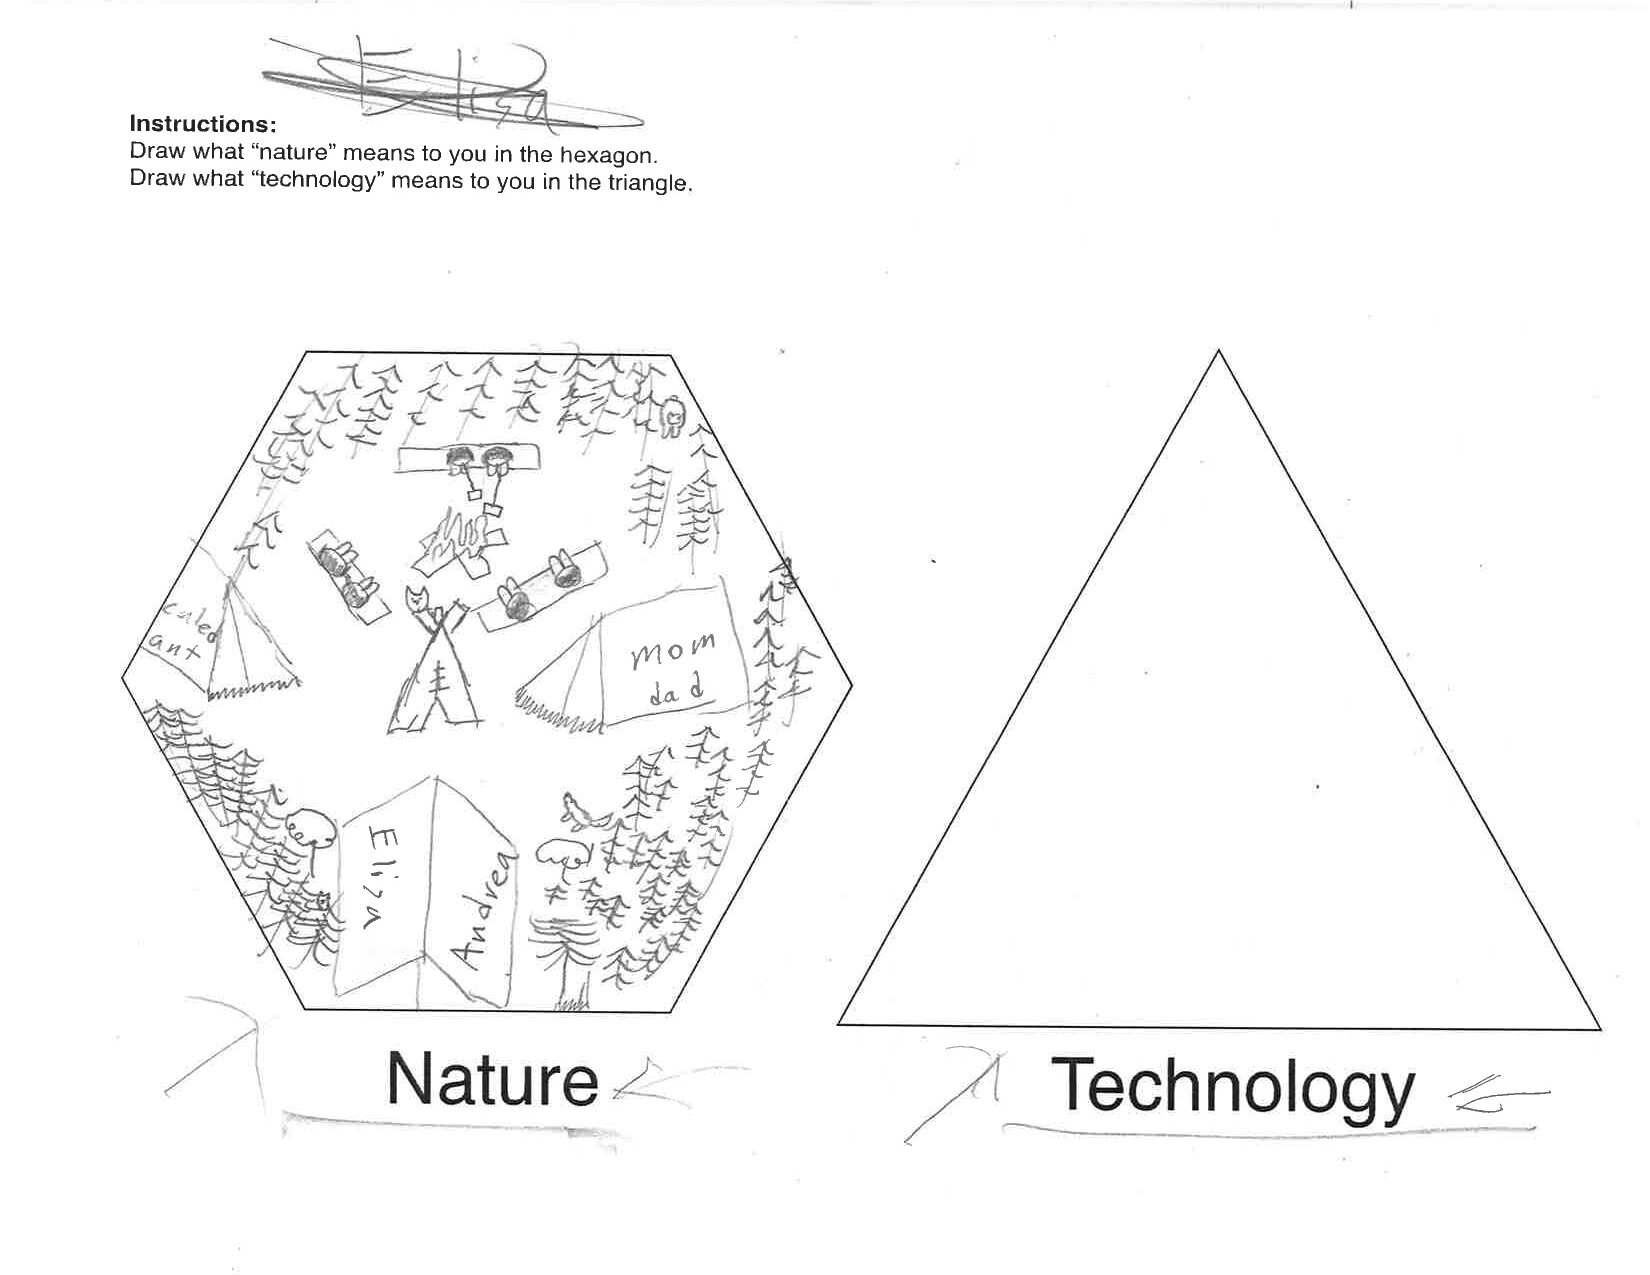
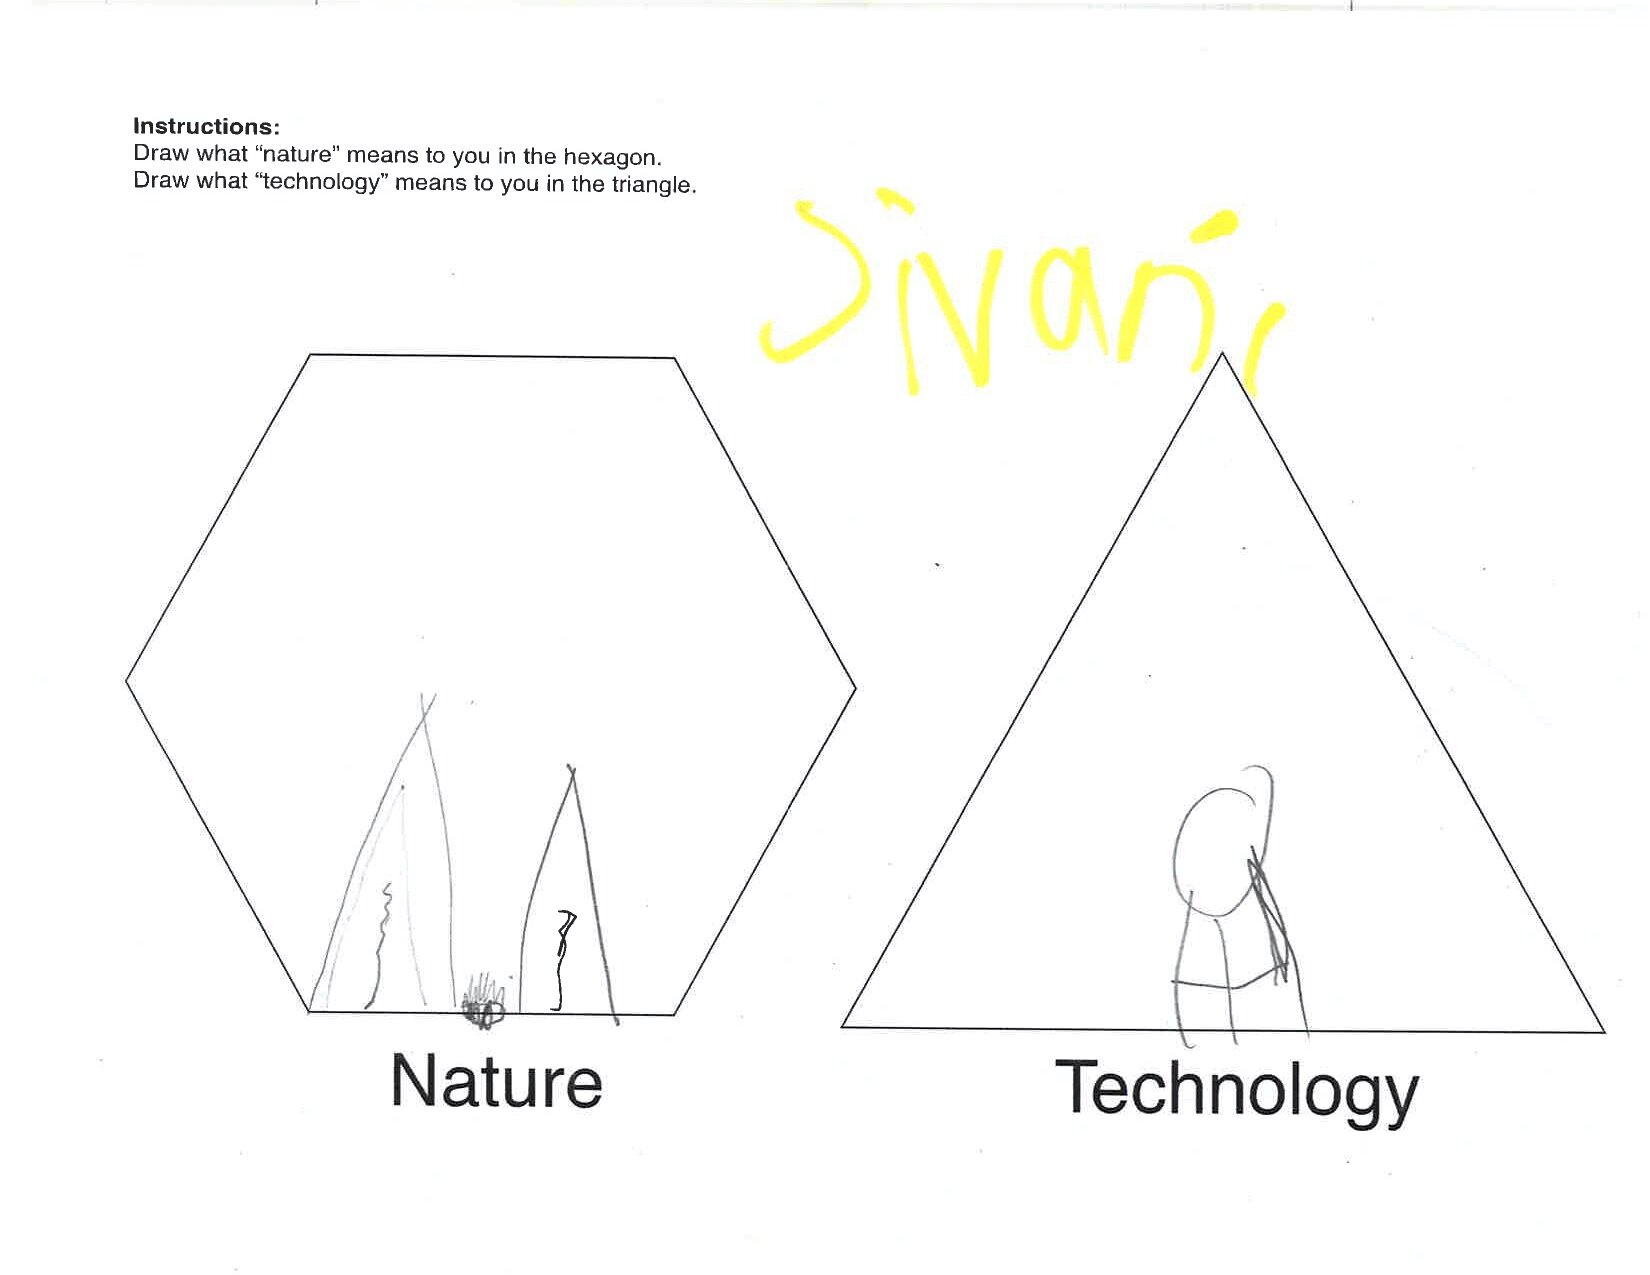
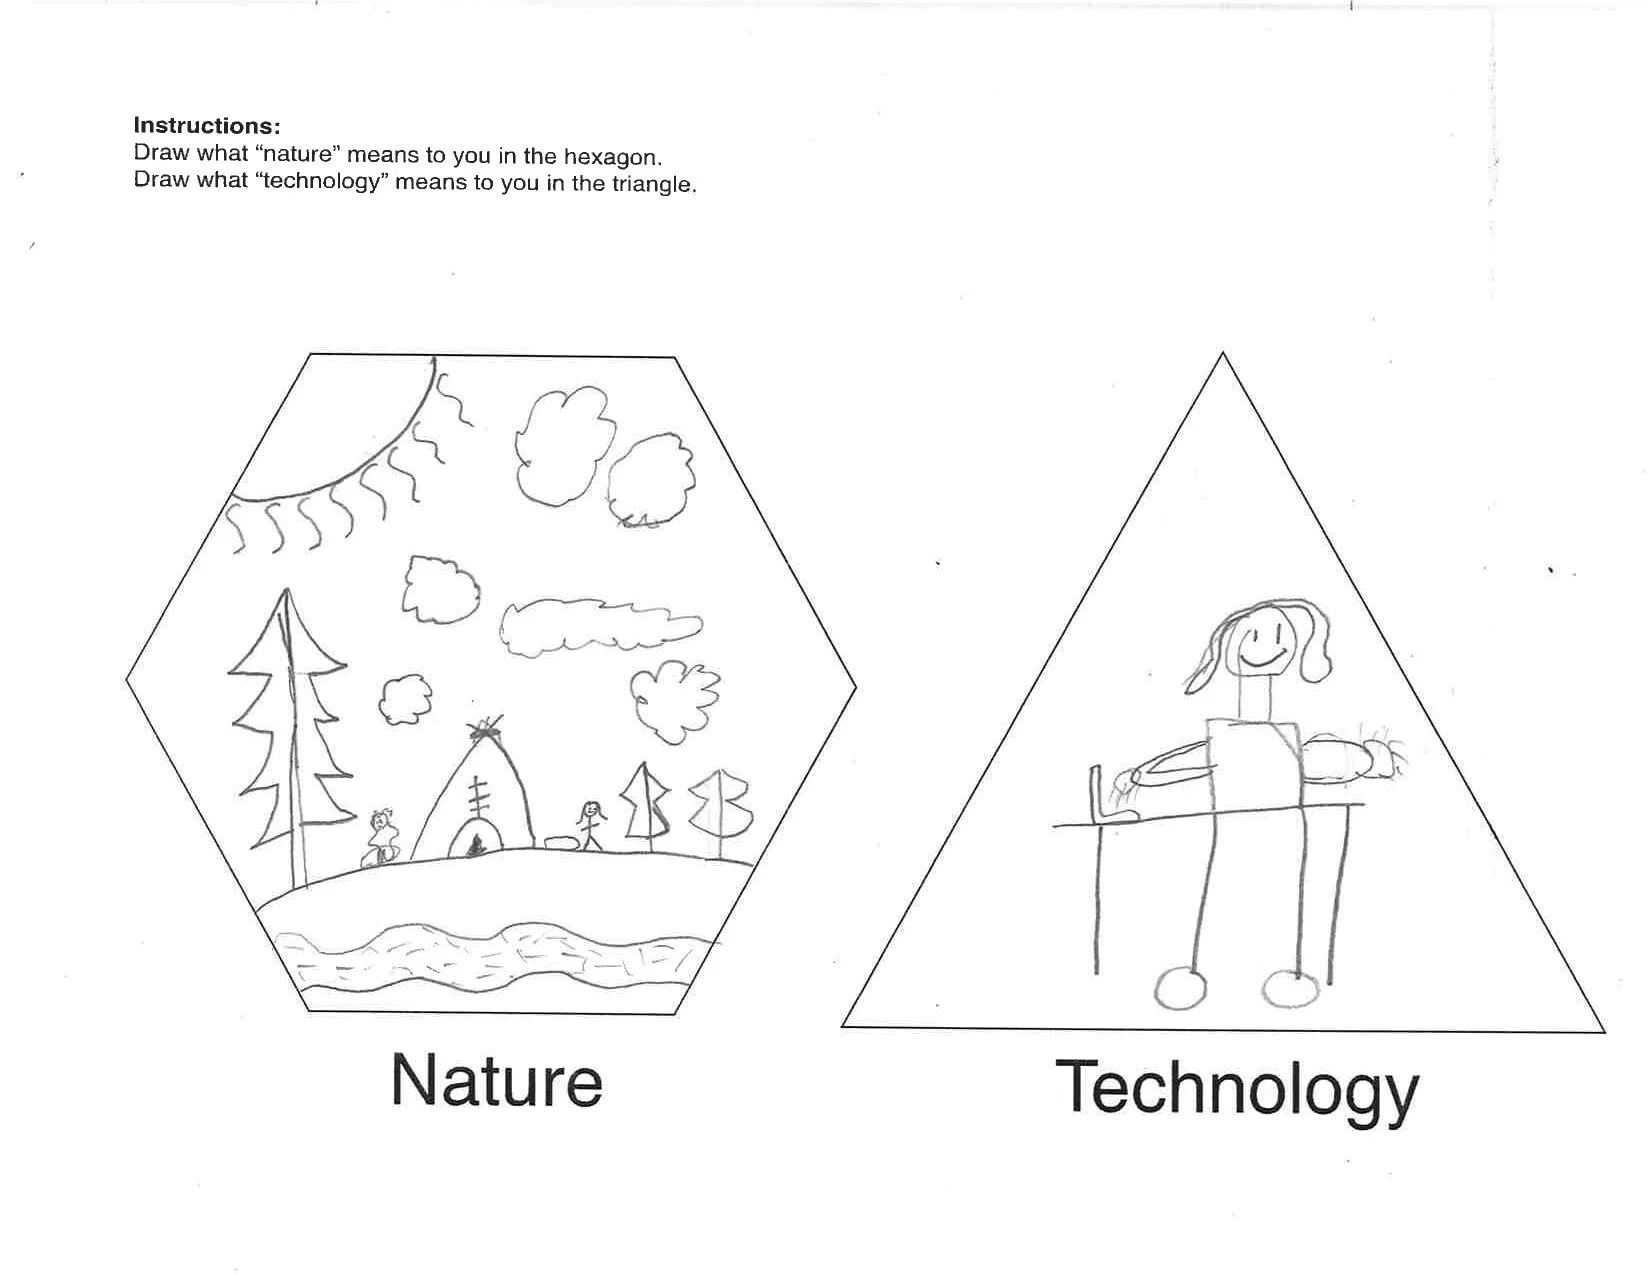
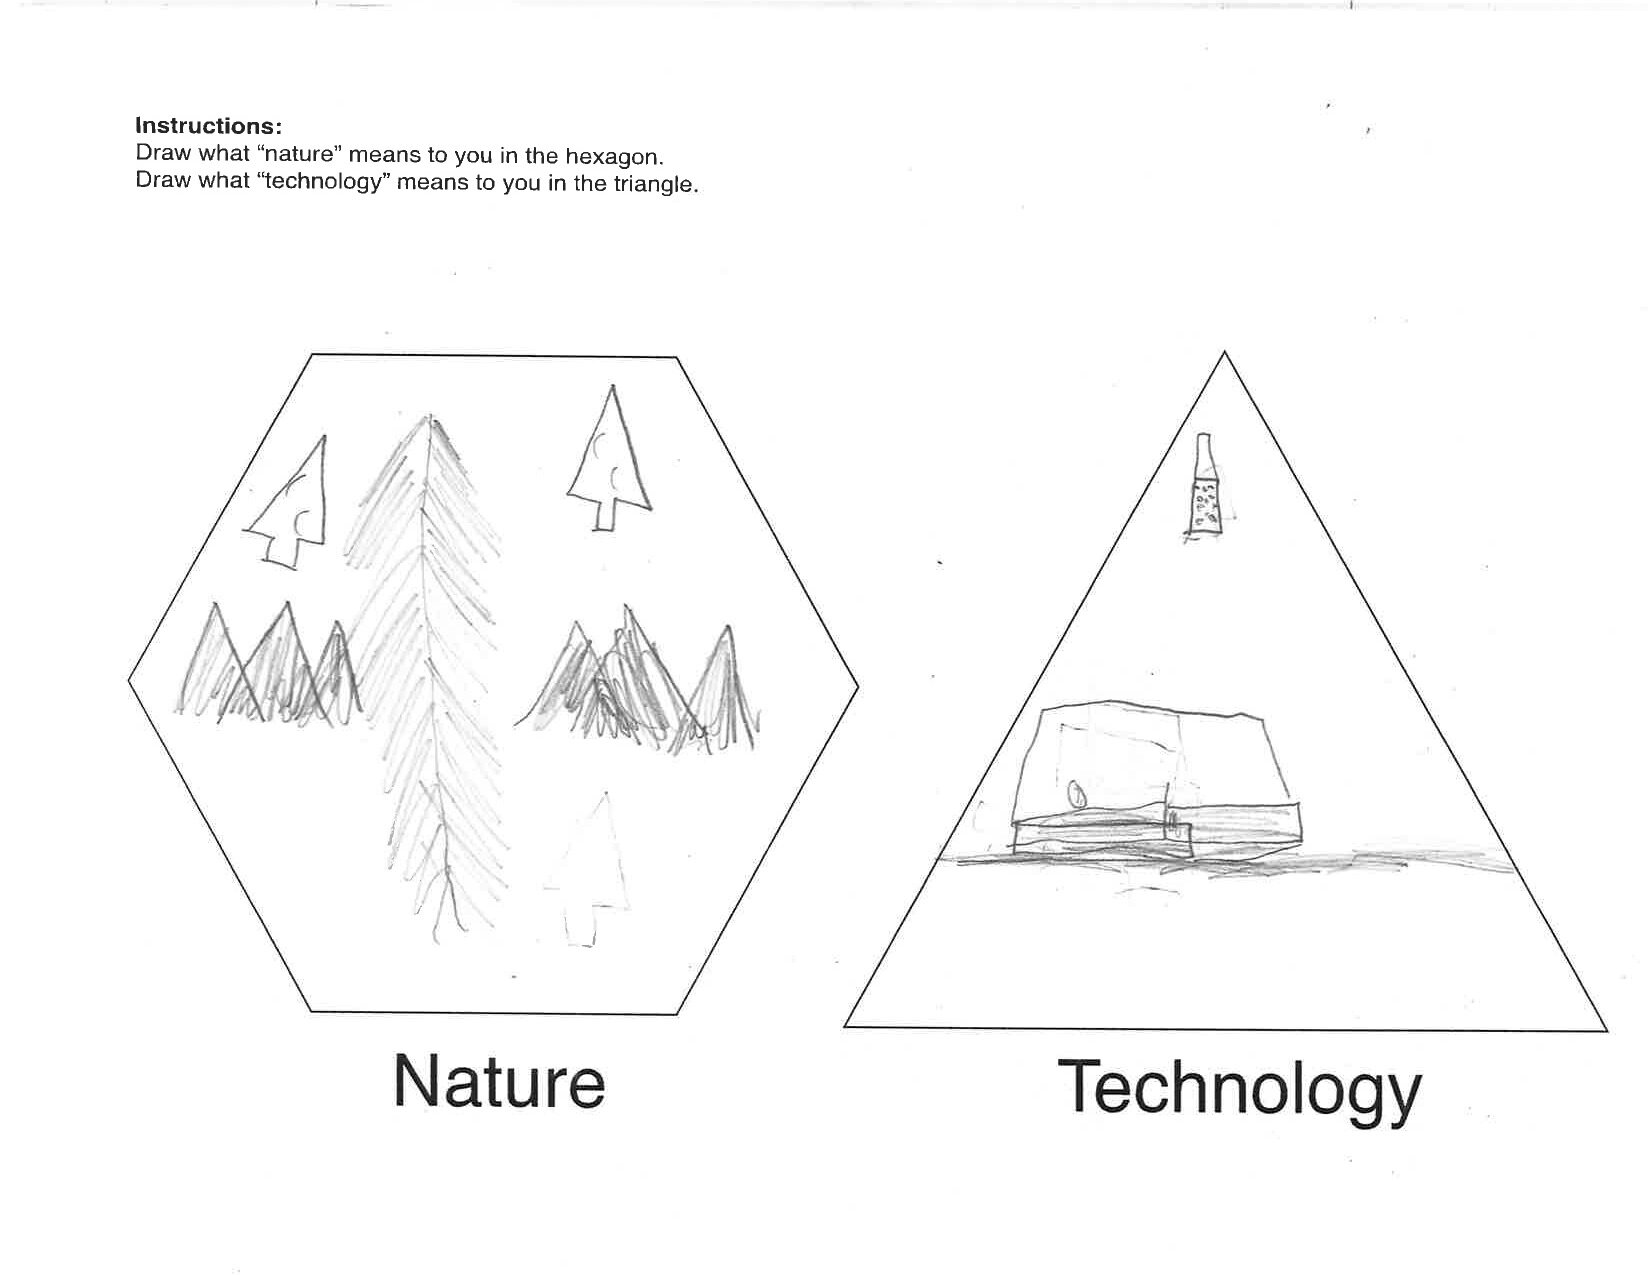
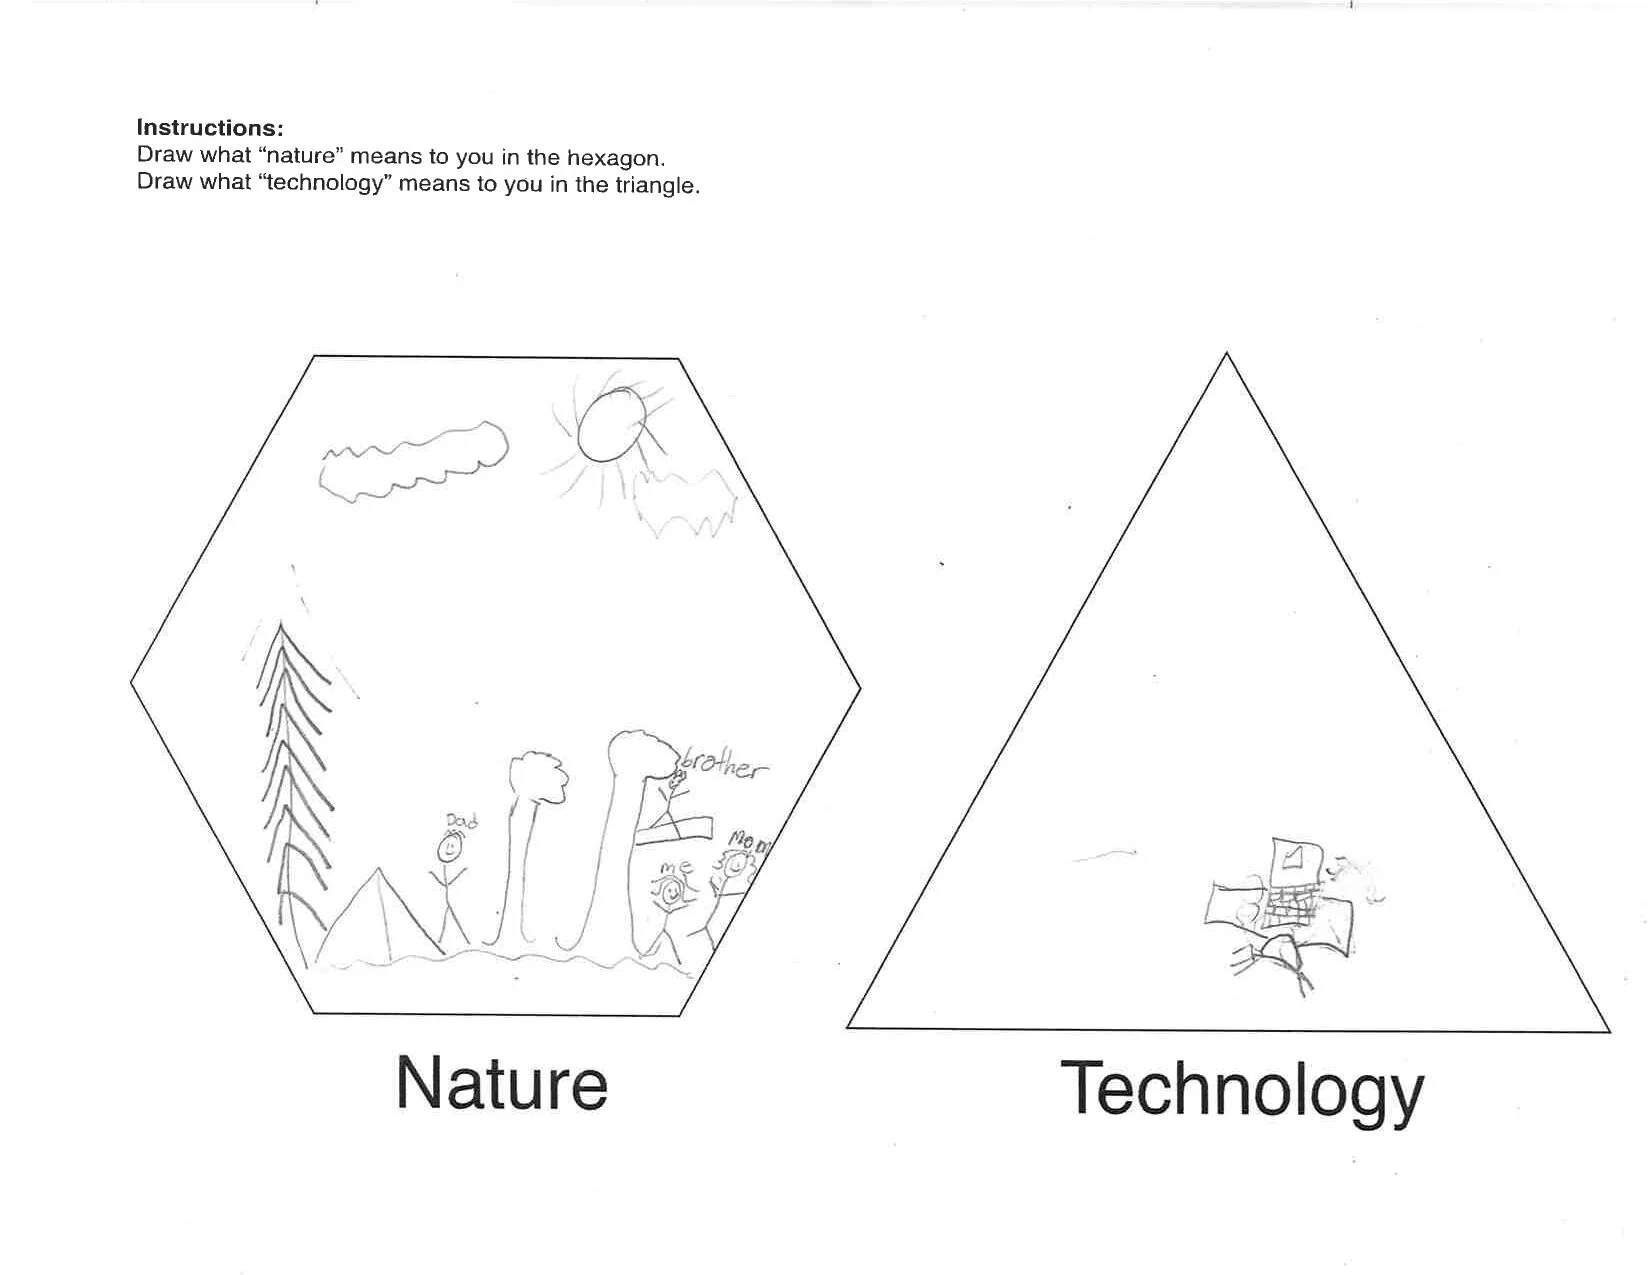
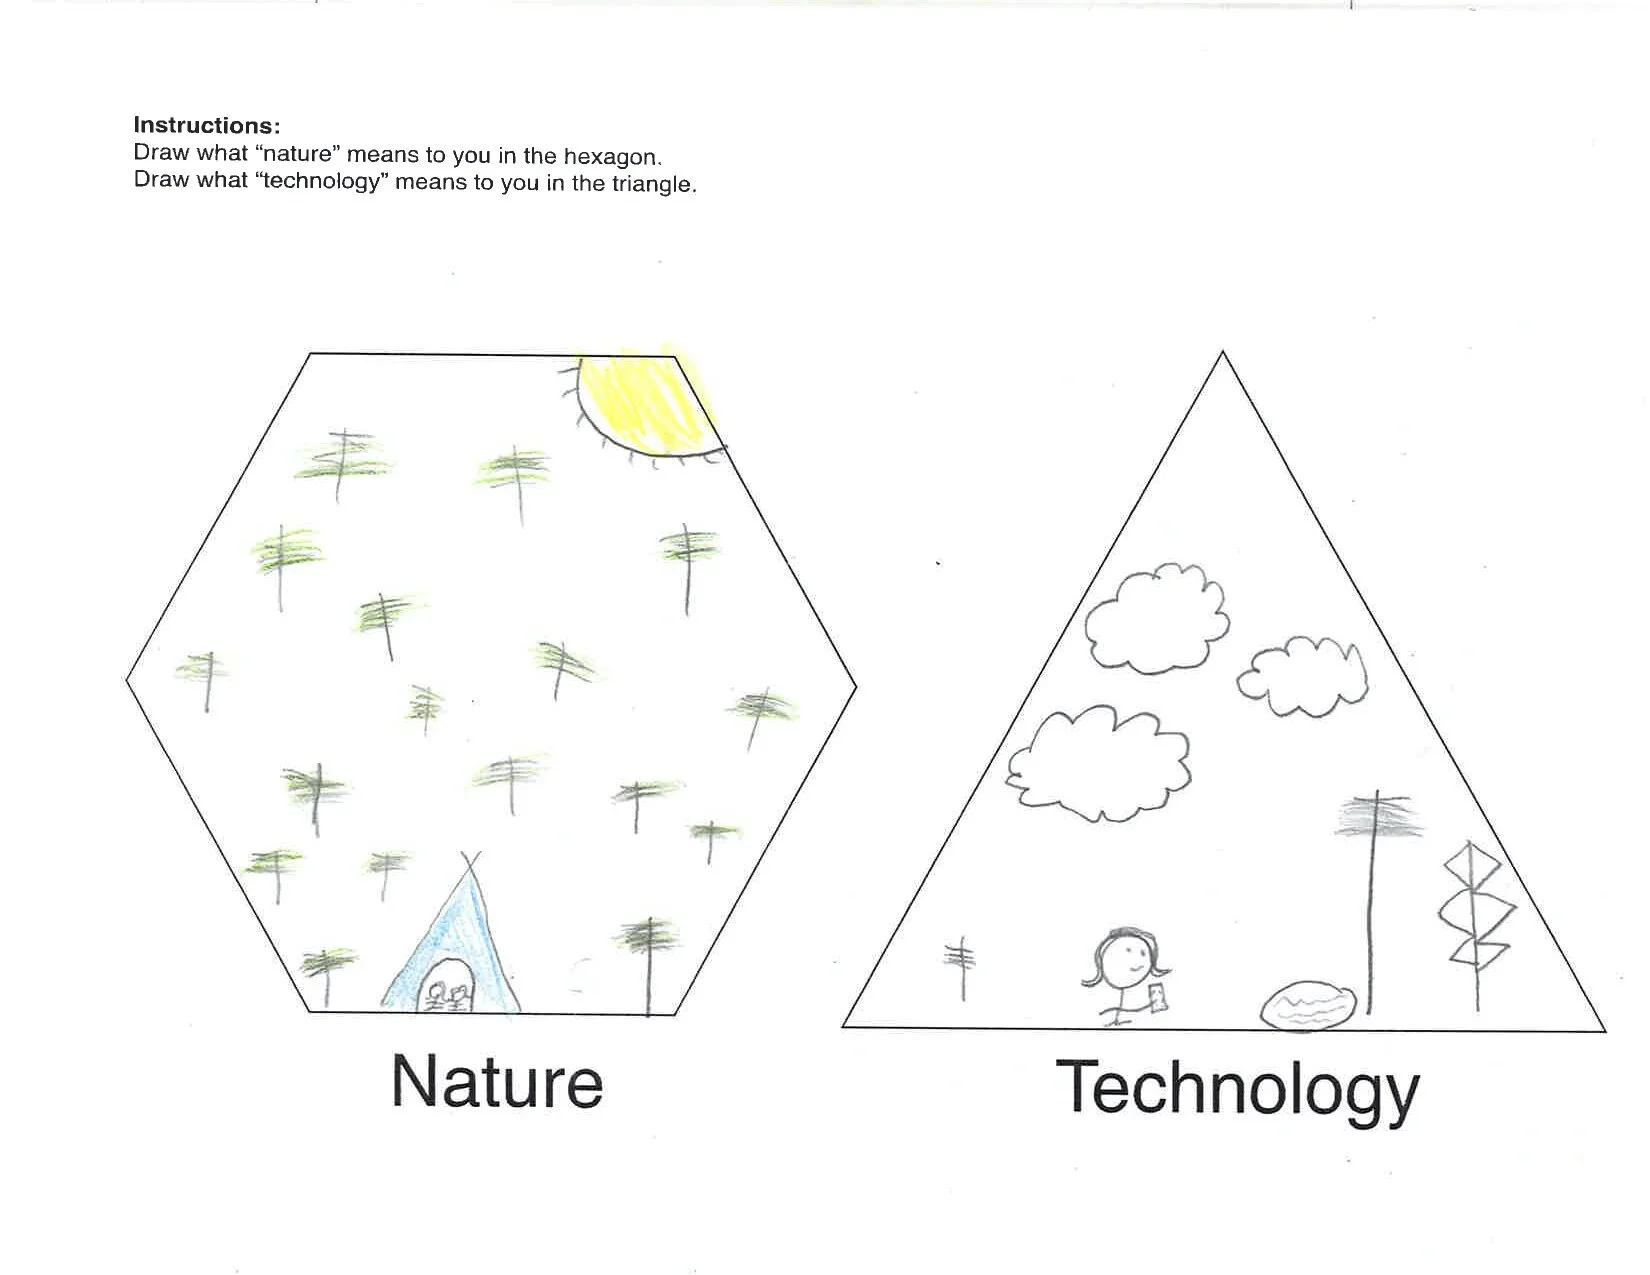
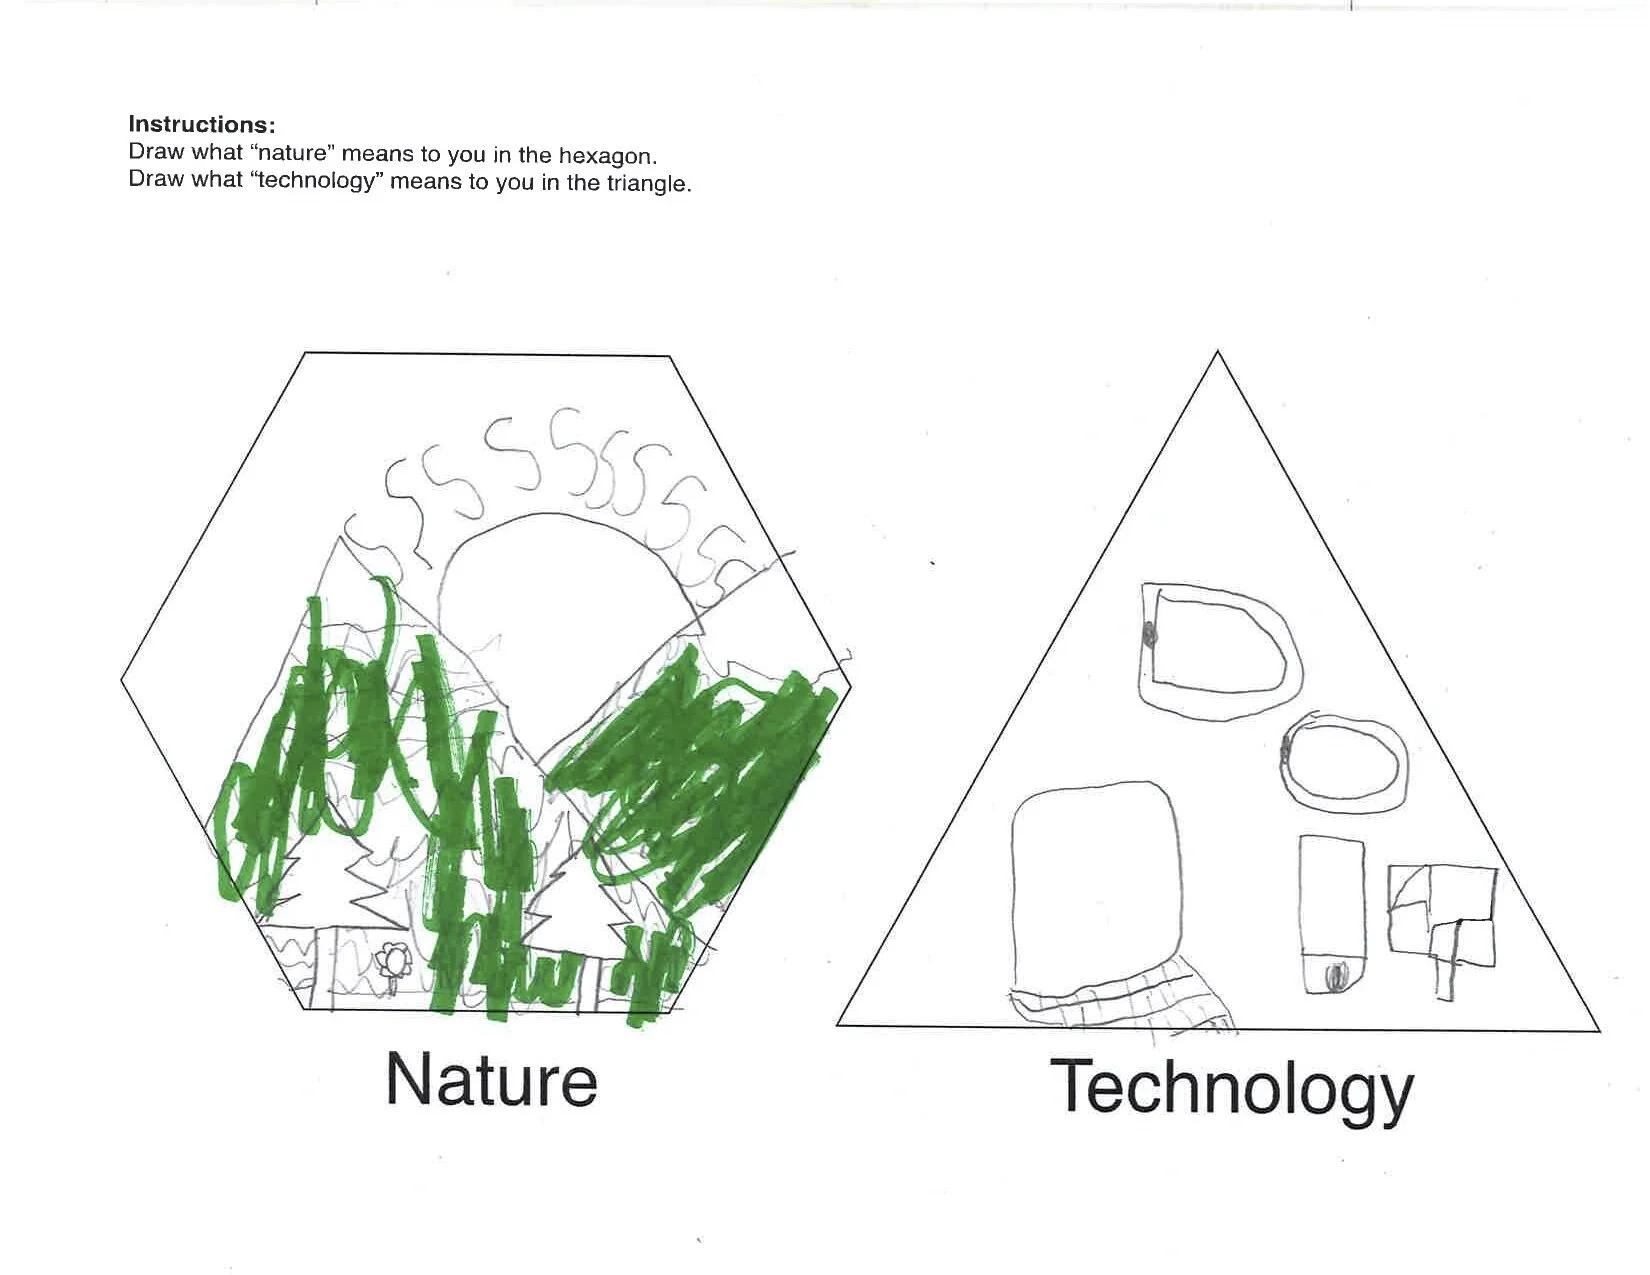
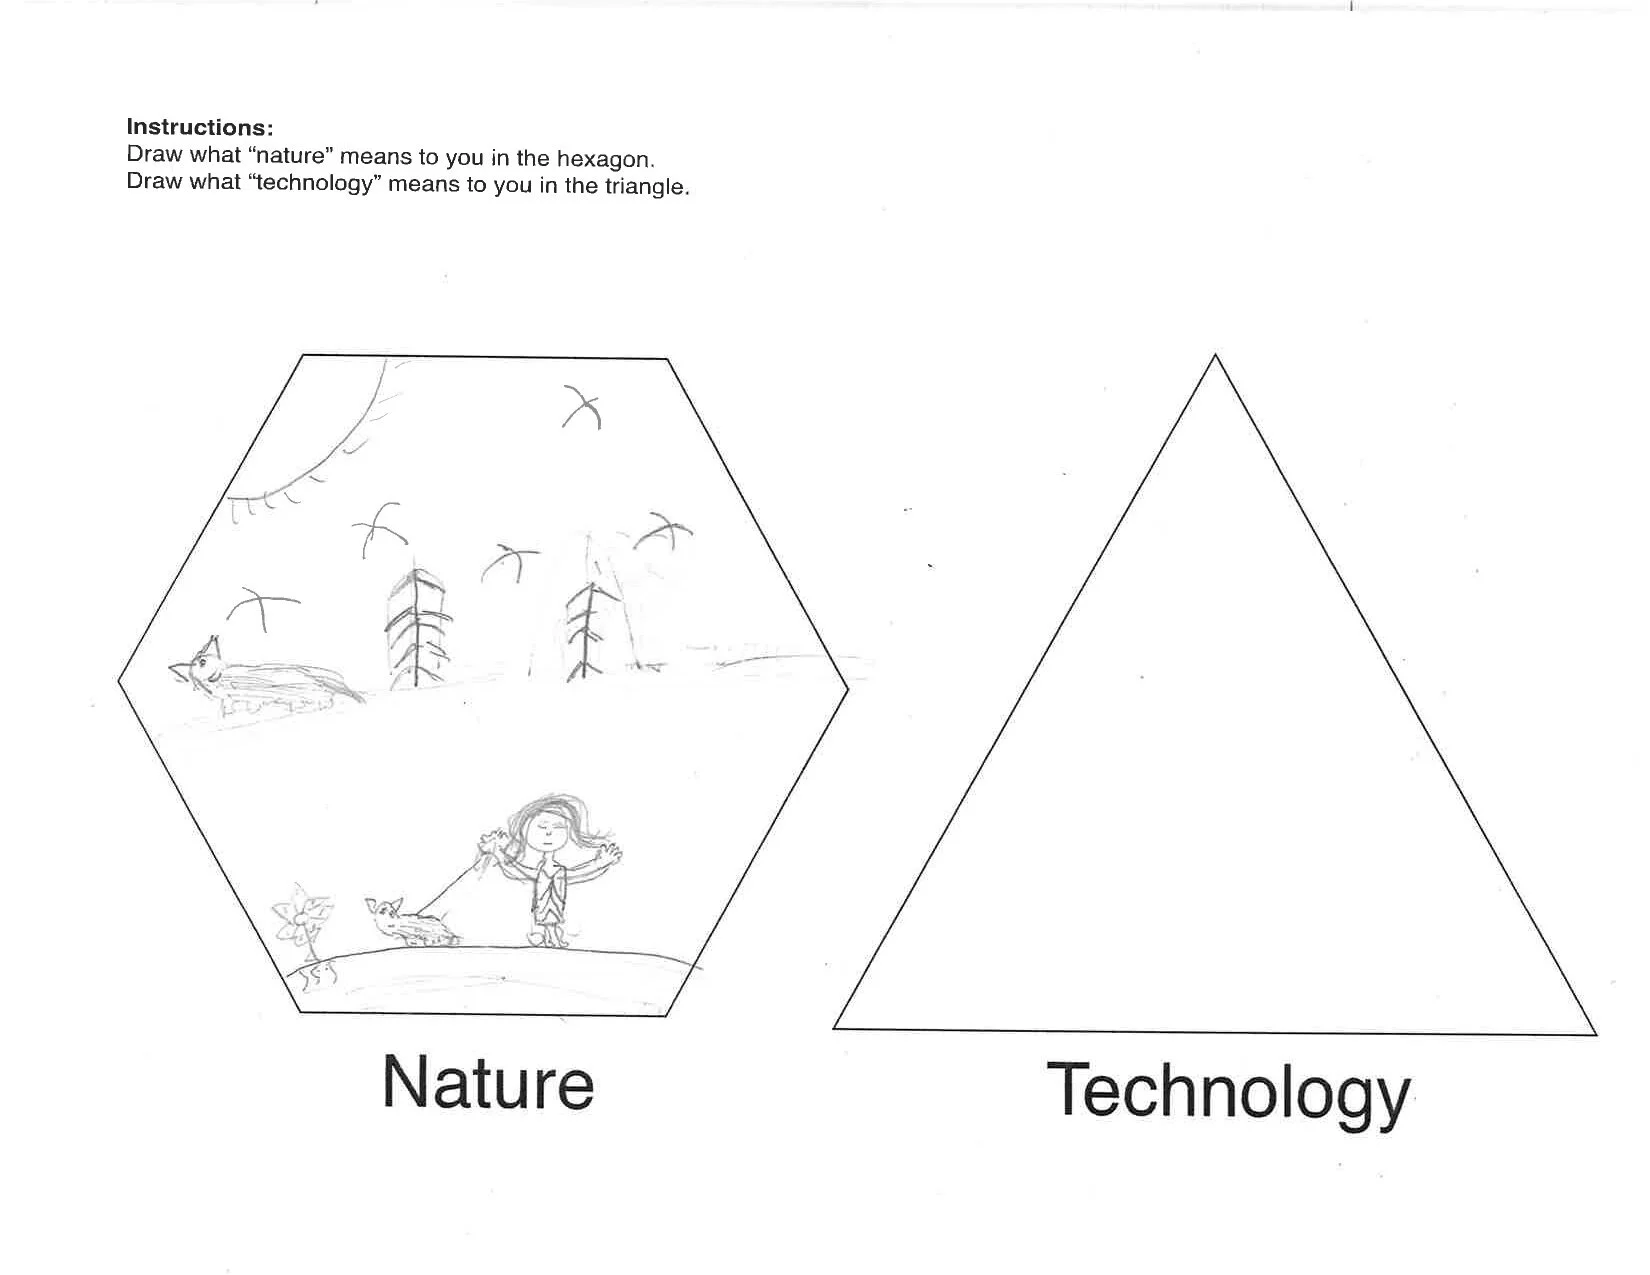
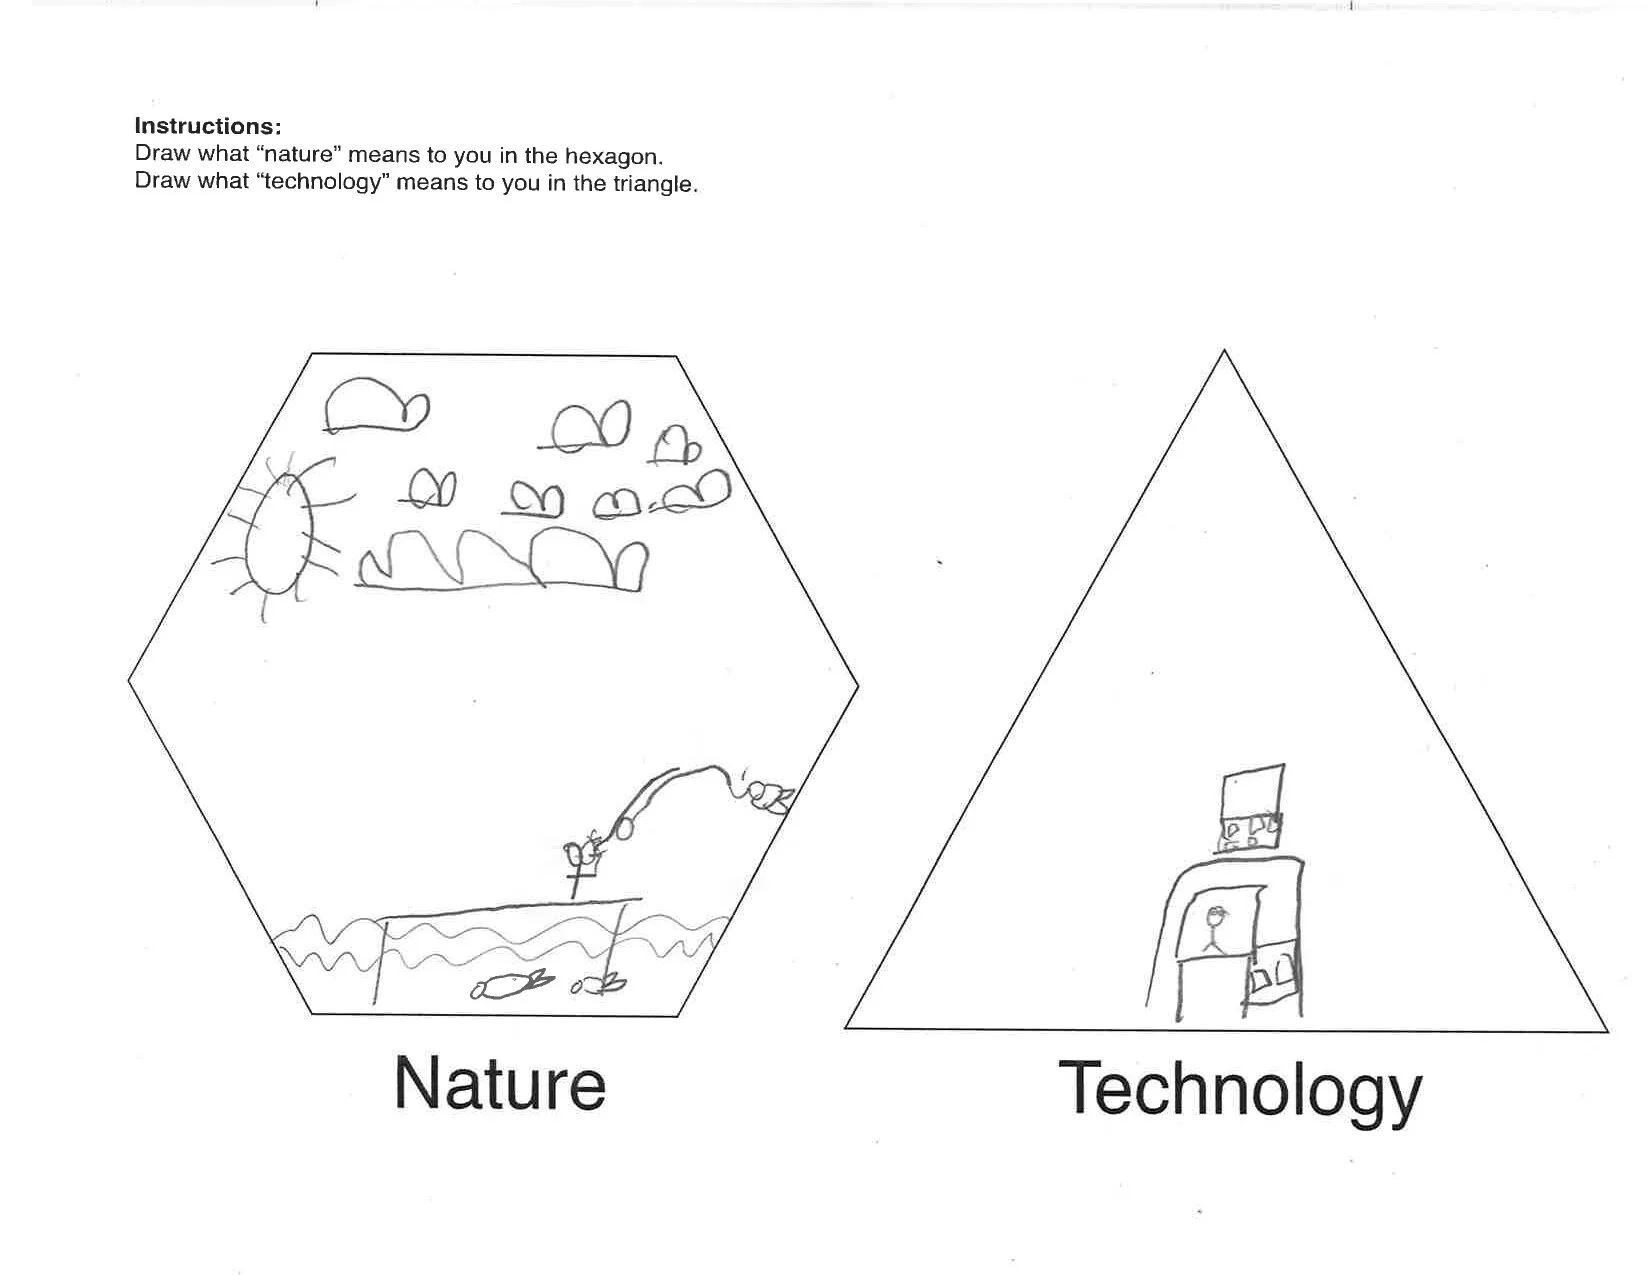
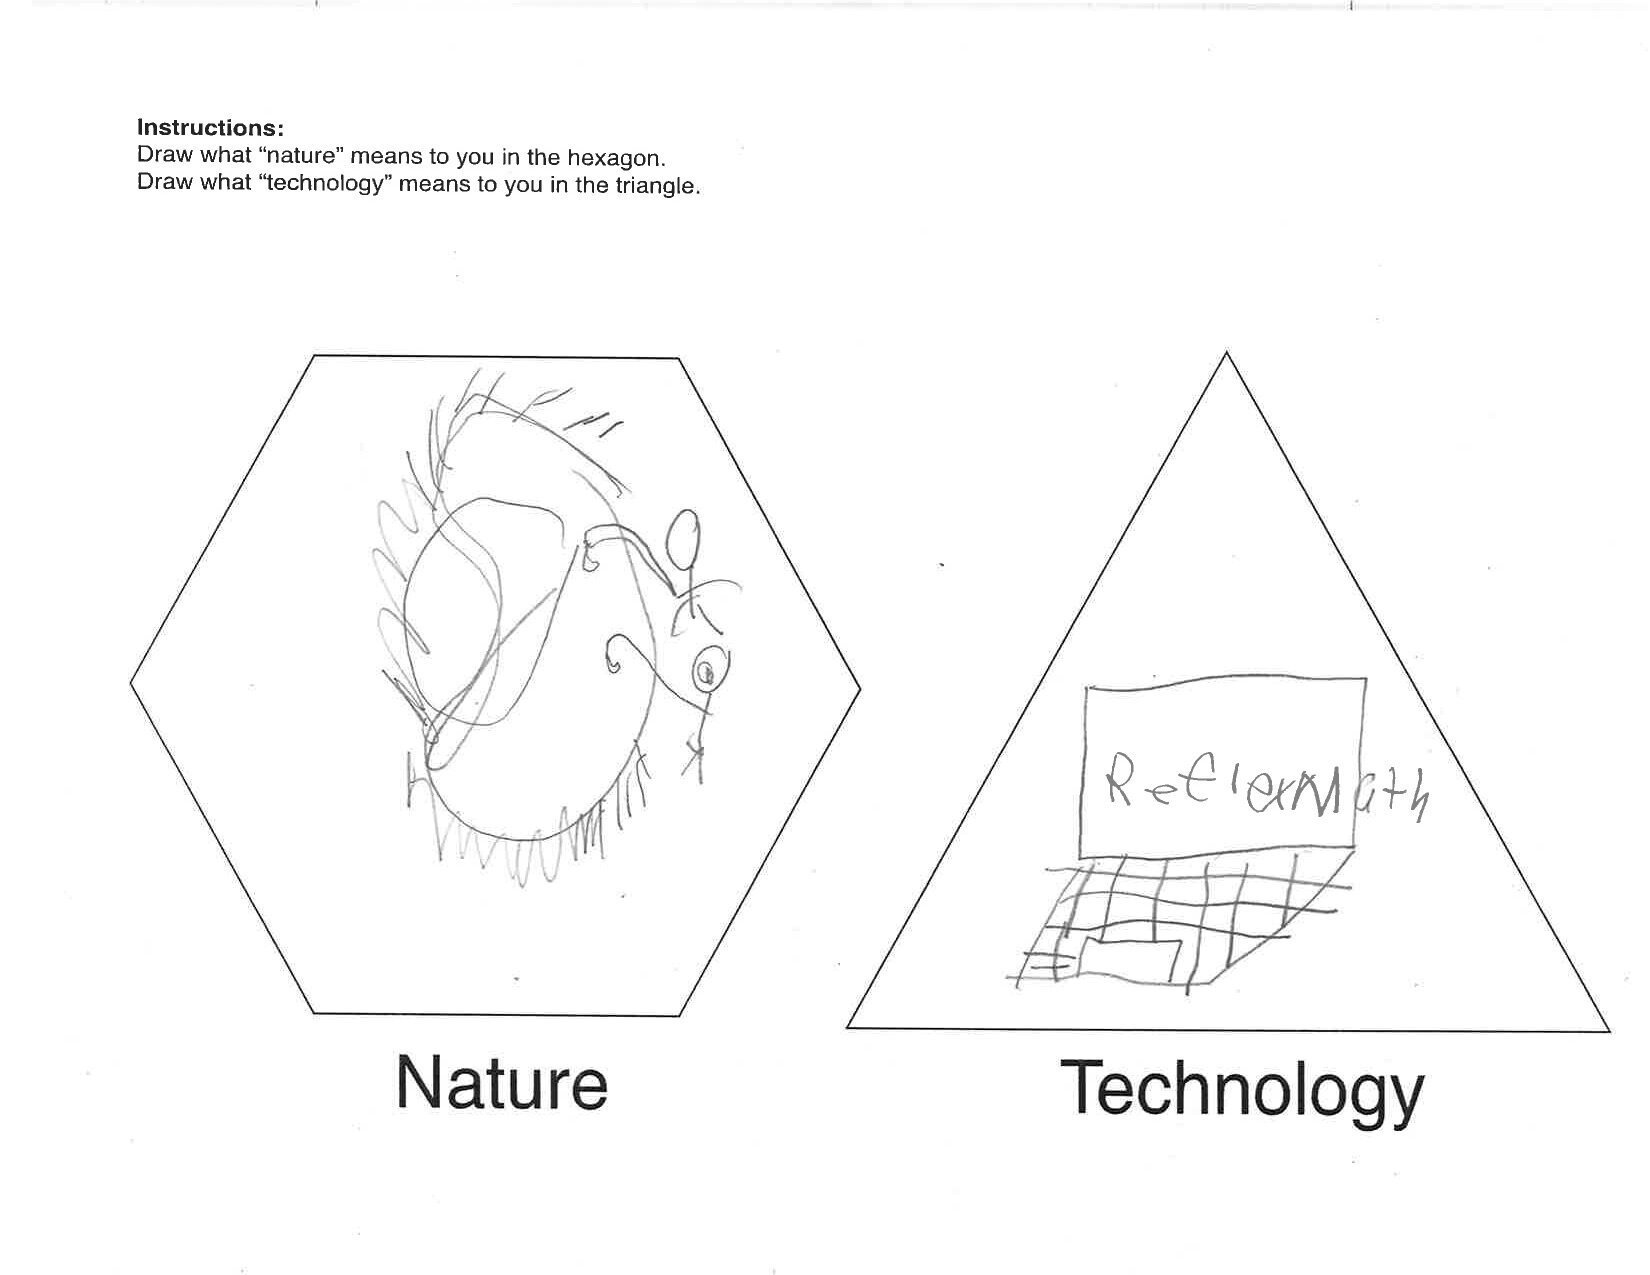
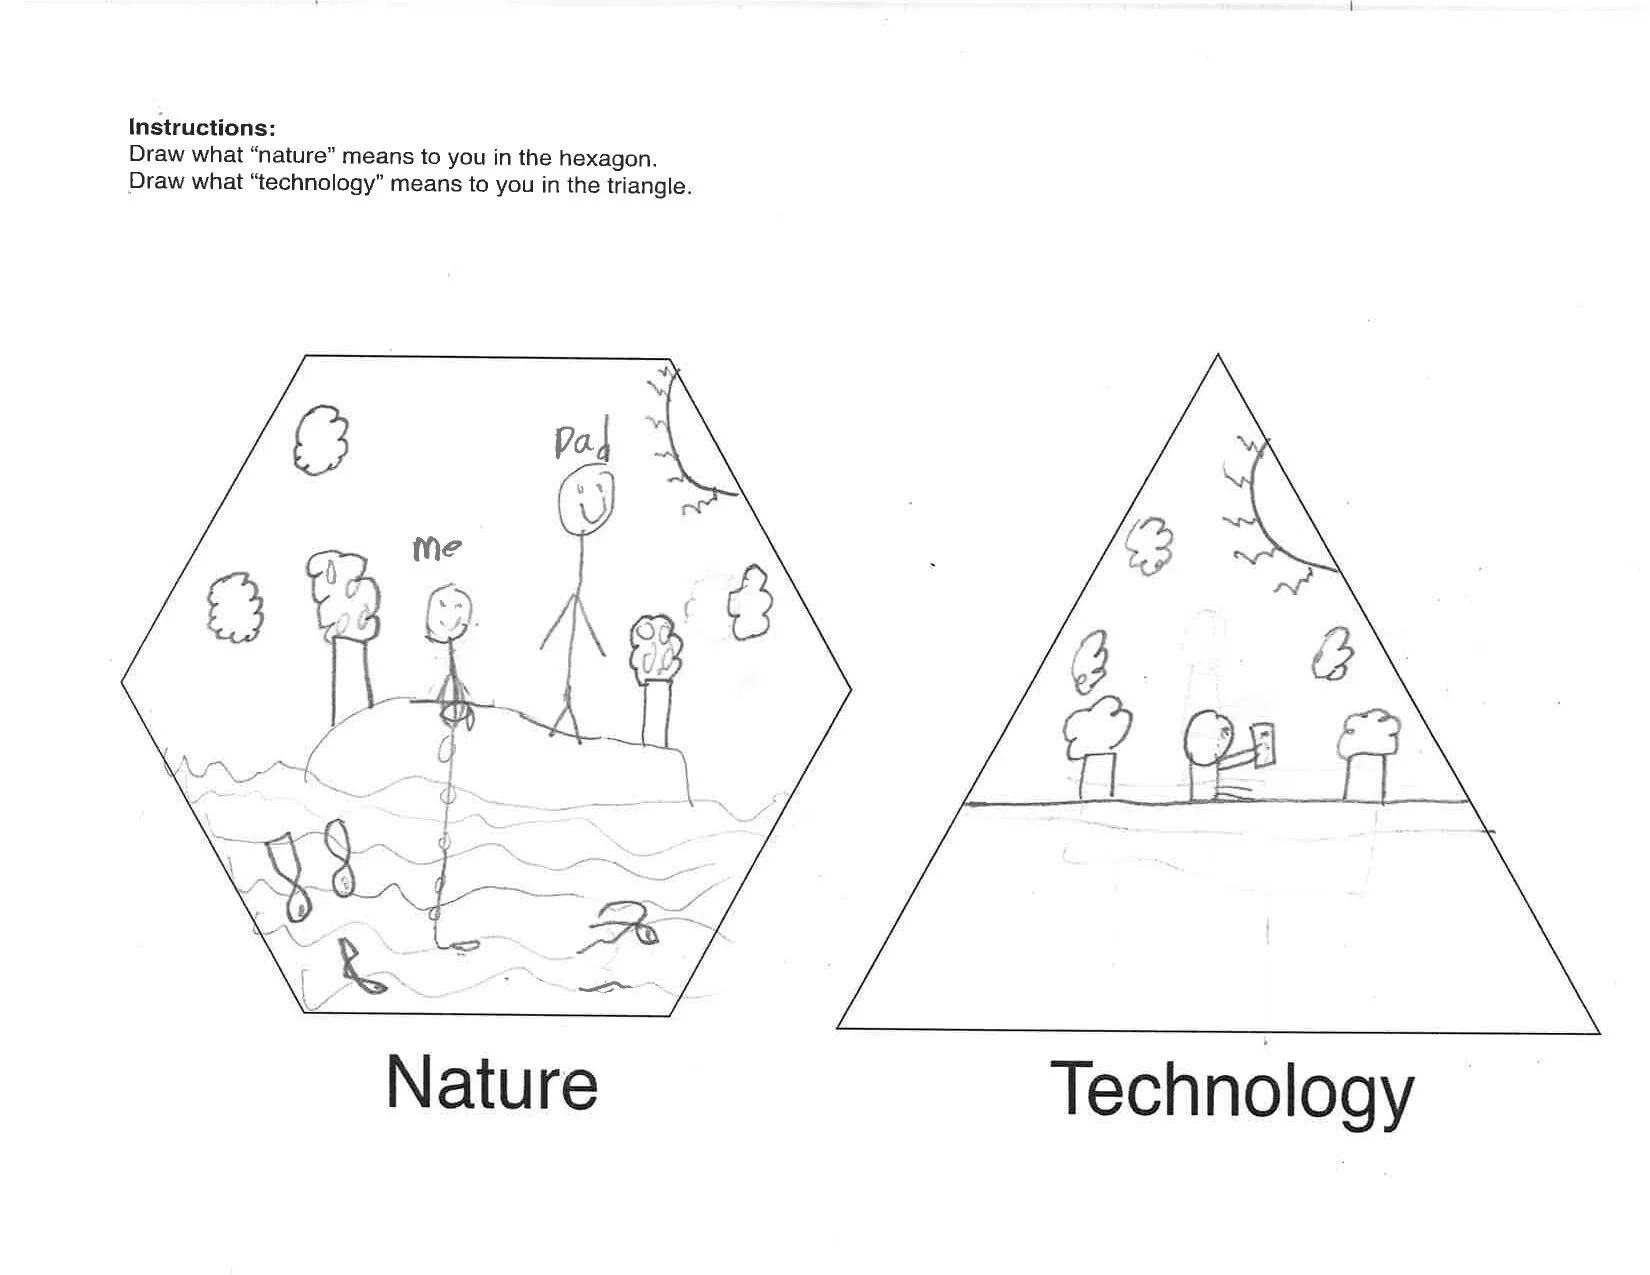
A group of third graders was asked to draw what “nature” meant to them in a hexagon (alluding to the natural, sacred geometry found in nature such as beehives or geological formations) and what “technology” meant to them in a triangle (representing the vectors and manufactured perfection found in technology).
Somewhat surprisingly, many students struggled with depicting “technology,” perhaps because it is a more abstract concept and term or perhaps because Pagosa Springs, Colorado is nestled deep within the San Juan Mountains. Either way, the resulting sketches were completely unplanned, and the students were given very little direction in order to allow for more organic, creative results.
sample drawings
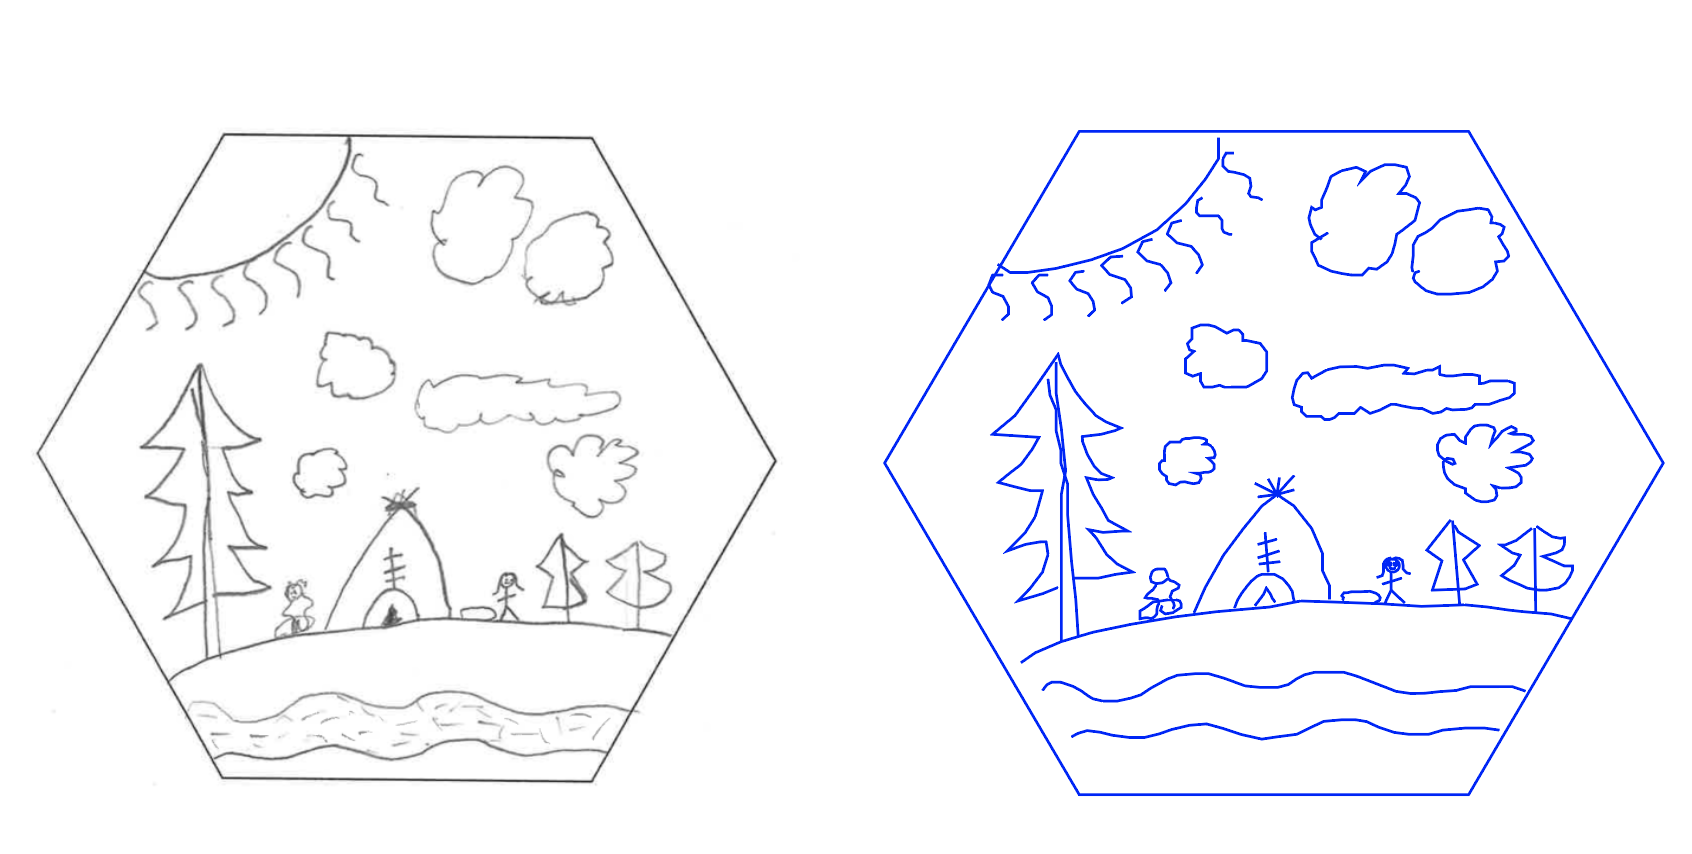
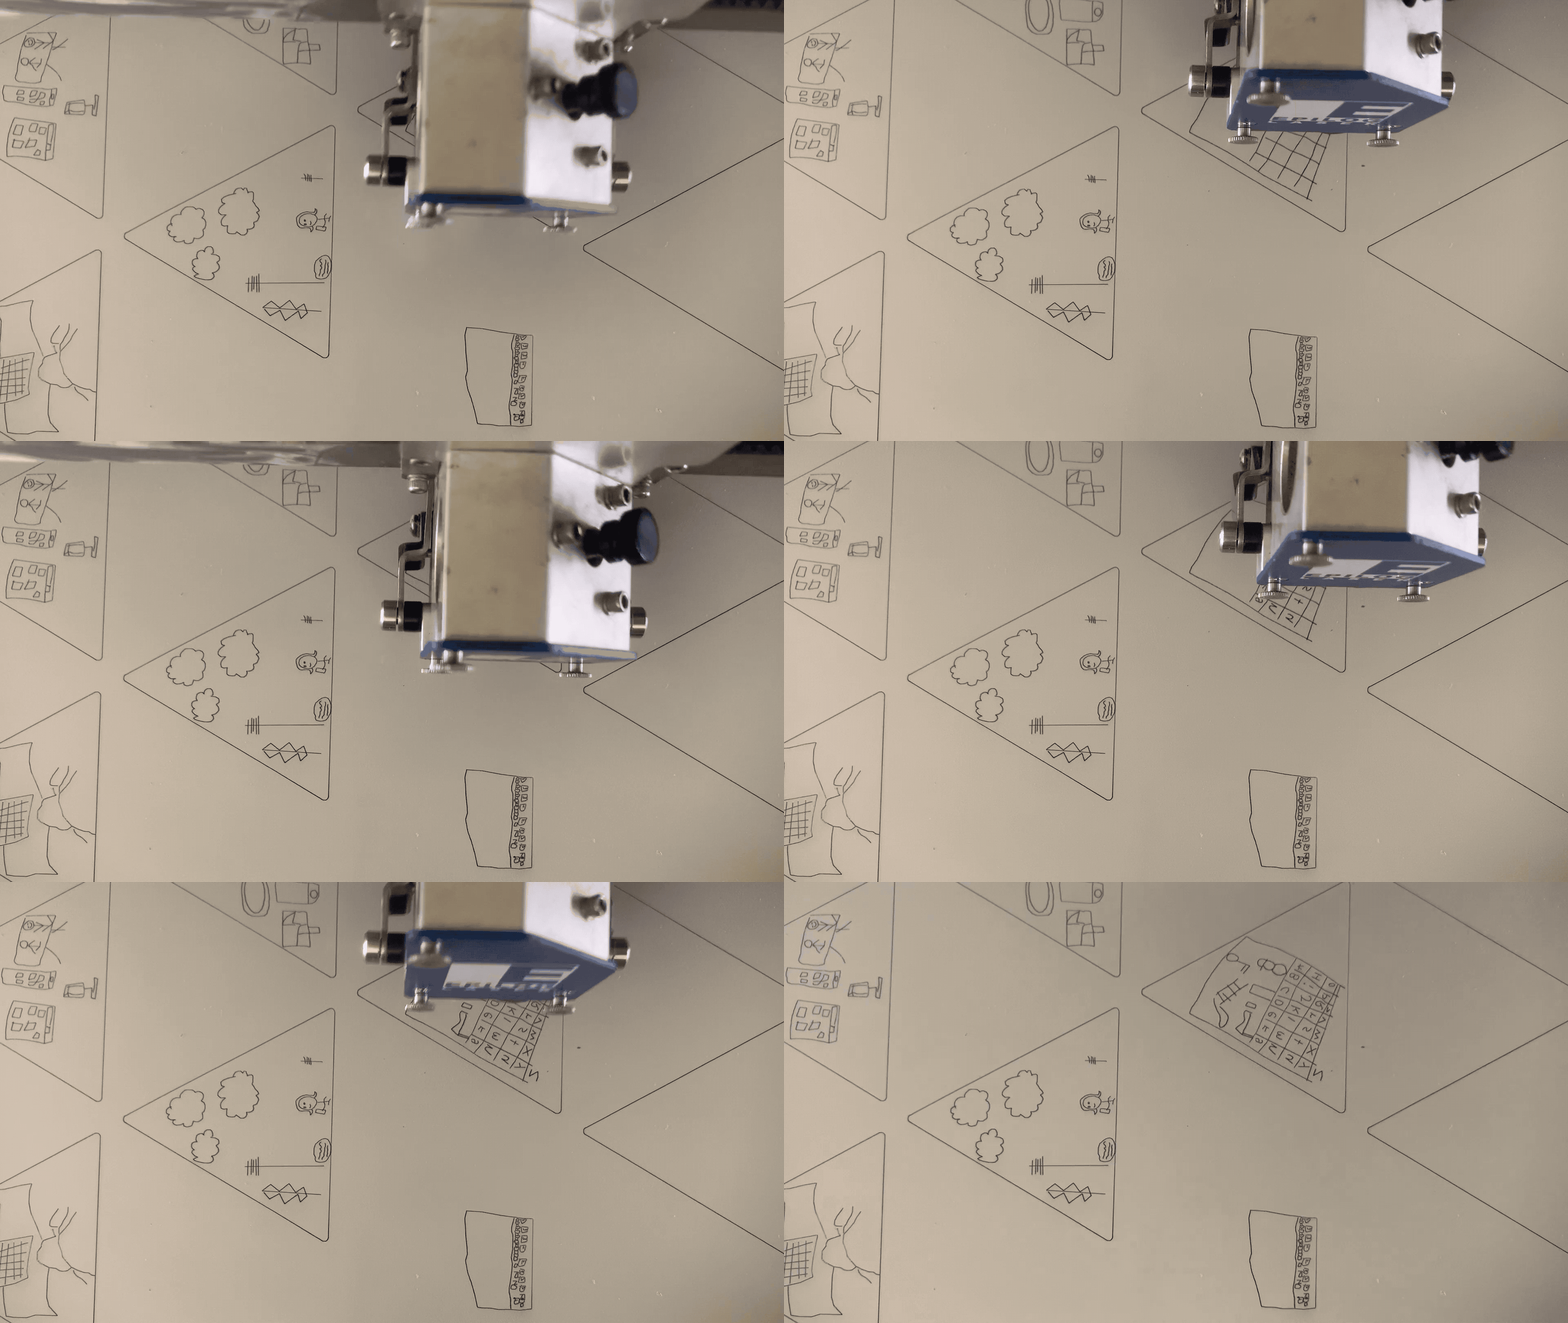
The children’s’ drawings were then digitally traced in Illustrator.
Because most of the drawings were done in pencil, and because lasercutting requires very specific color codes and line strokes in order to be read by the machine, using an automatic “image trace” was impossible for this project. Therefore, each child’s drawing had to be carefully traced in Illustrator with the pen tool.
While tedious and time-consuming (at least 12 hours were logged just for this portion of the project), there was something meditative about copying the drawings of children from my hometown. I found myself reflecting on my own notions of nature and technology, and how those notions have changed from a childhood spent romping around the mountains and forests of Pagosa Springs to my current explorations of technology and design.
The practice was also reminiscent of my undergraduate fine arts classes, in which we did “masters studies” by copying famous classical drawings line-by-line. In this case, the drawings were not Renaissance sketches, but the unplanned, sporadic, and sometimes unintuitive lines drawn by eight-year-olds. Perfect replications were impossible, and so the final results are imprecise copies of the originals. I started to wonder if a digital tracing by an adult’s computer mouse could still be considered a child’s drawing at all, or who was the true “artist” in this exercise.
Time-lapse of image tracing in Illustrator
ORIGINAL TO DIGITAL TRACING
Compiling and lasercutting the images
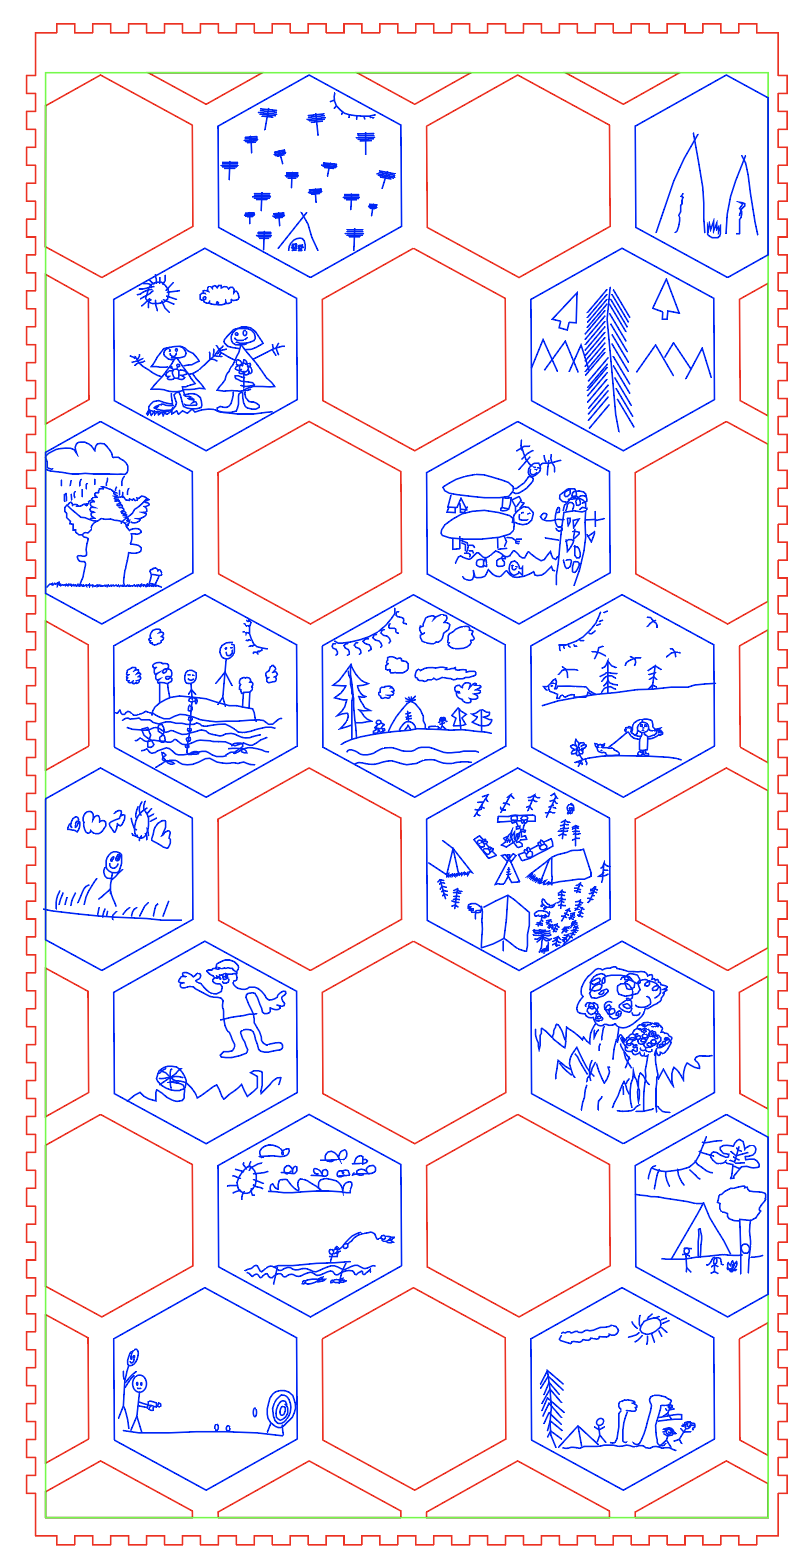
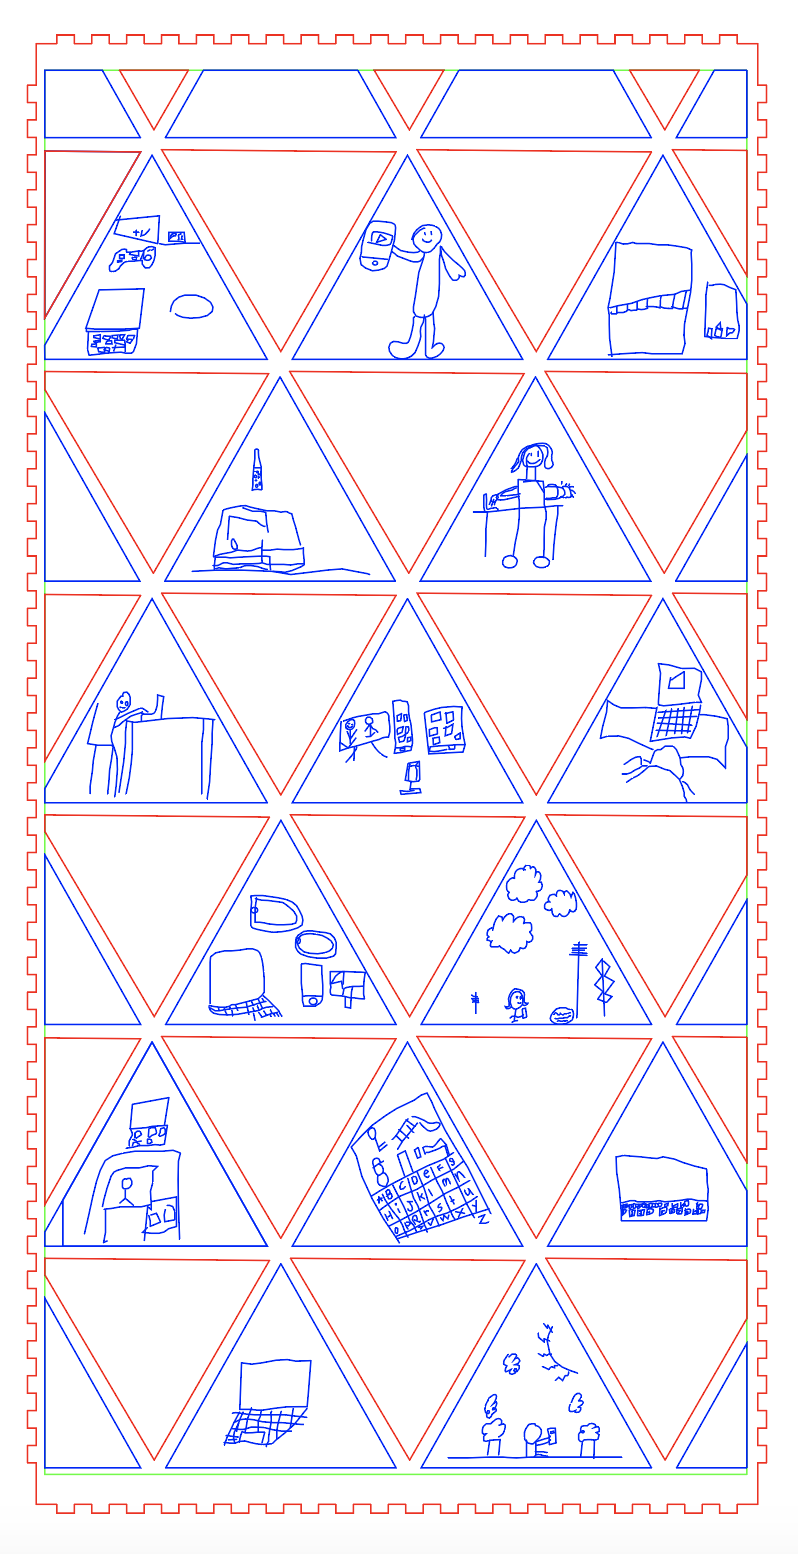
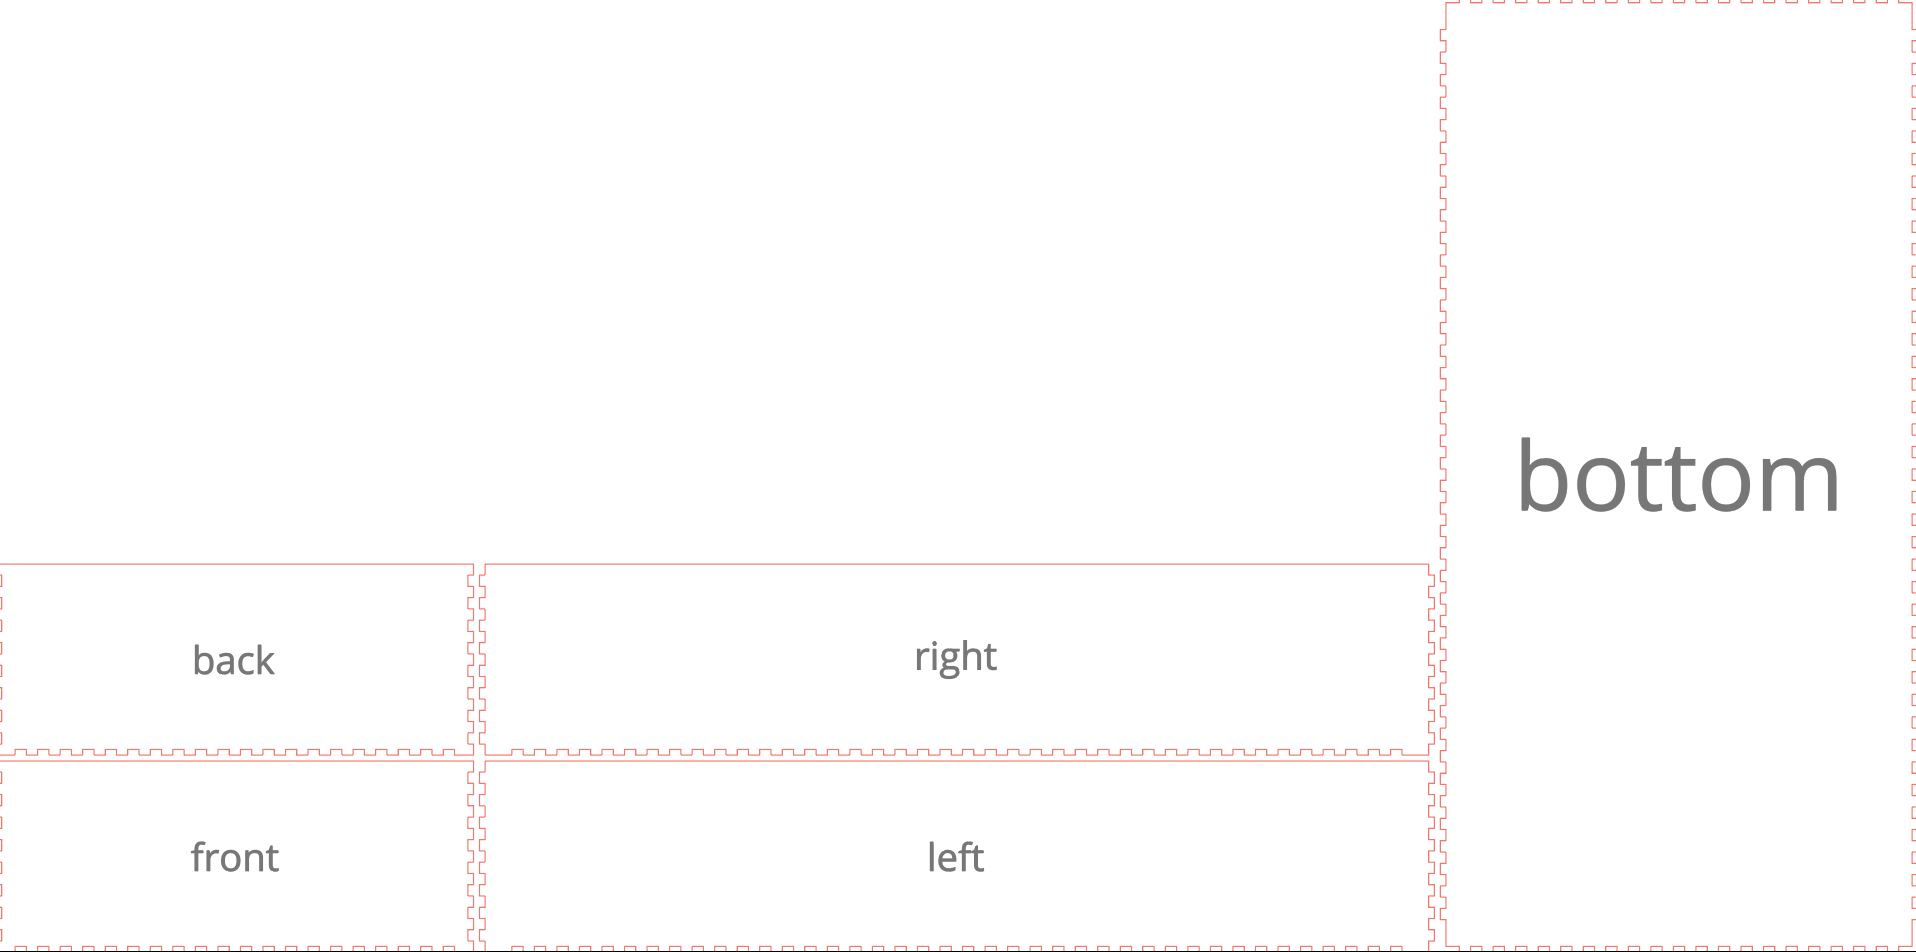
After digitally tracing each image, the images were “stitched” together to form the final layout for the lasercut light boxes.
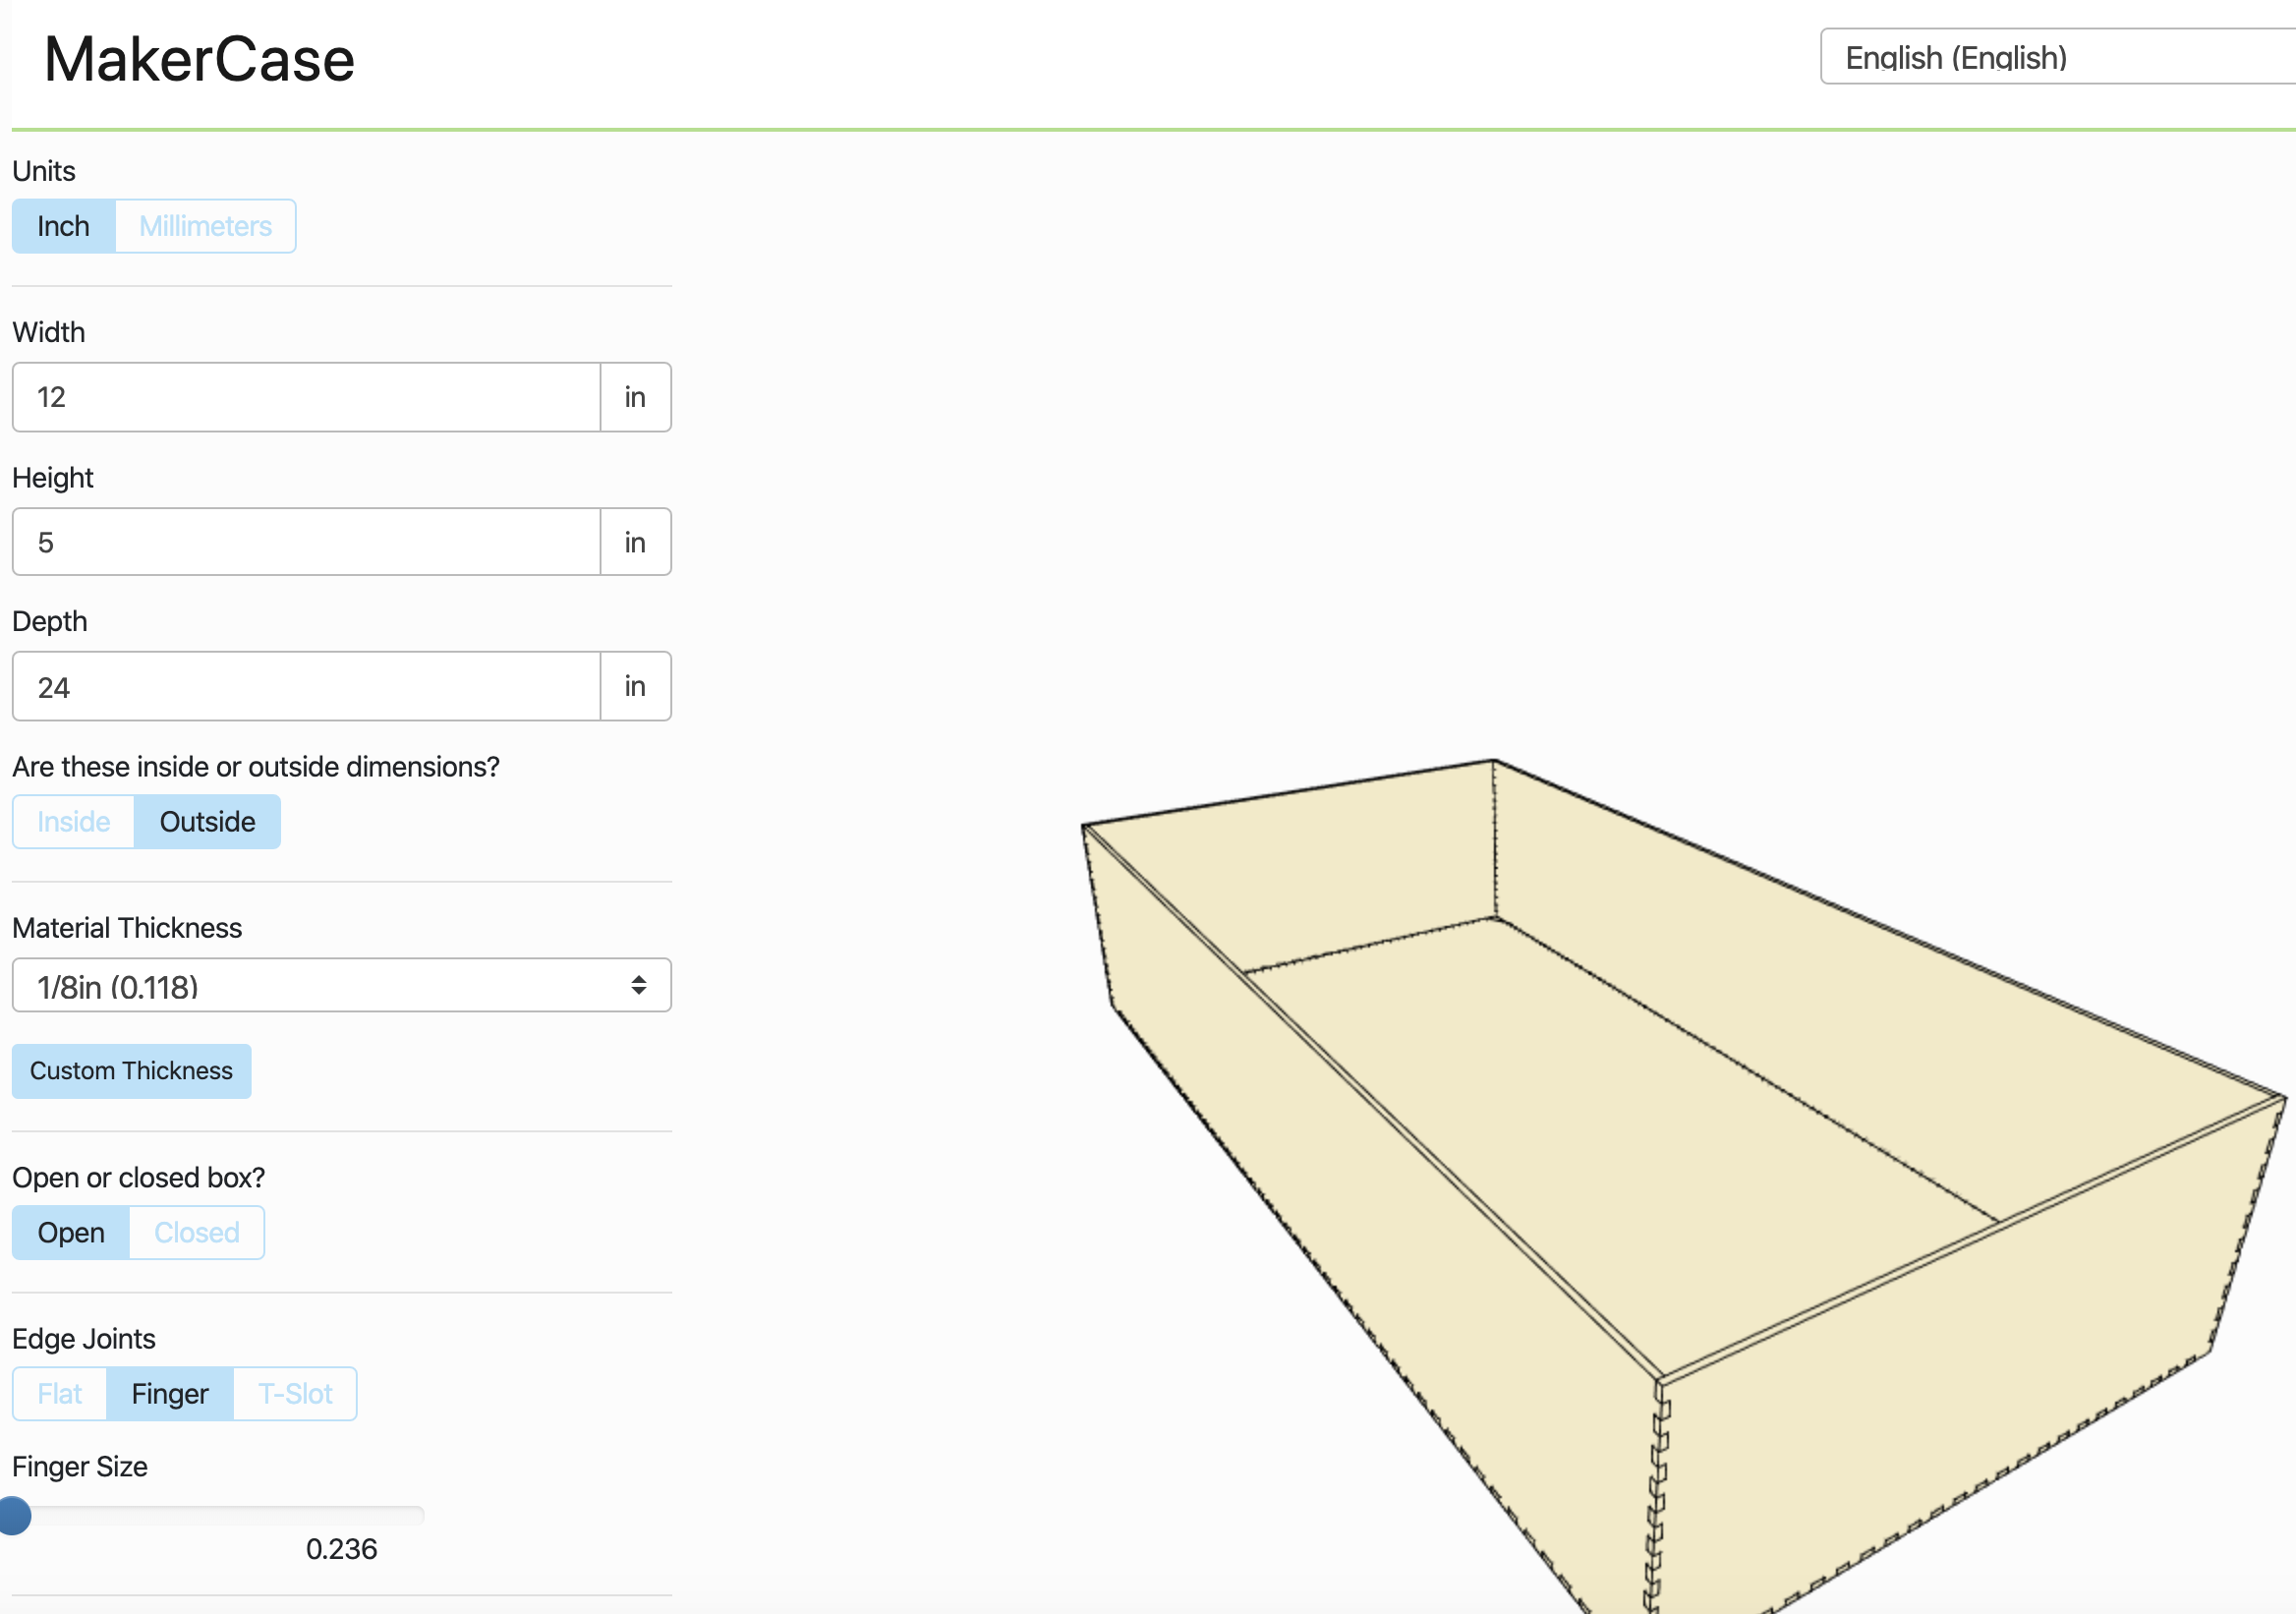
The design and measurements for the box dimensions were created using MakerCase, an online resource for easy lasercut cases. I made sure to leave a hole for the button as well as another hole for a power cord to run through in the bottom panel of the box.
programming and installing the leds
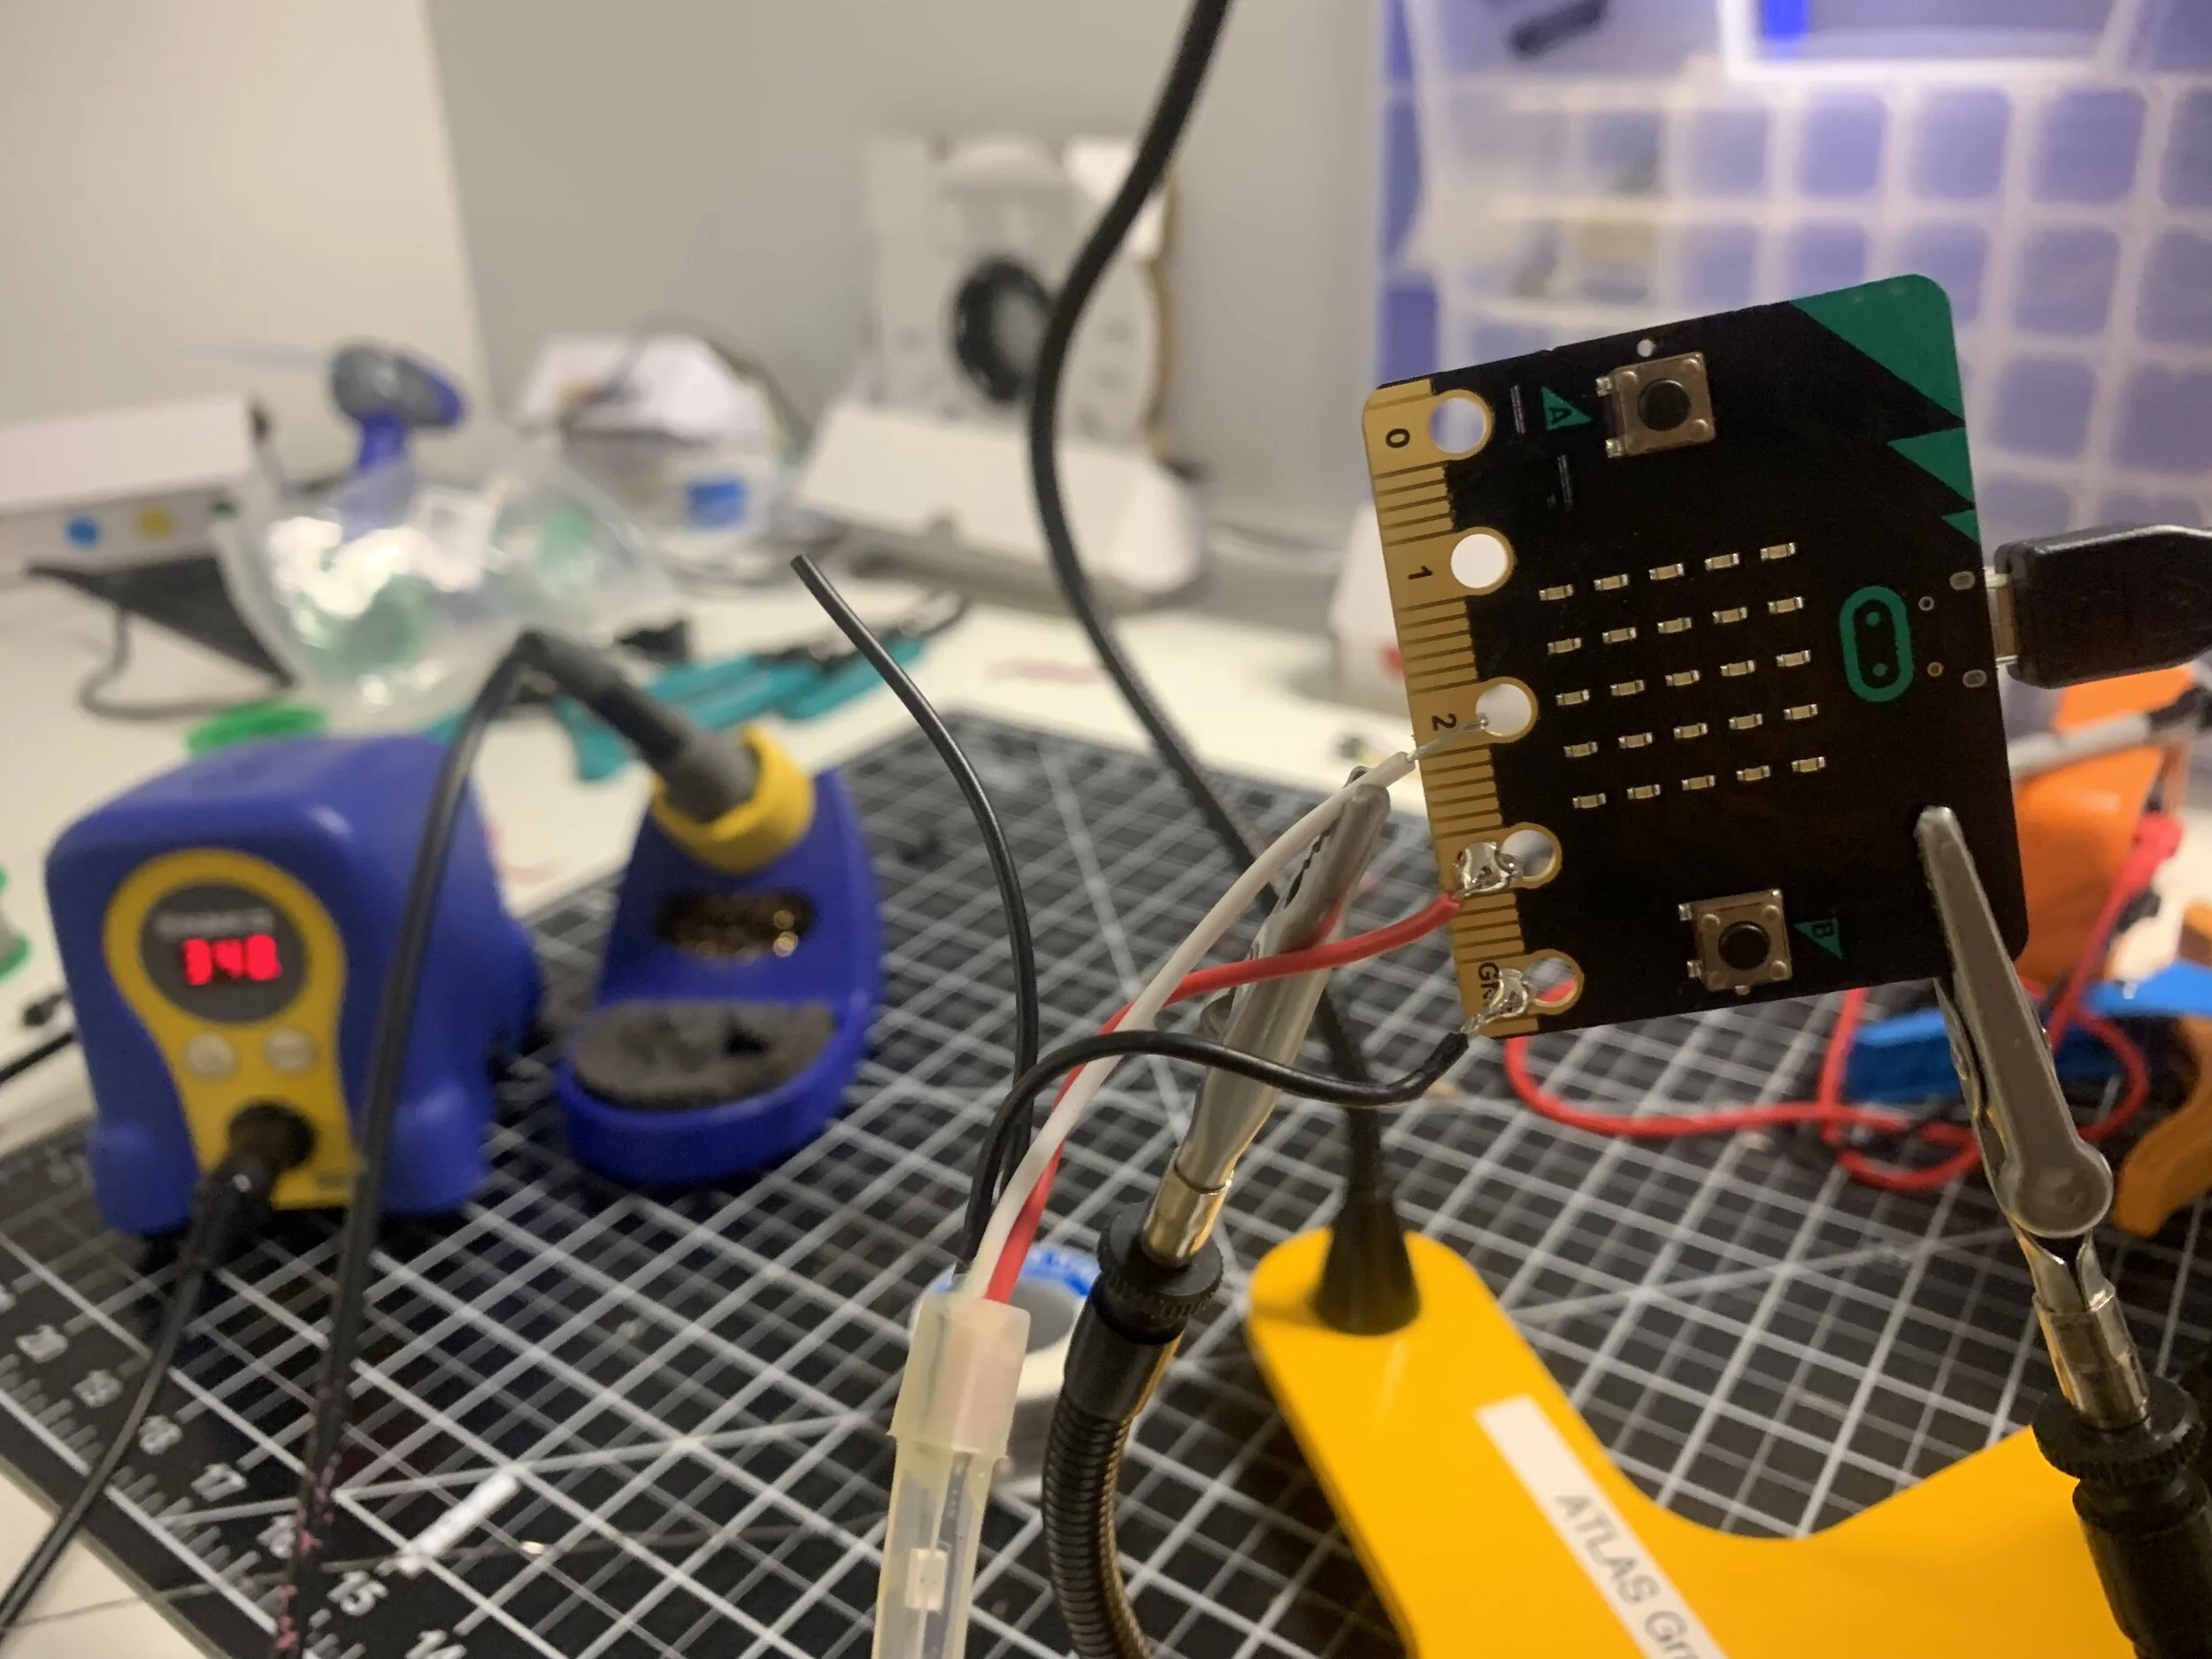
The LEDs were installed using a MicroBit, a strip of Neopixel LEDs, and an Adafruit Breakout Button.
I soldered the Neopixel strip and the button to the MicroBit using a soldering iron and wire. After checking that my wiring was all correct, I hot-glued over the soldered connections to protect the wiring.
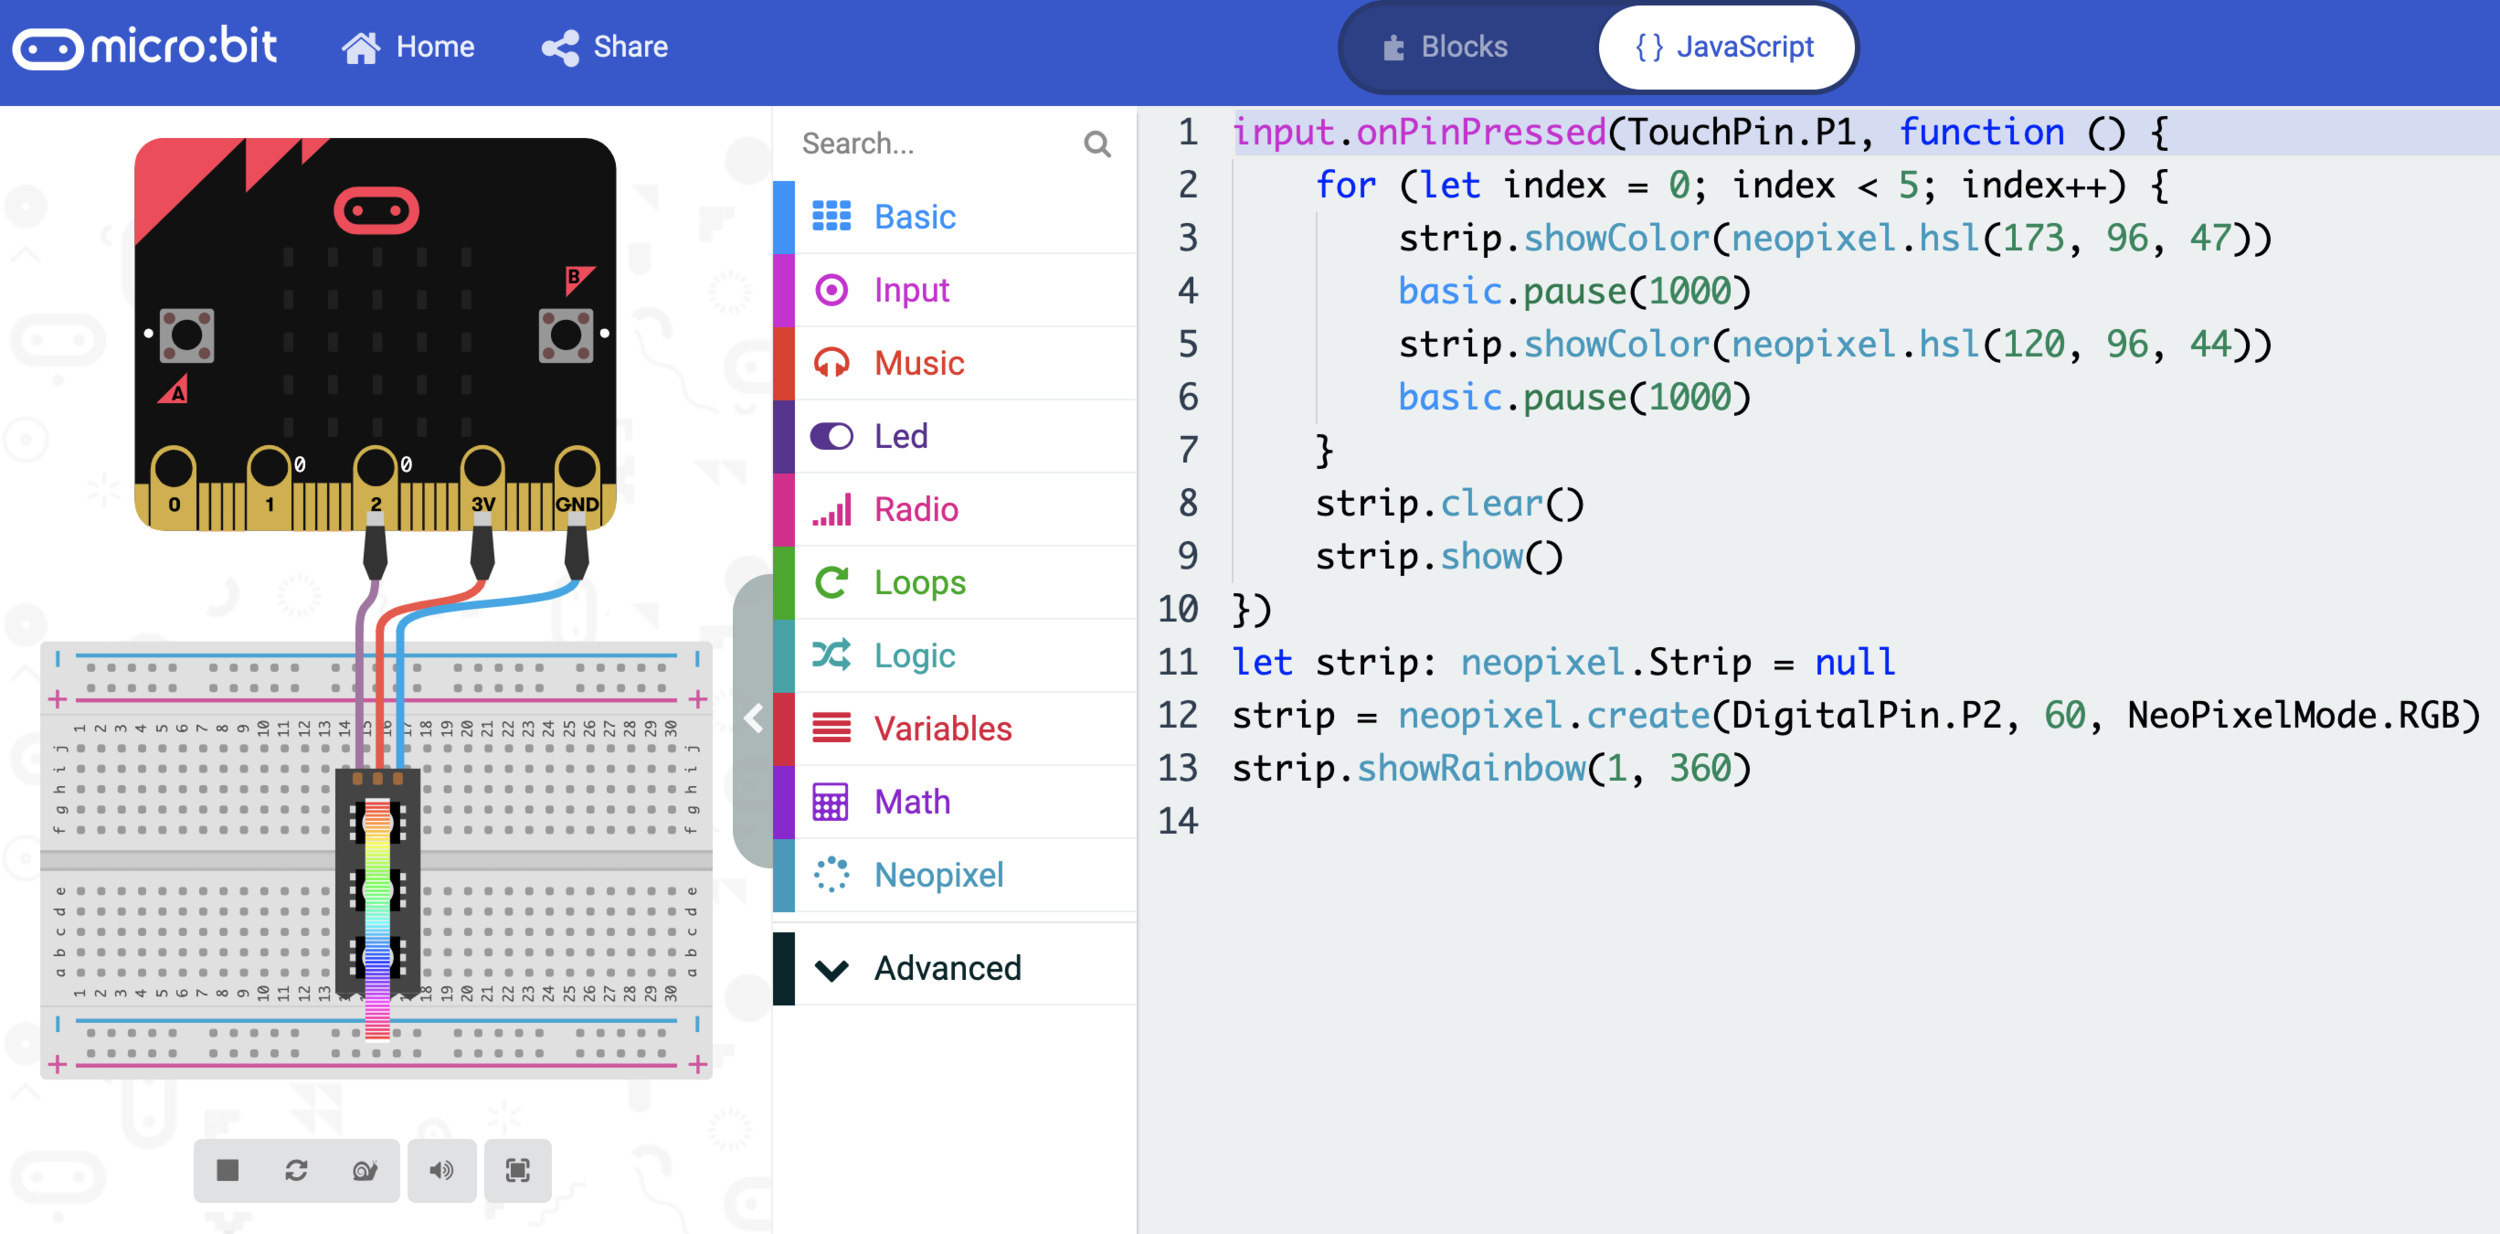
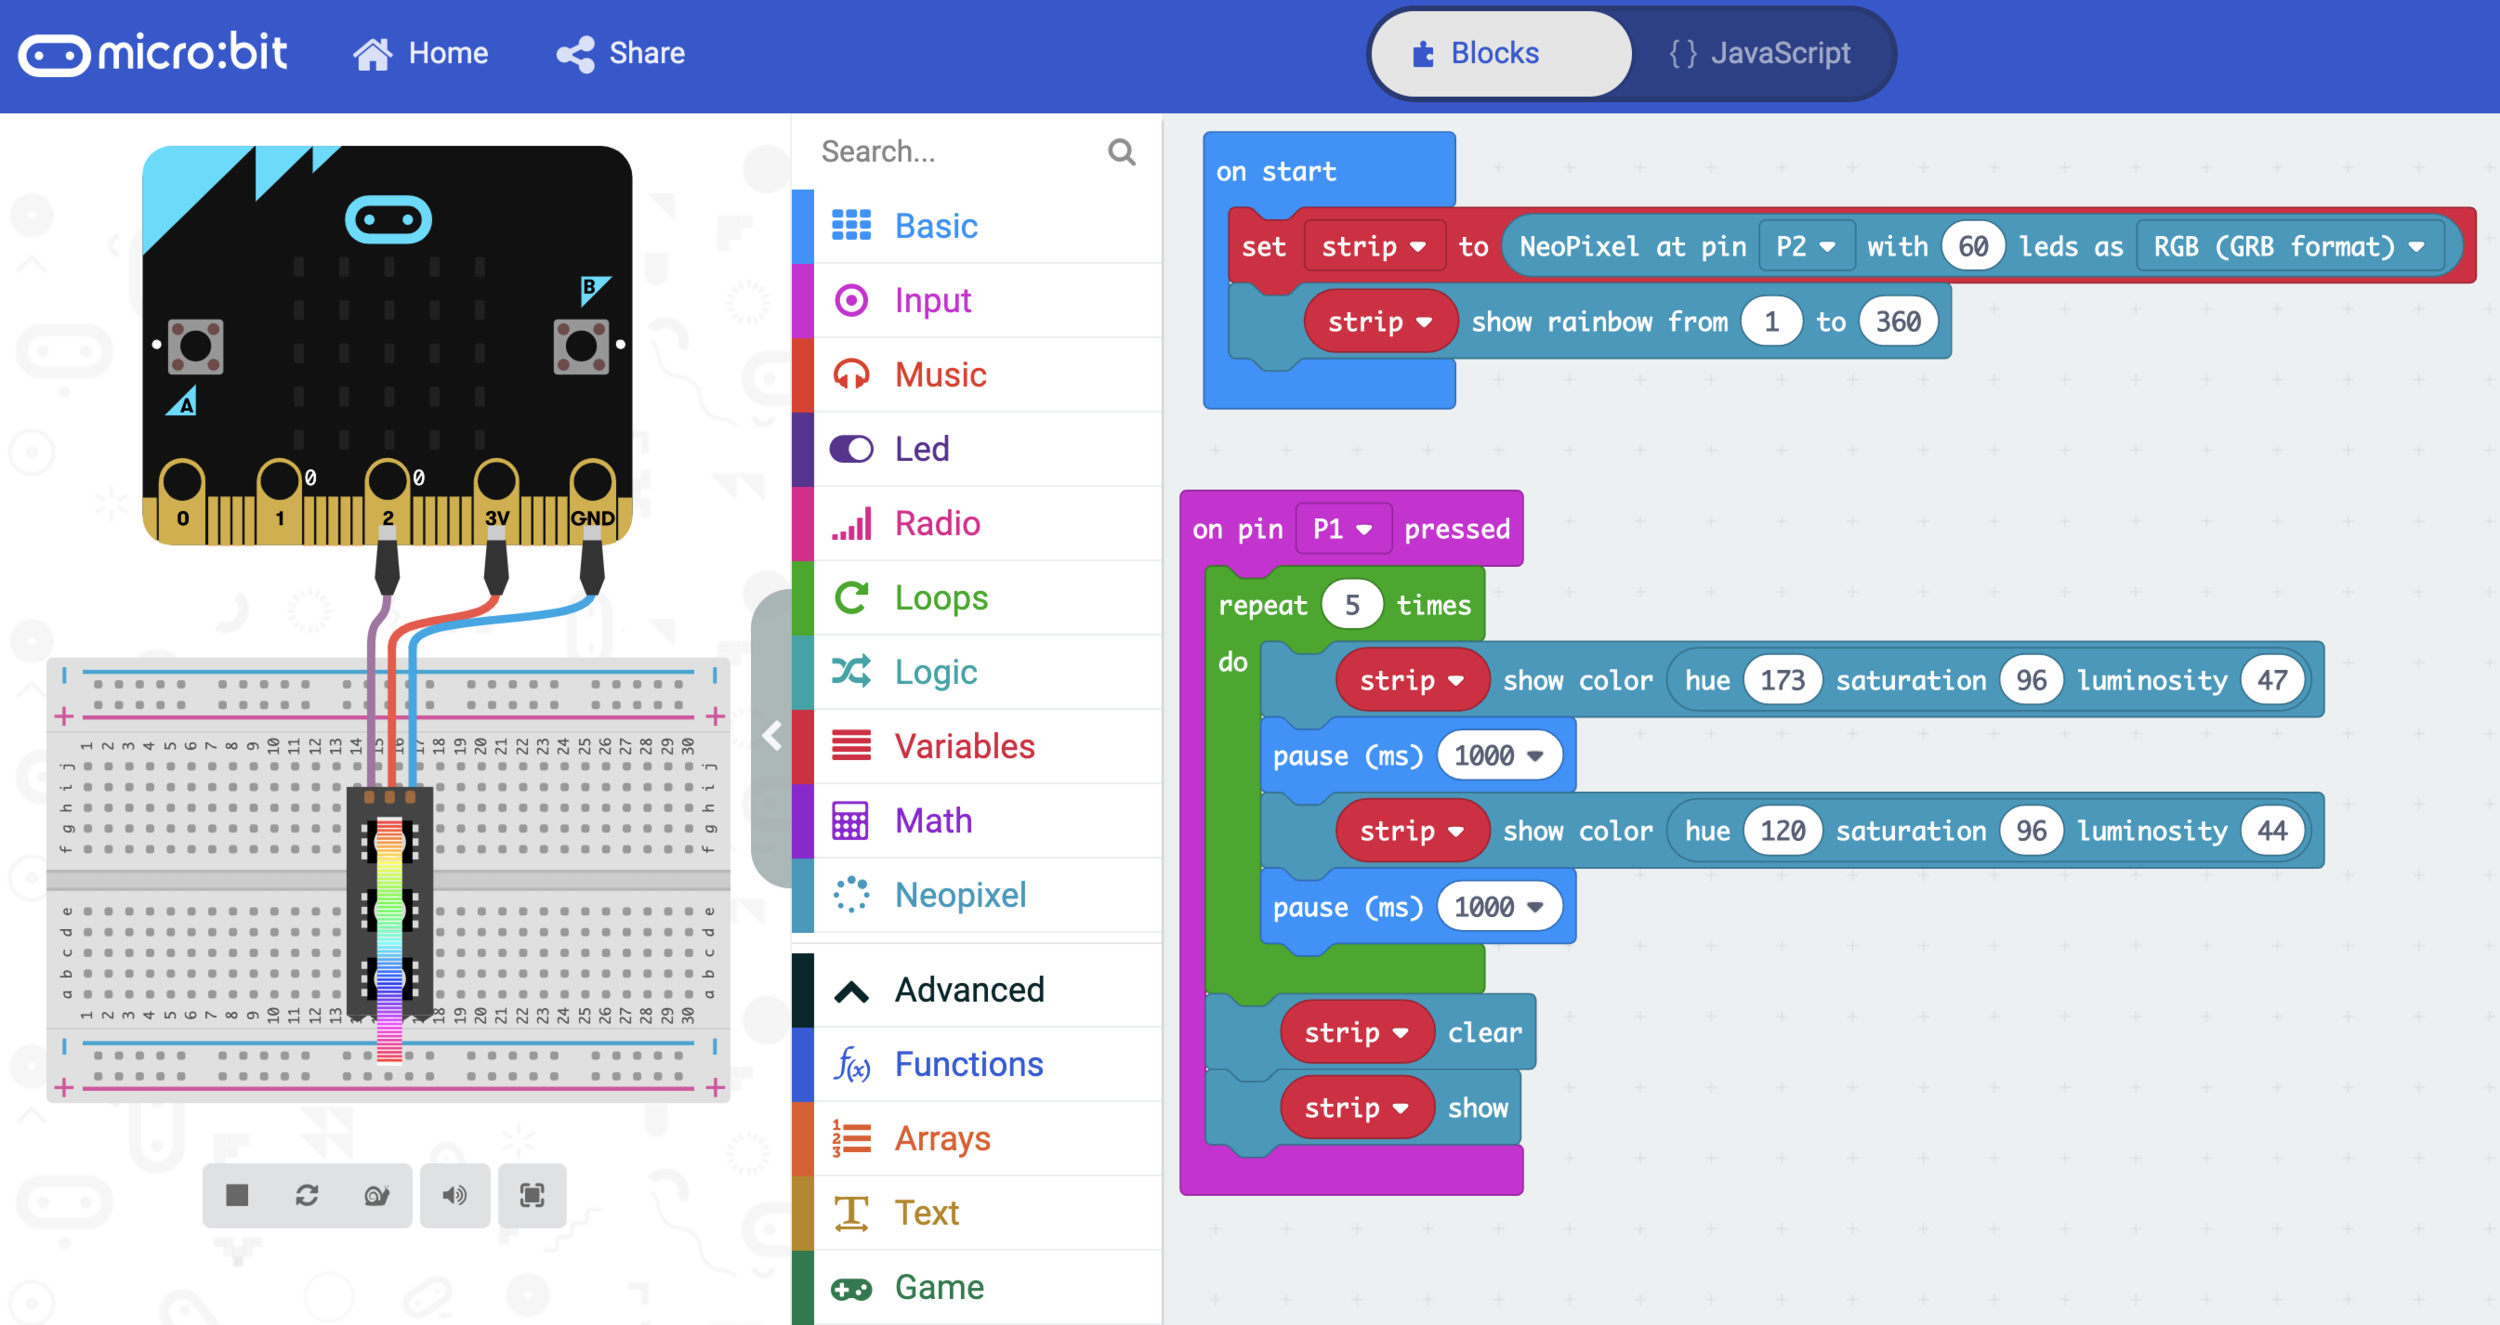
I then programmed the Neopixel LEDs using MakeCode, a great online resource for easy microcontroller coding.
Lasercutting and assembling
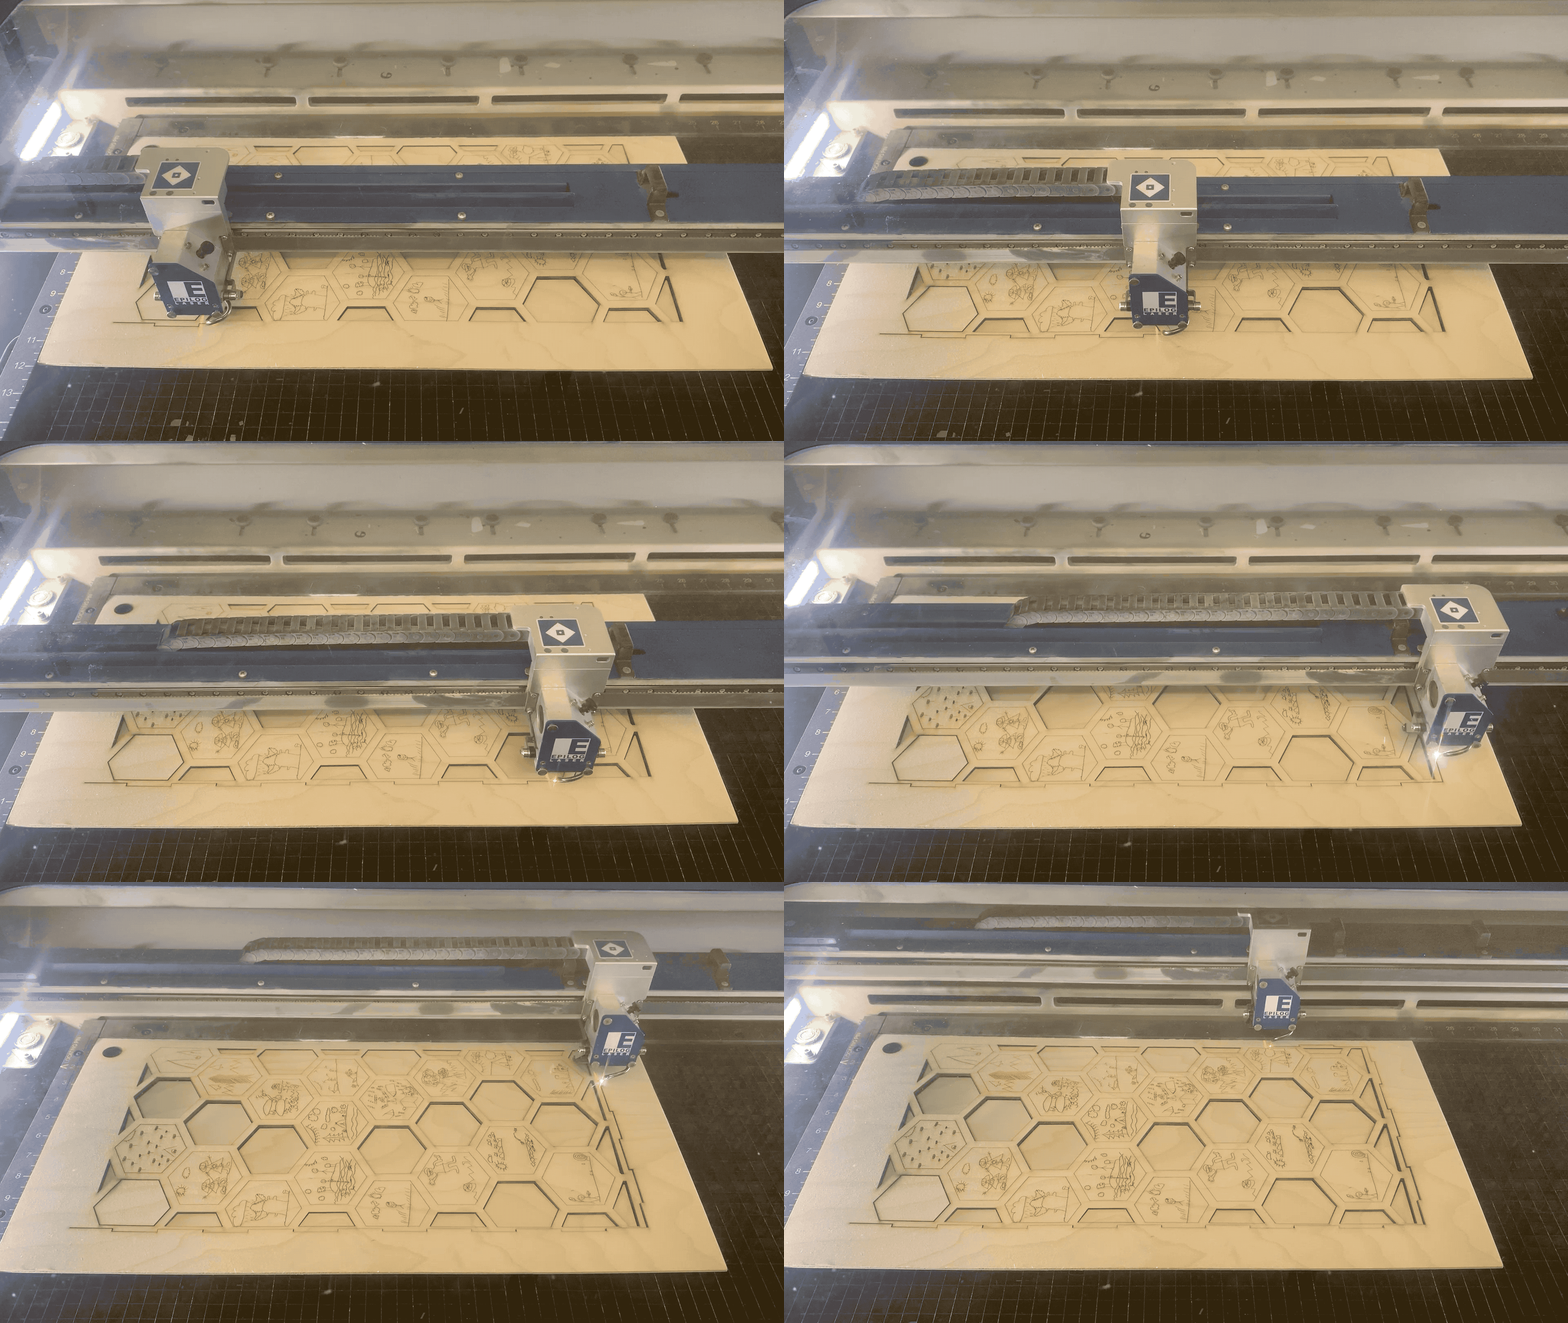
The next step was to lasercut the wooden and acrylic boxes, and fit all the pieces together. The wood was easy to lasercut. Because mirrors will bounce back the laserbeam, however, the mirrored acrylic had to be lasercut upside down. Therefore, I simply flipped my vector sketch before lasercutting the pieces.
I then fit the pieces of the boxes together, attached the buttons and LEDs, and finalized the project for installation. The two boxes will be installed at Pagosa Springs Elementary School in January 2020.
