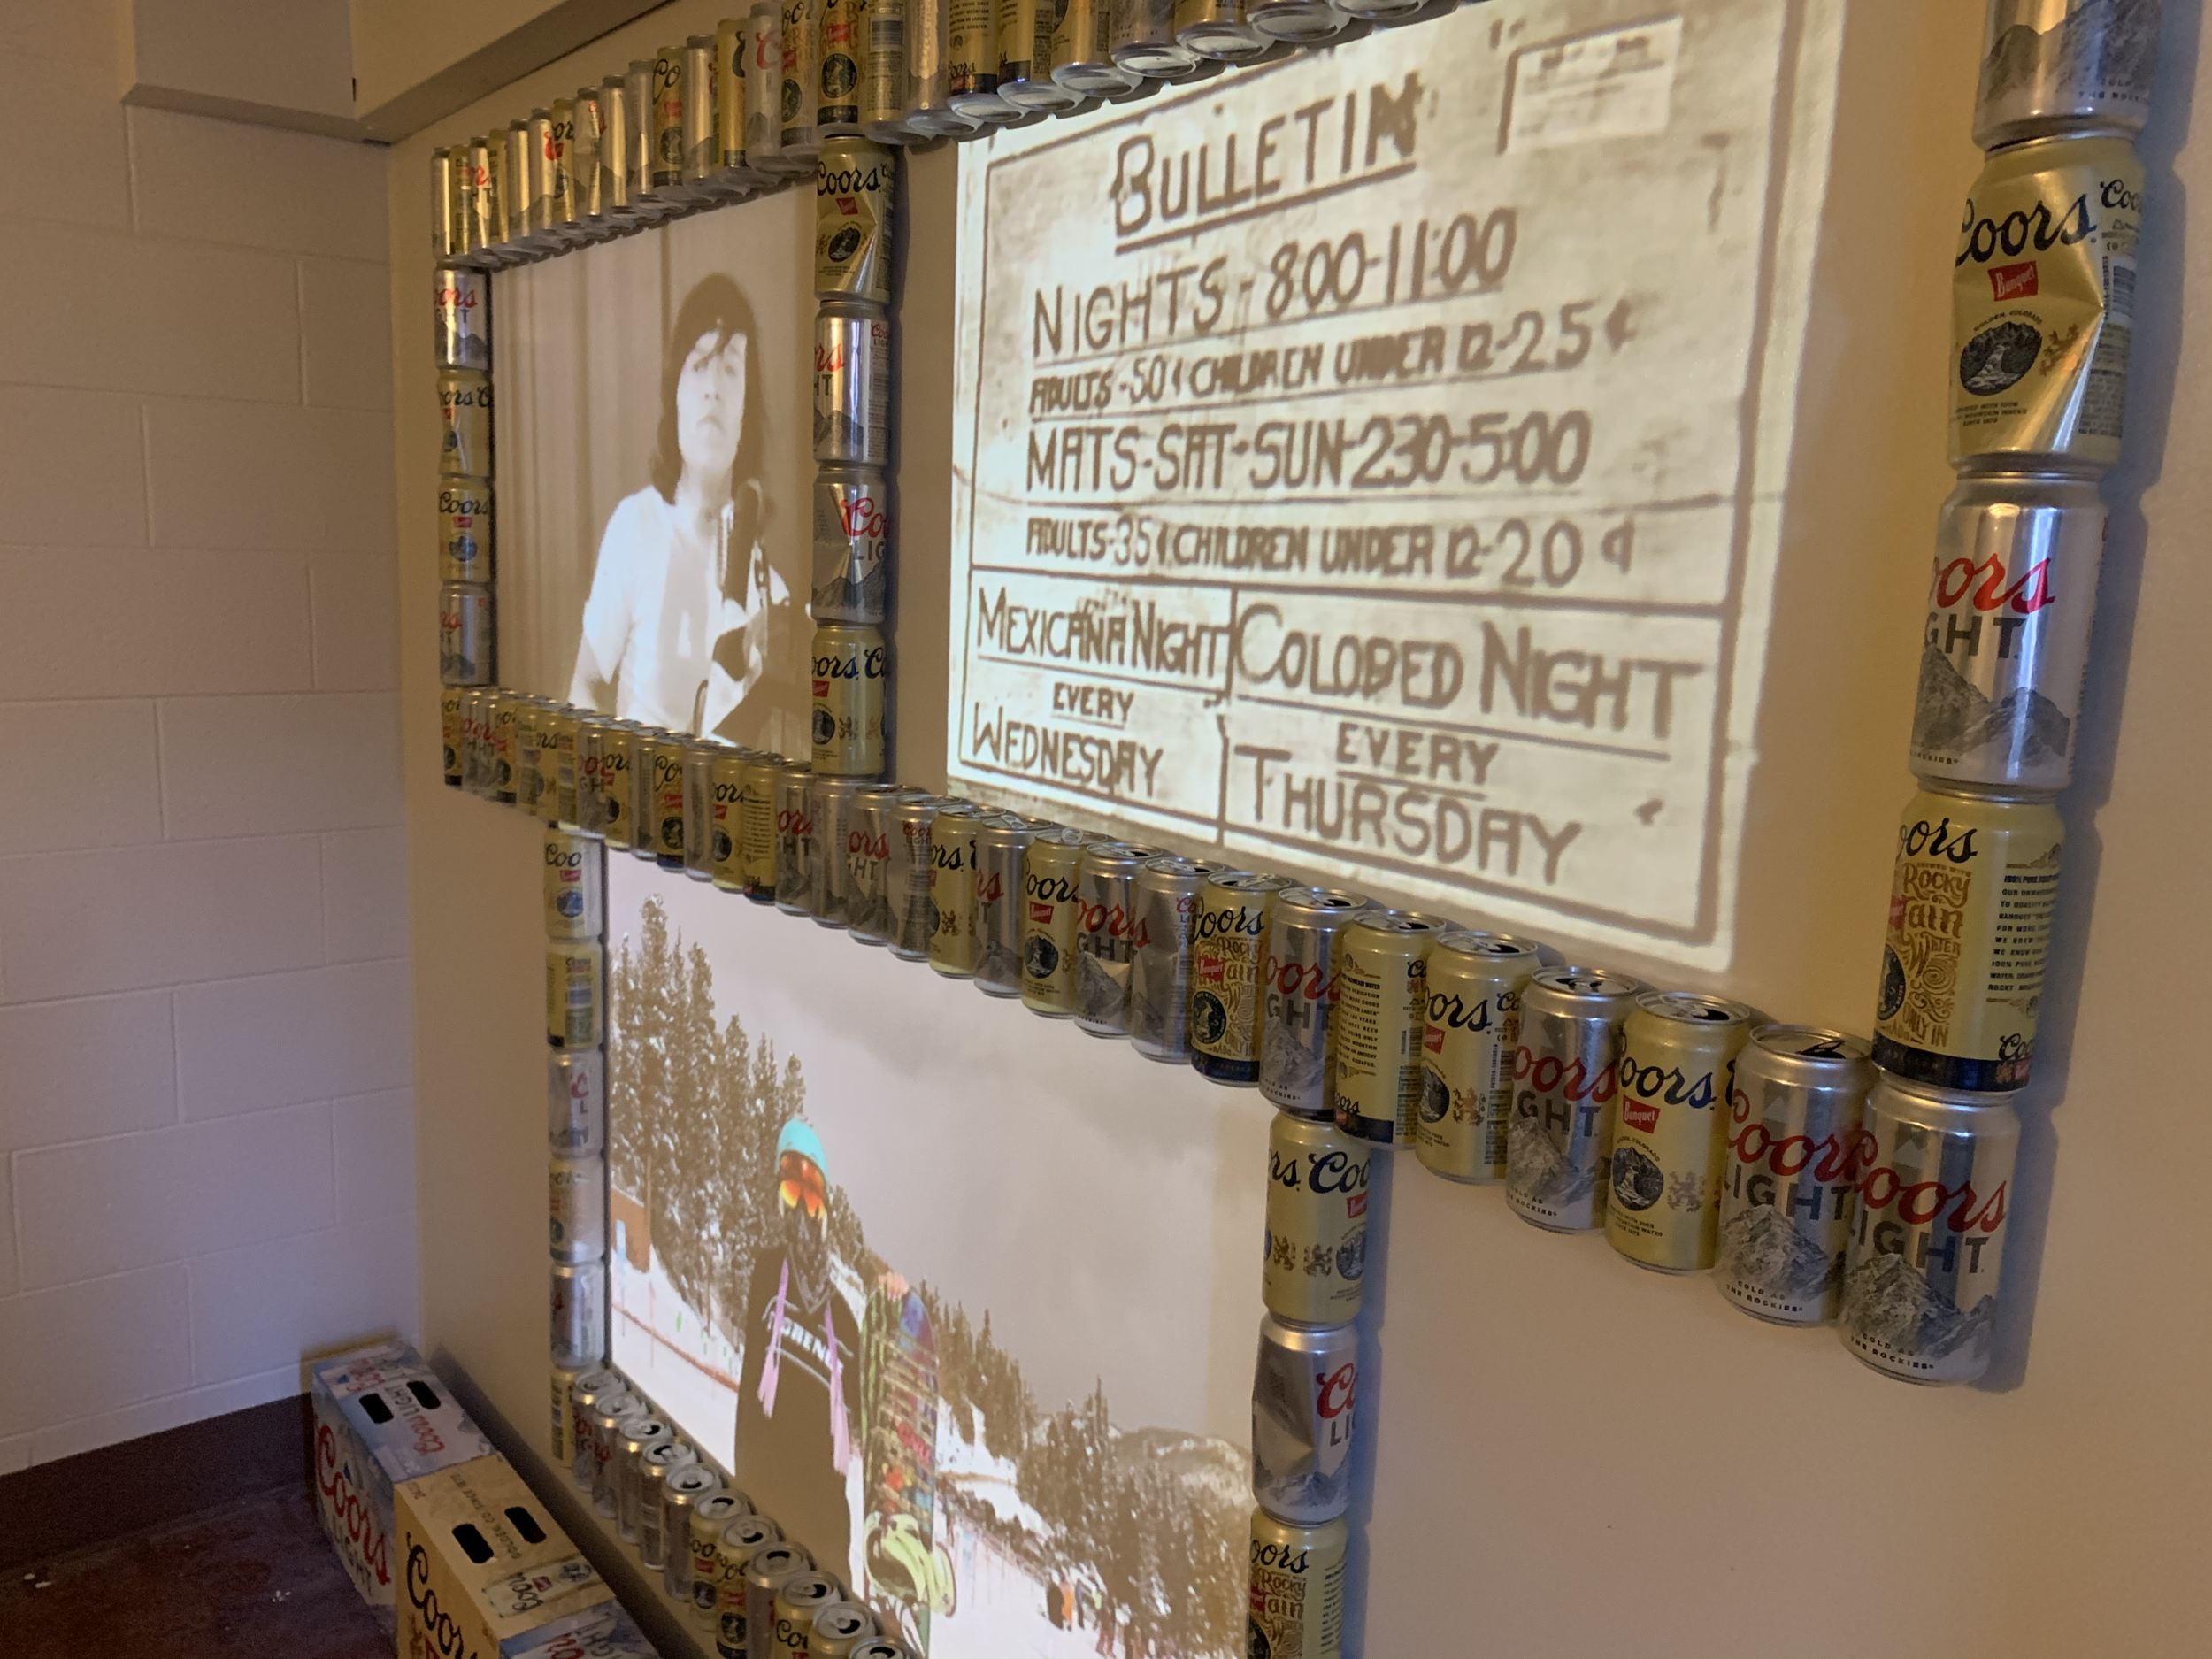
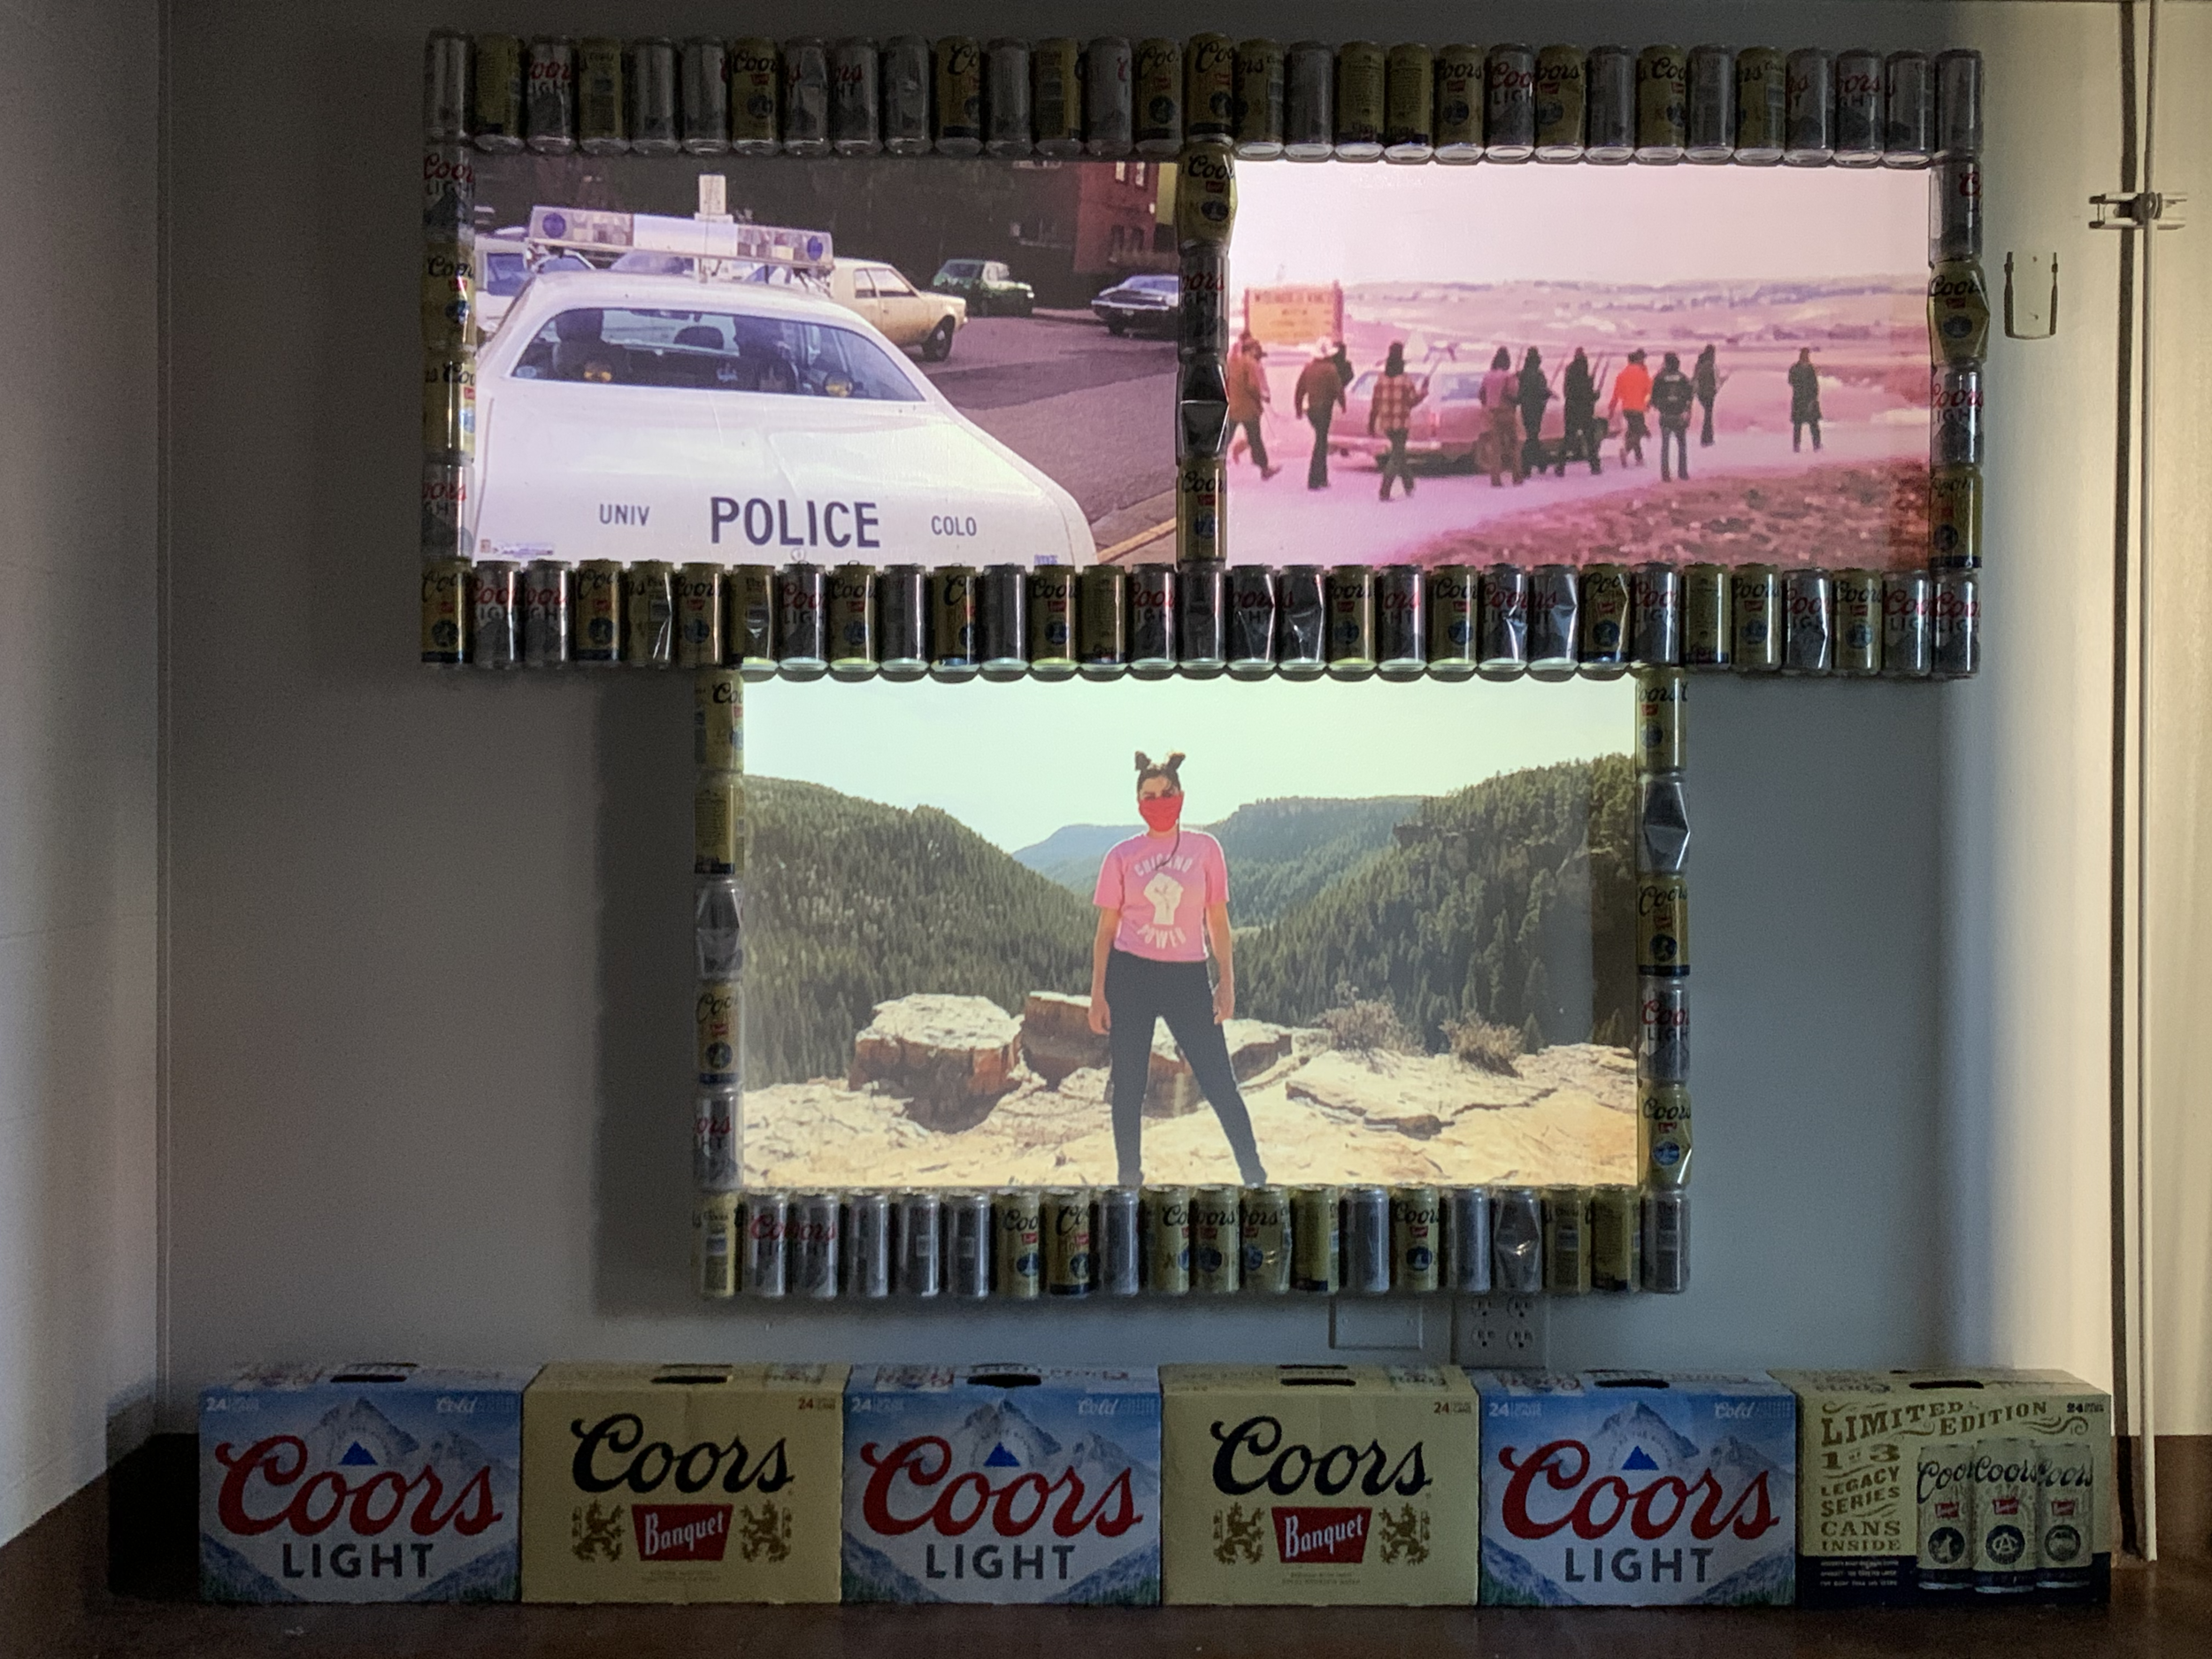
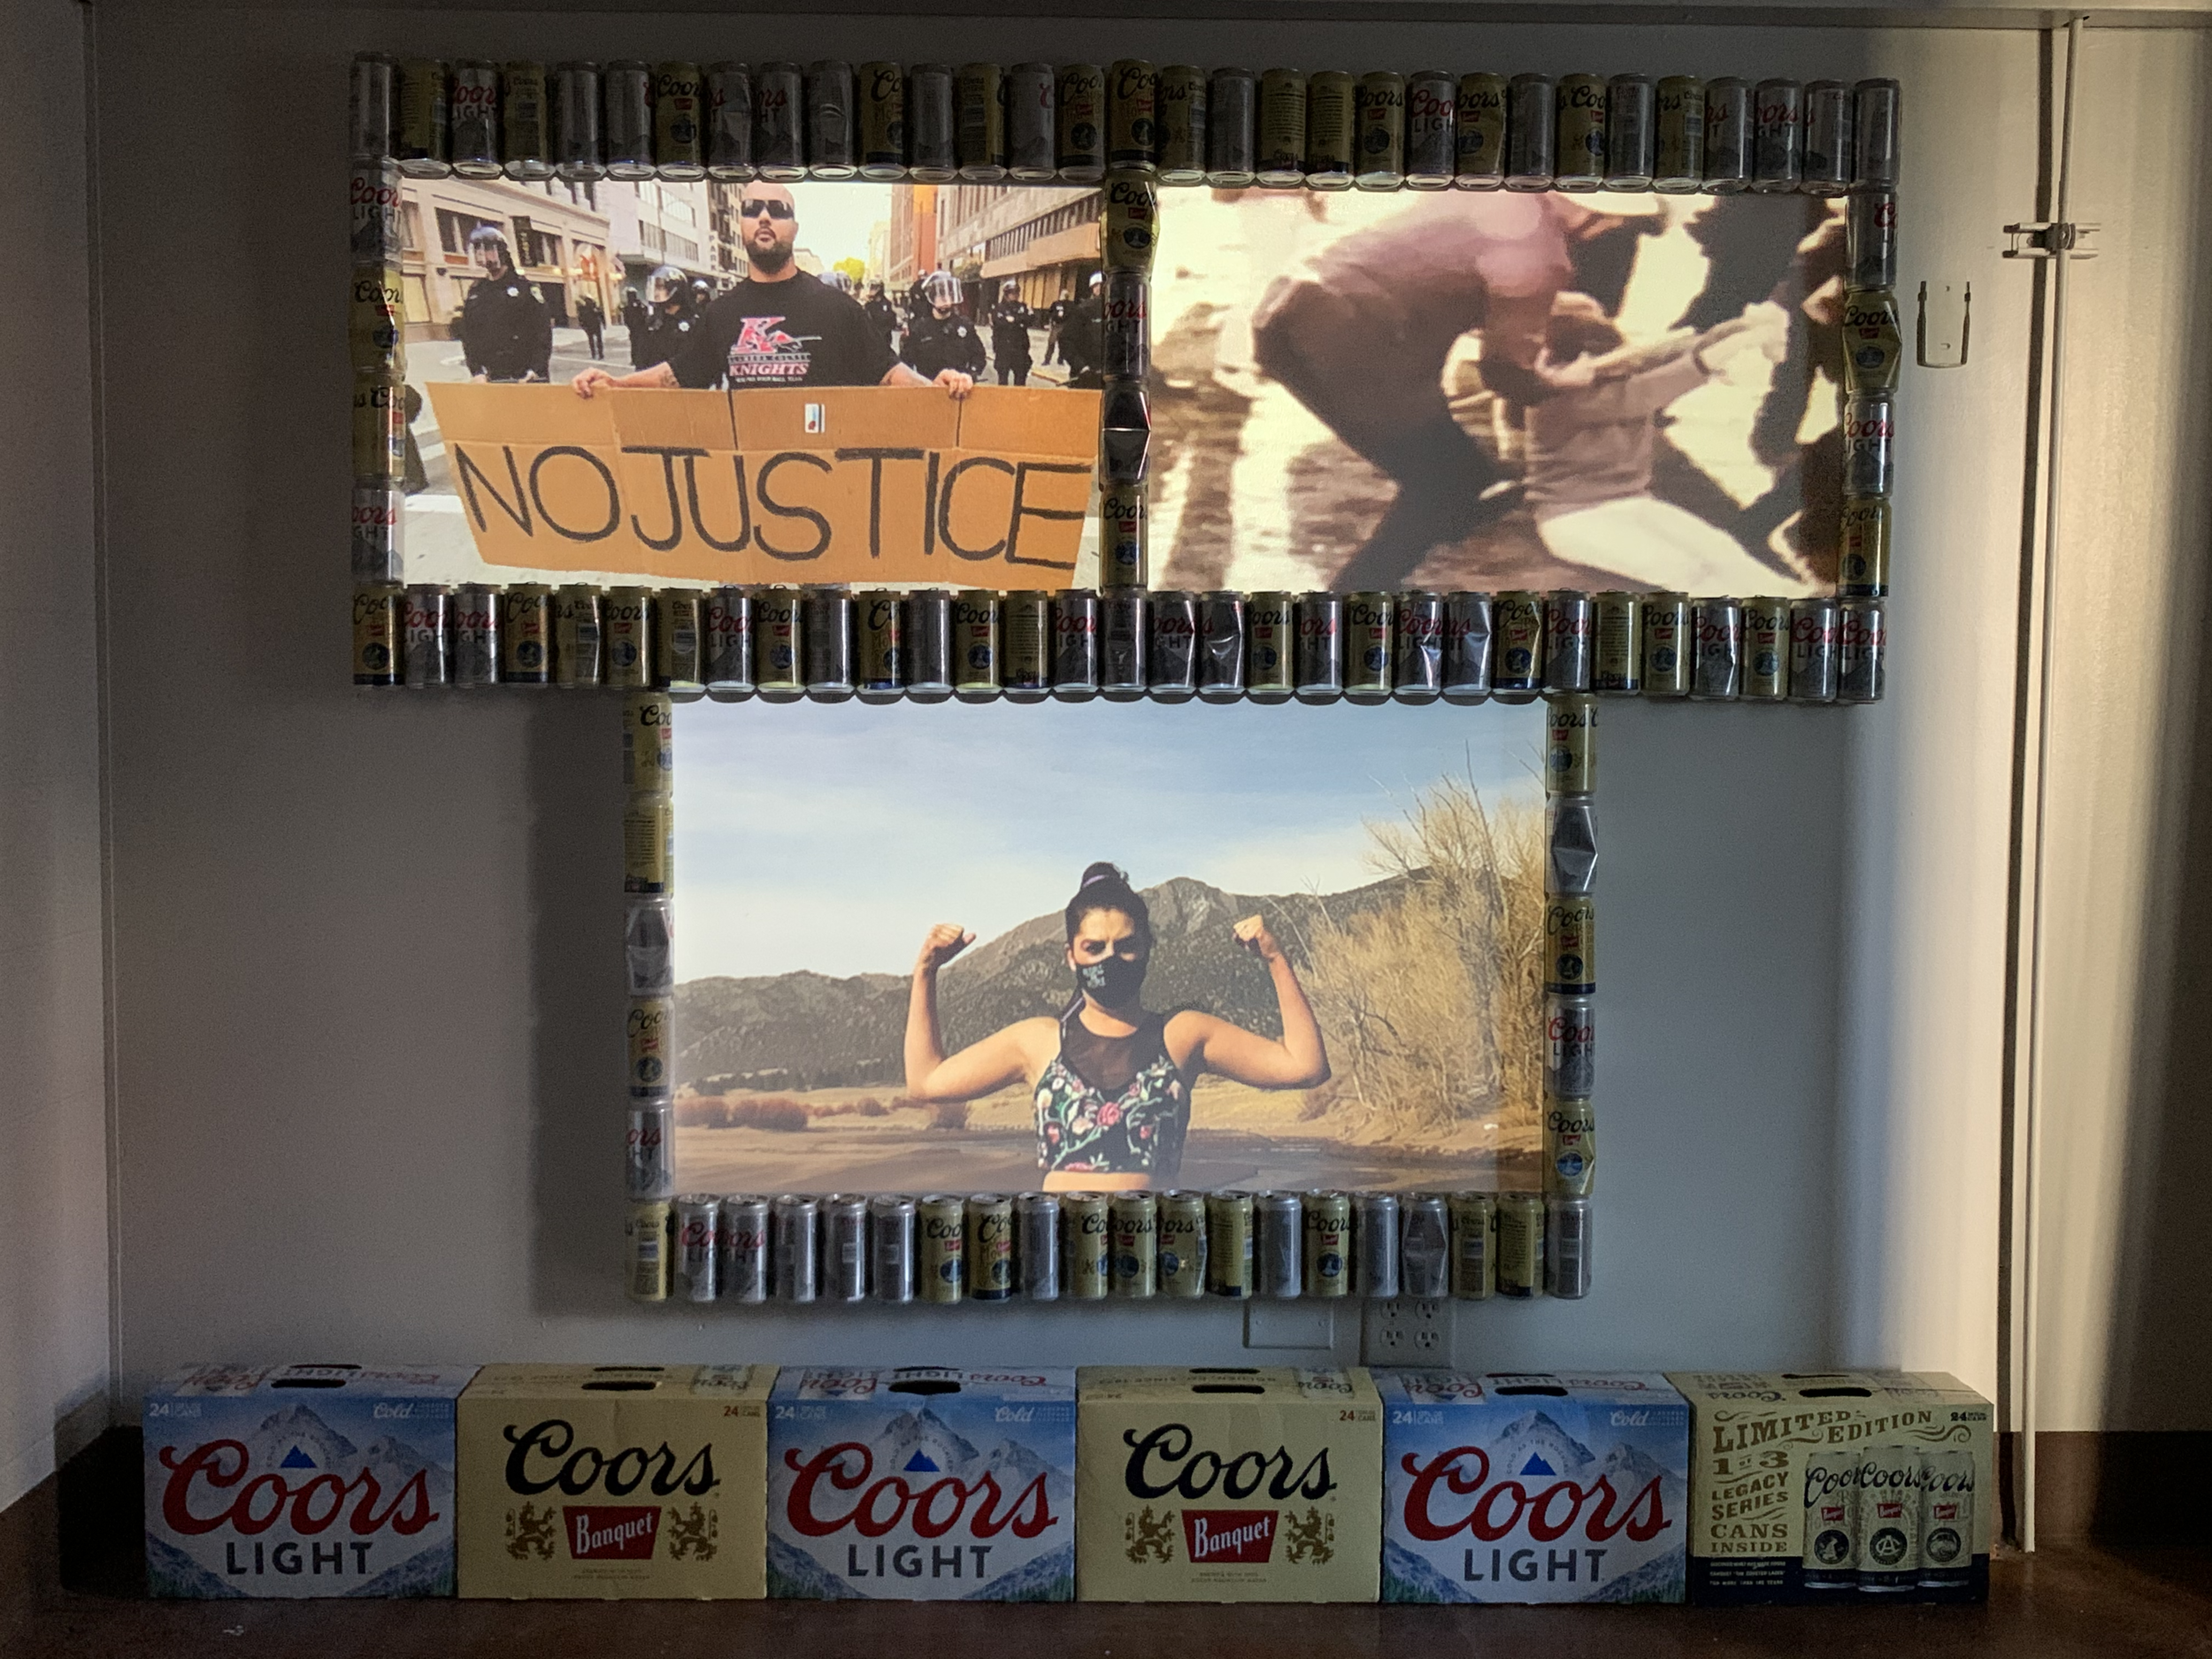
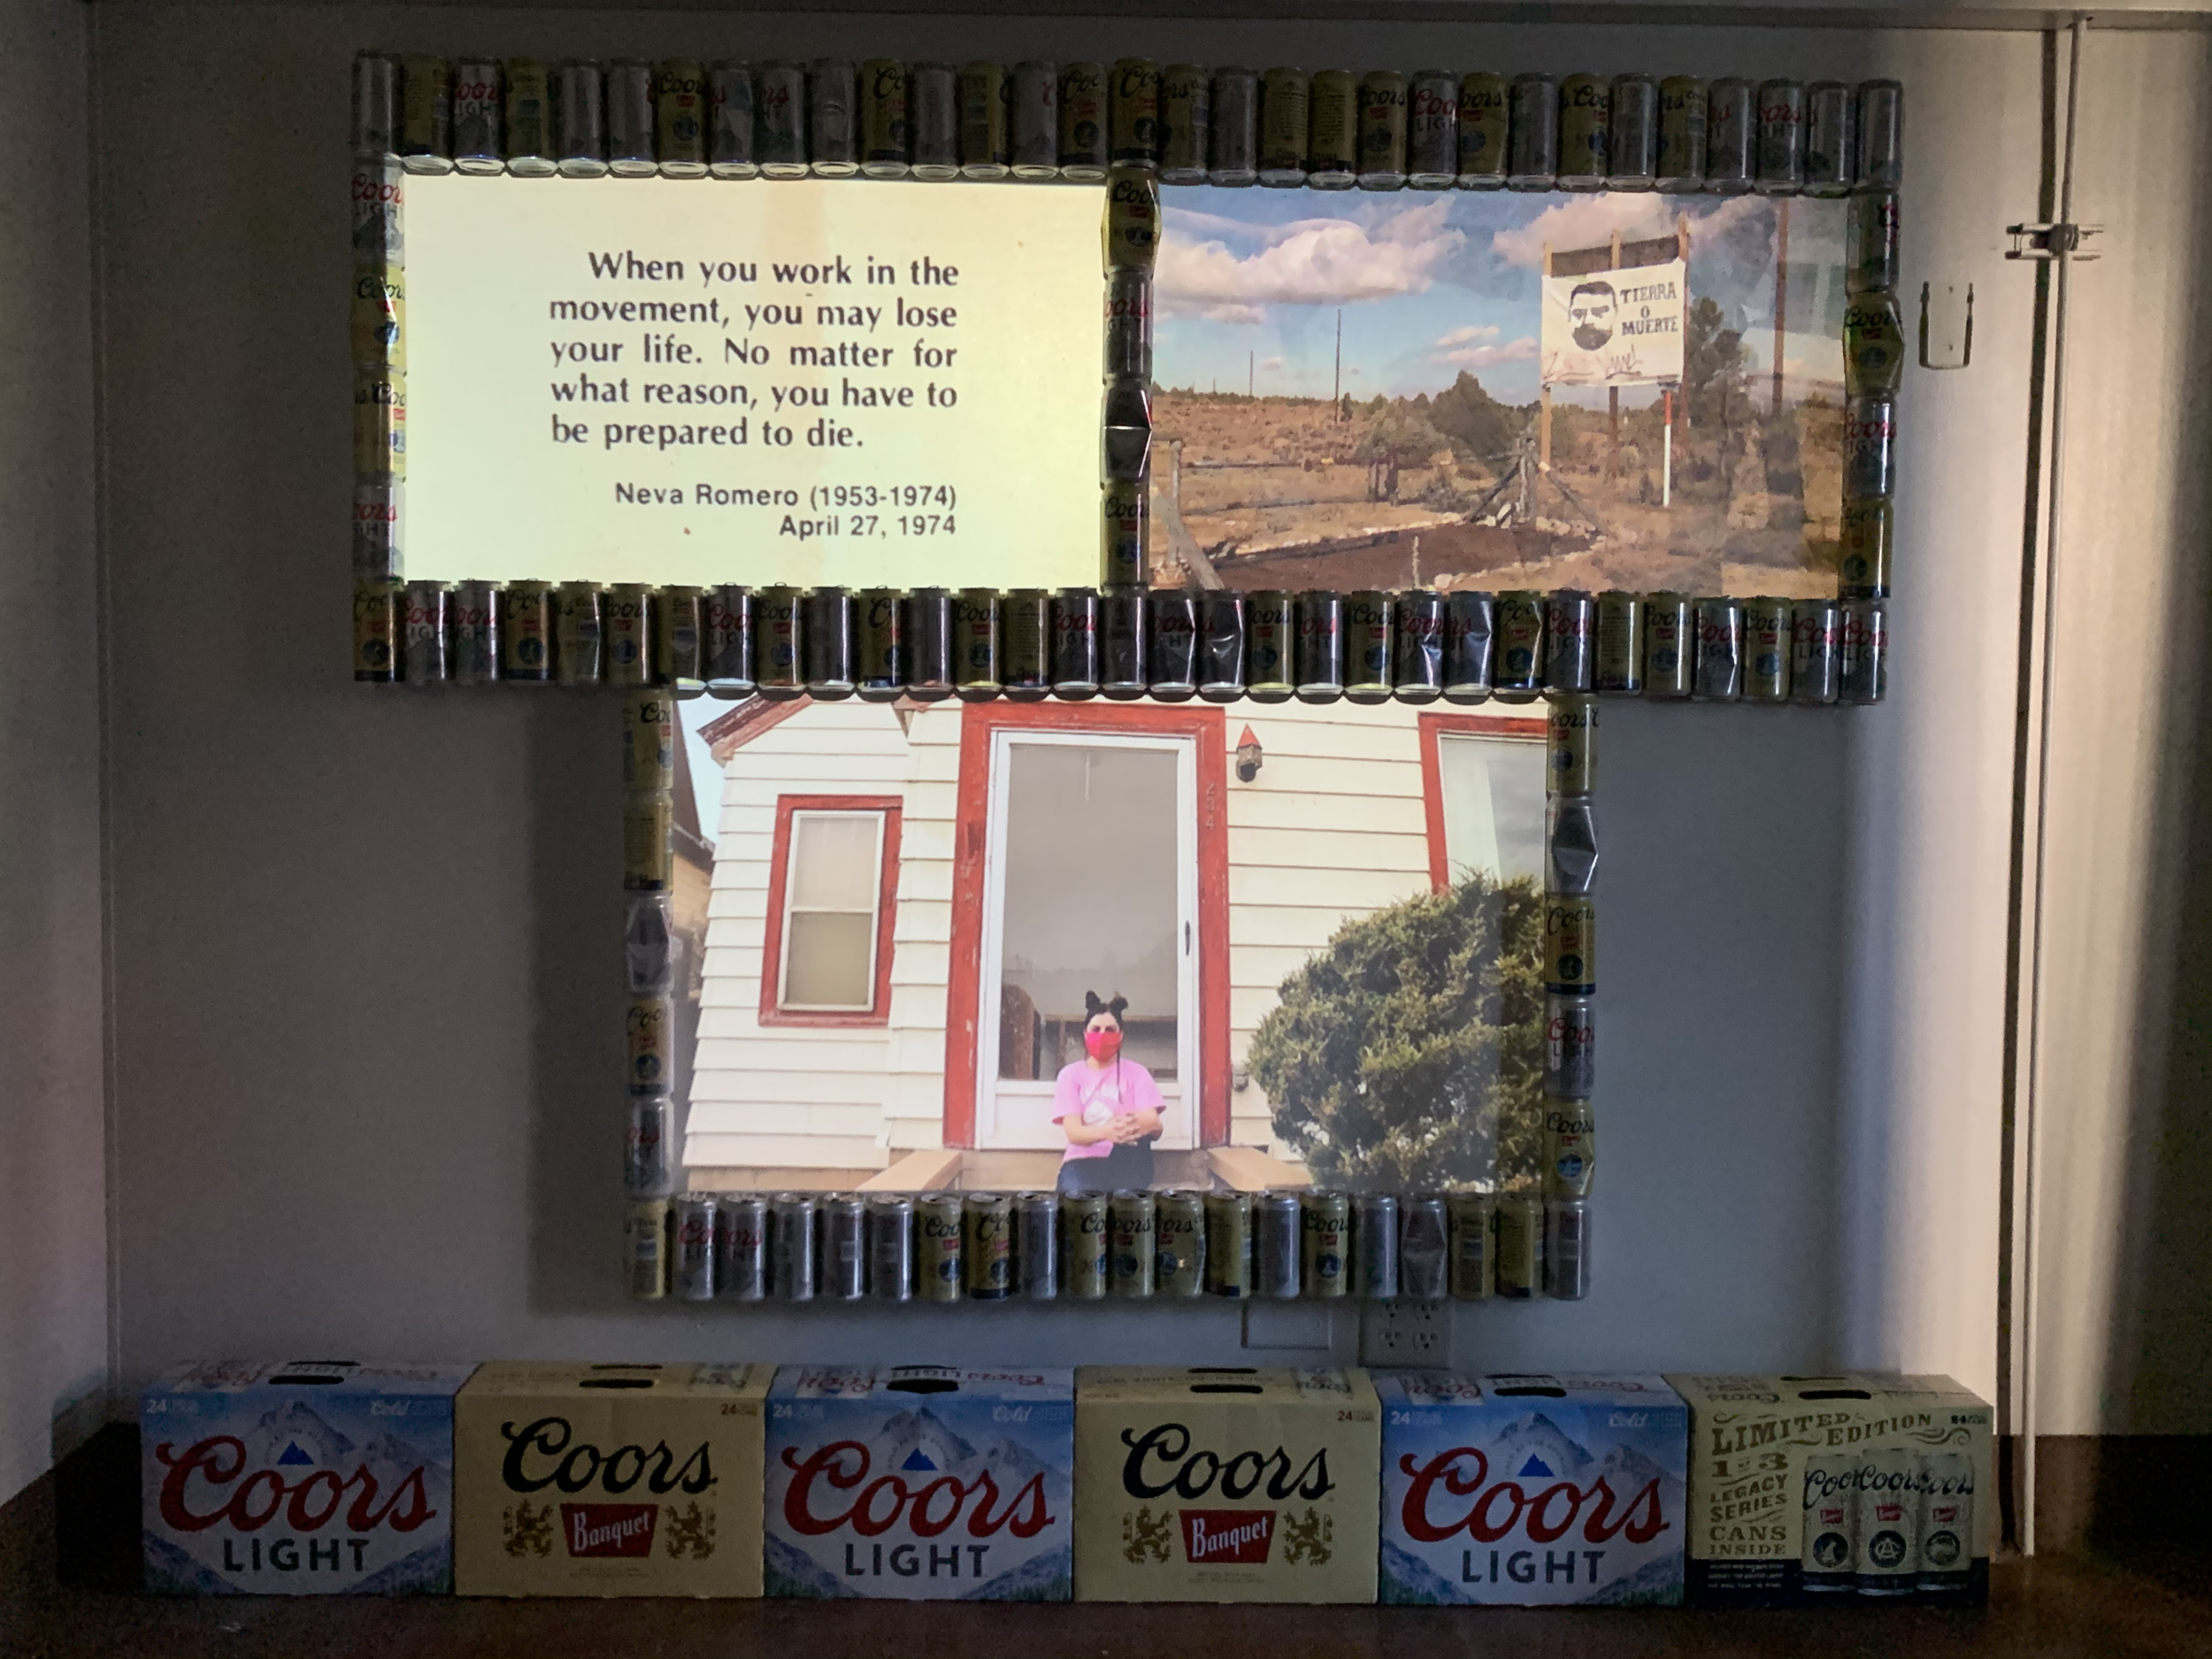
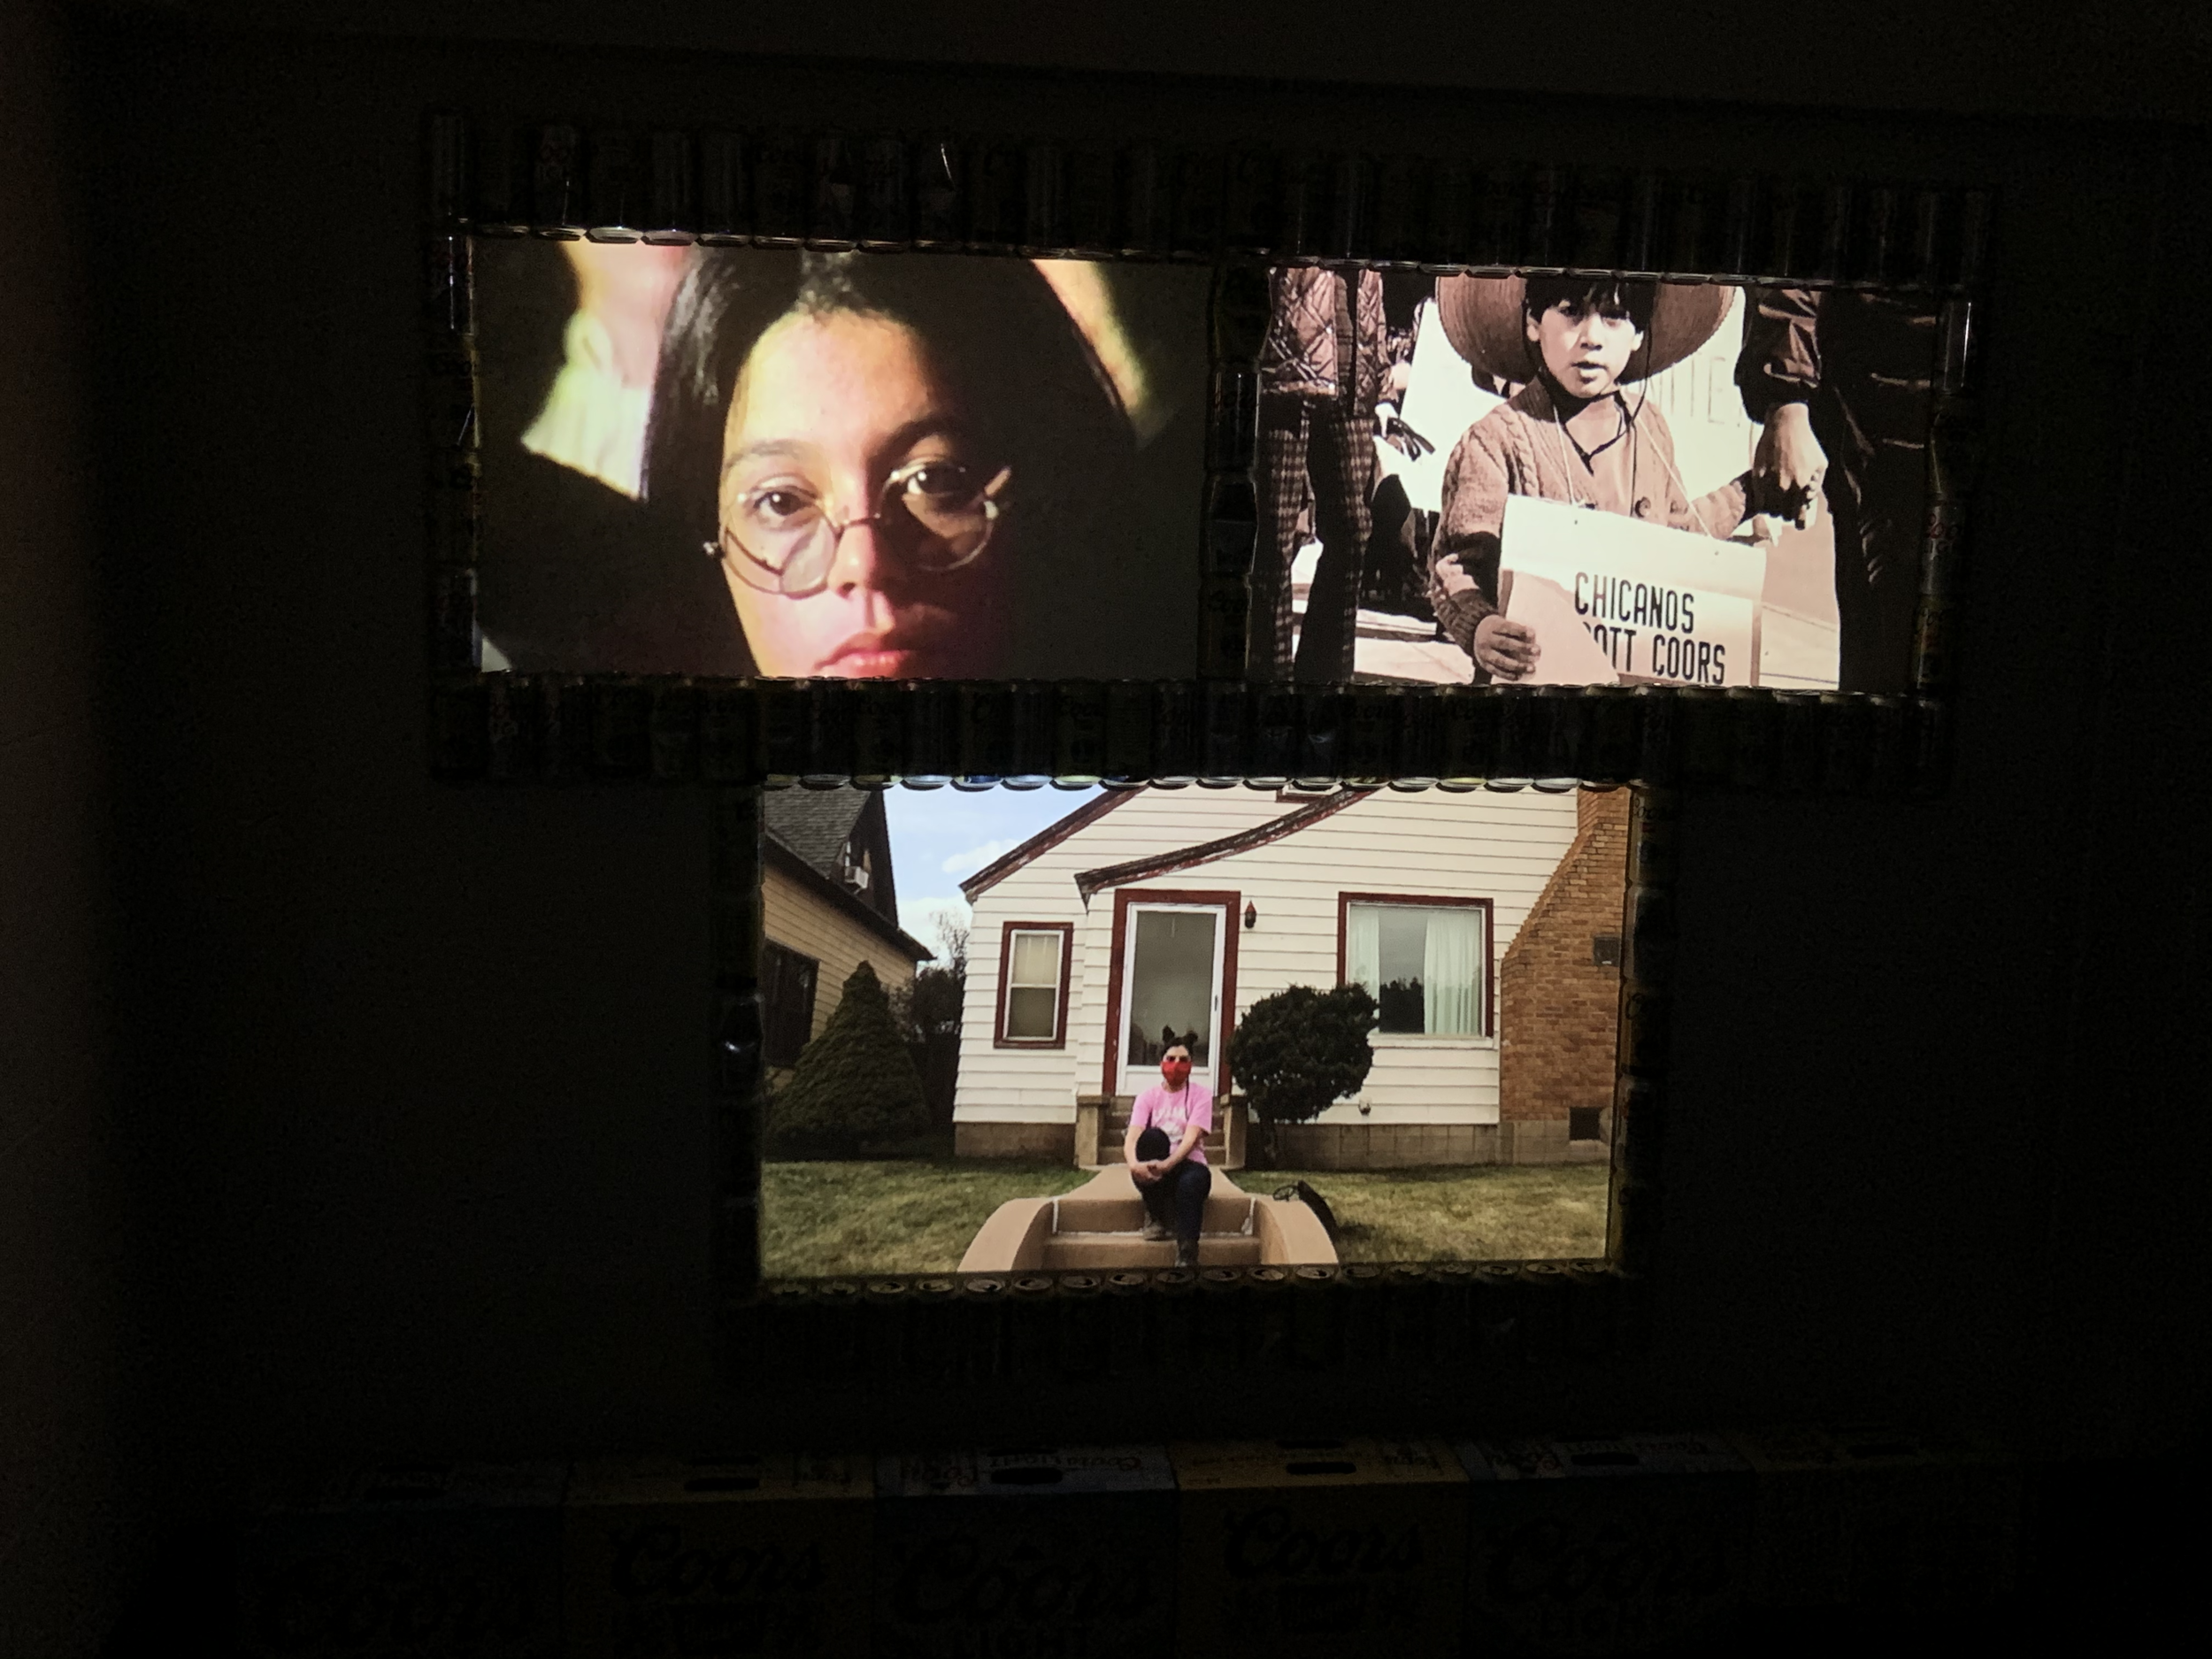
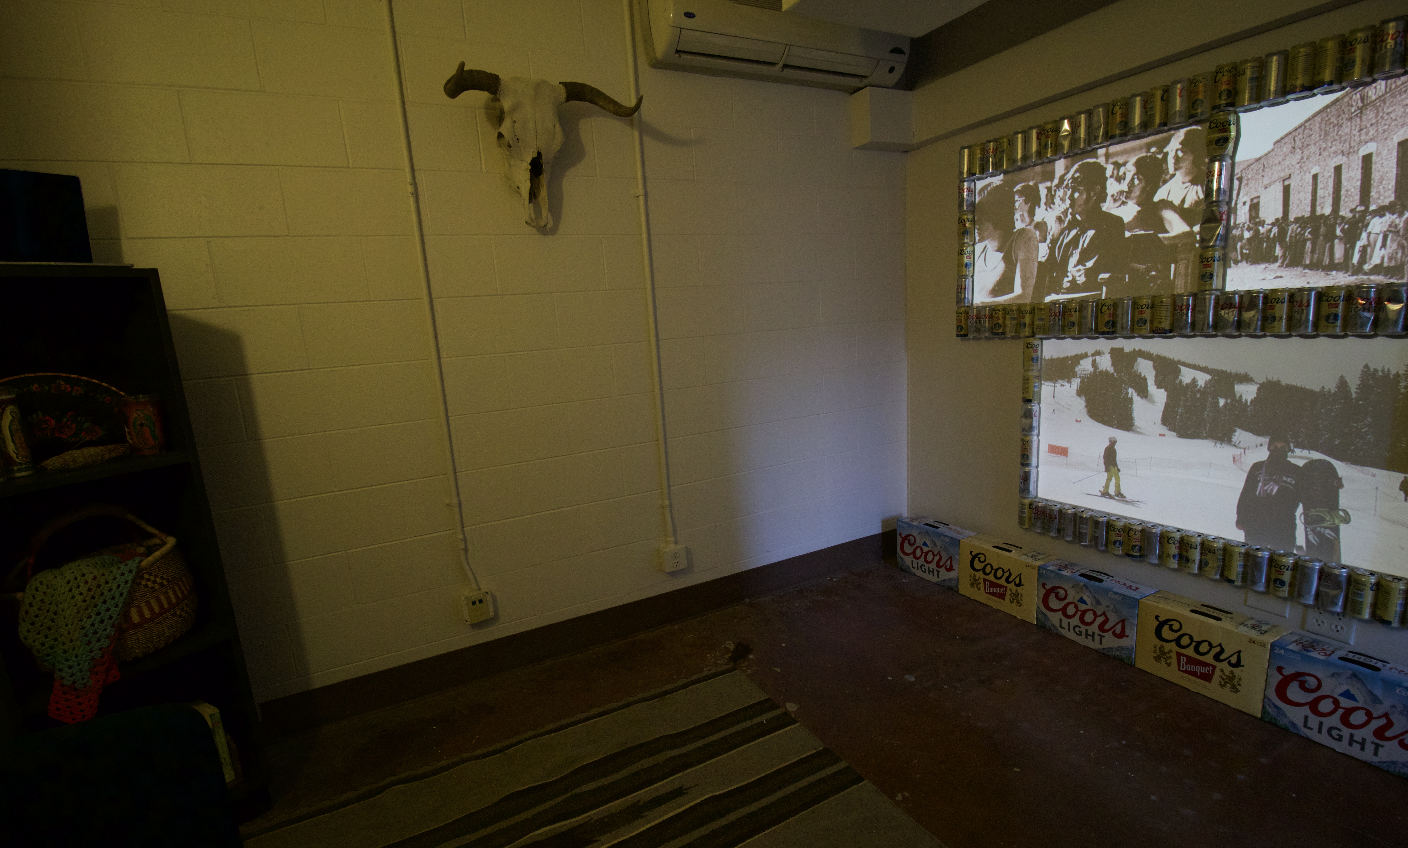
An immersive, multimedia installation that explores the history of the Chicano Rights Movement in Colorado as well as my personal identity, political awakening, and sense of pride as a Chicana woman.
Built using Adobe Creative Suites and MadMapper
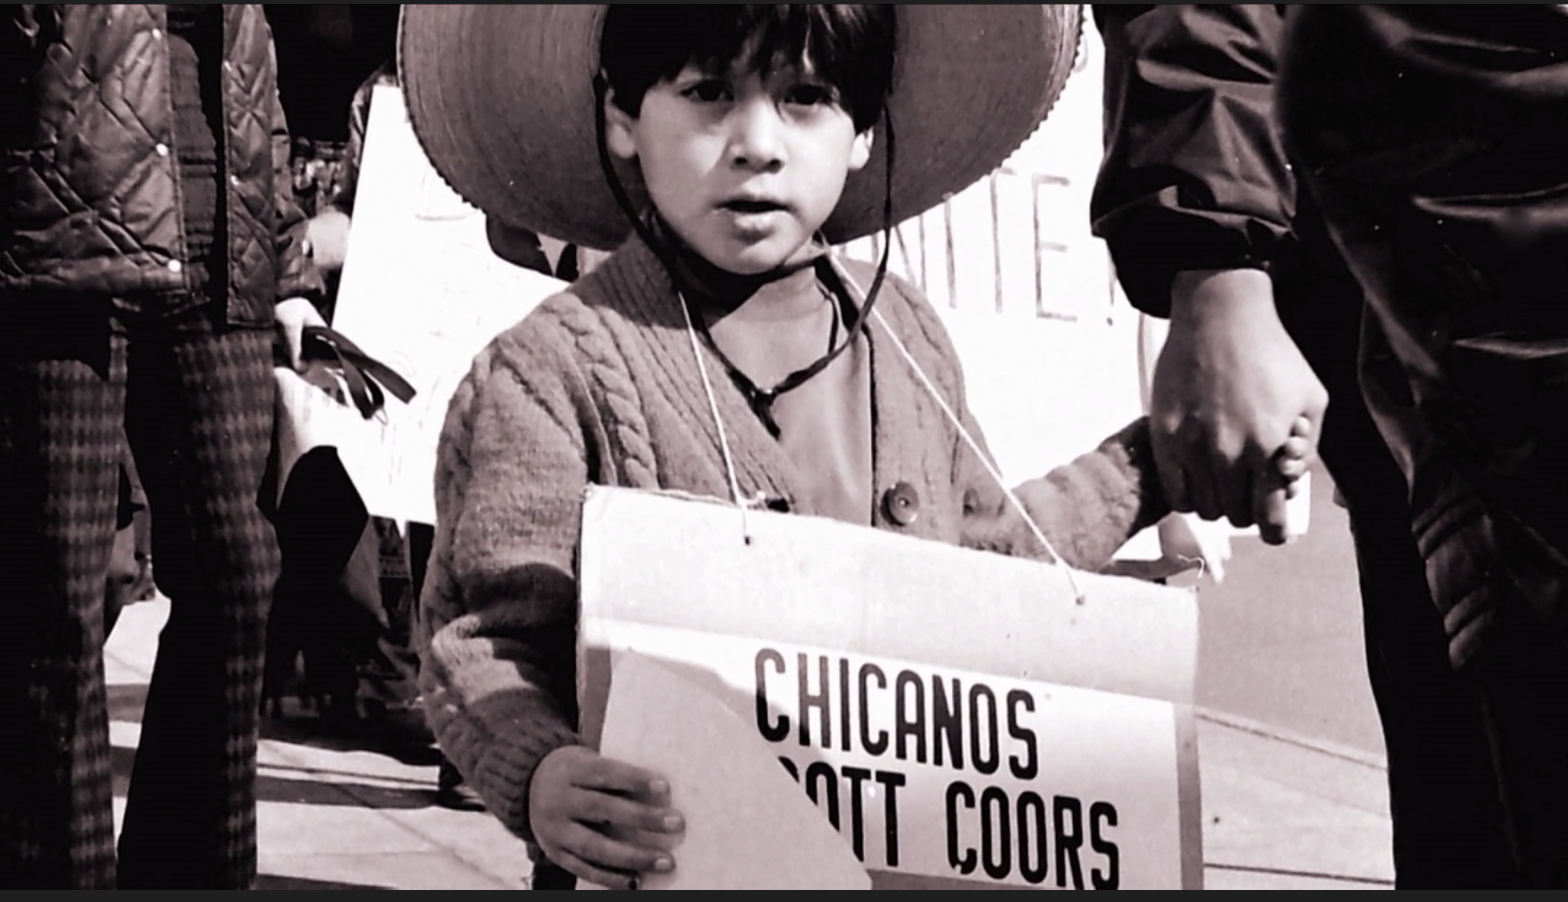
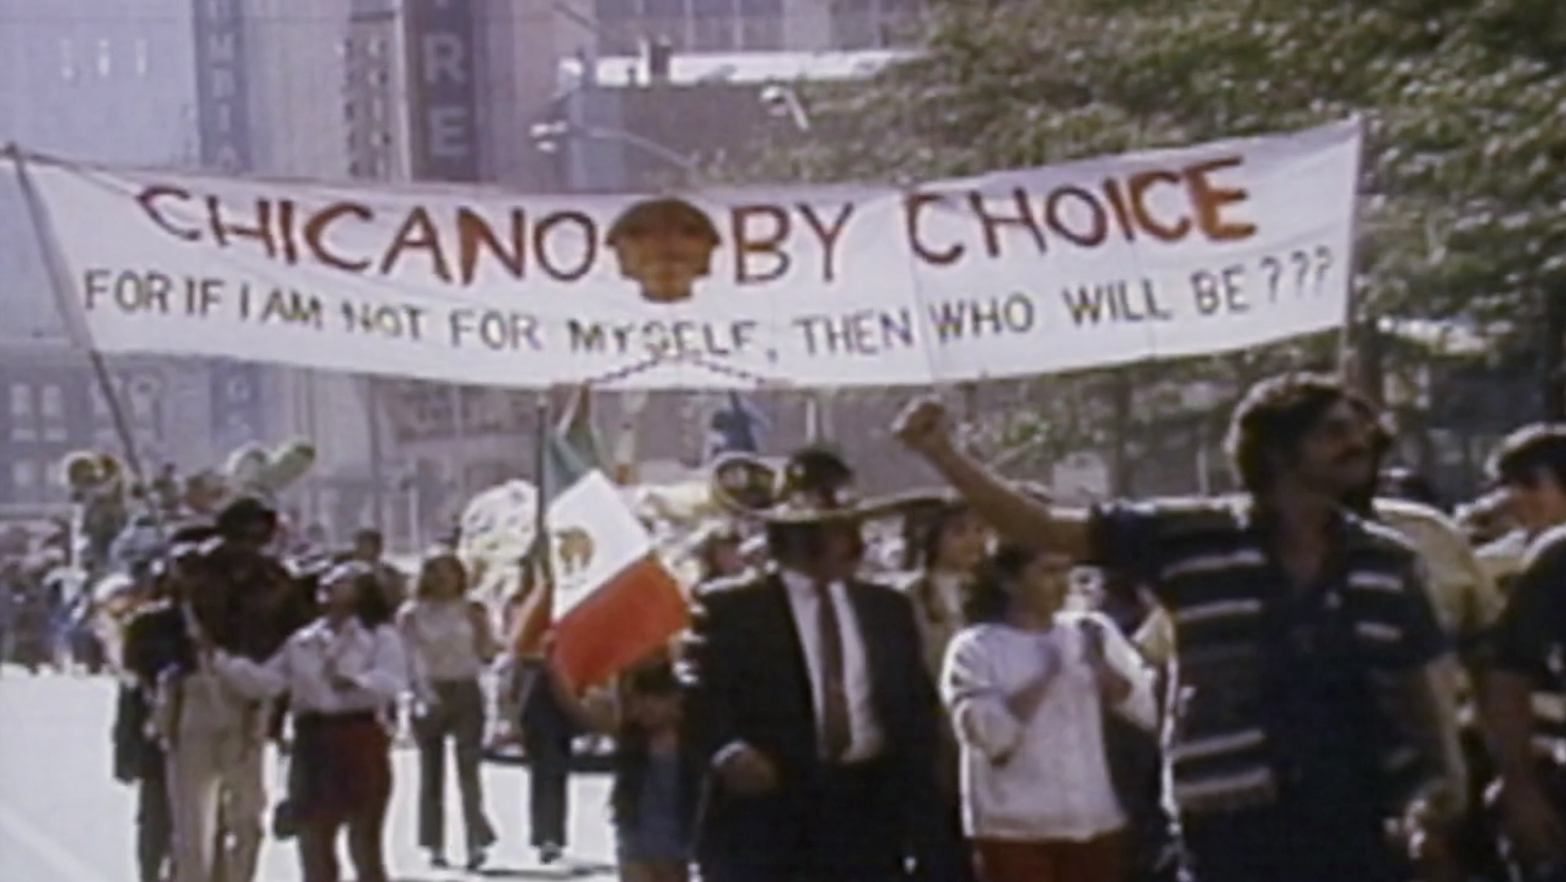
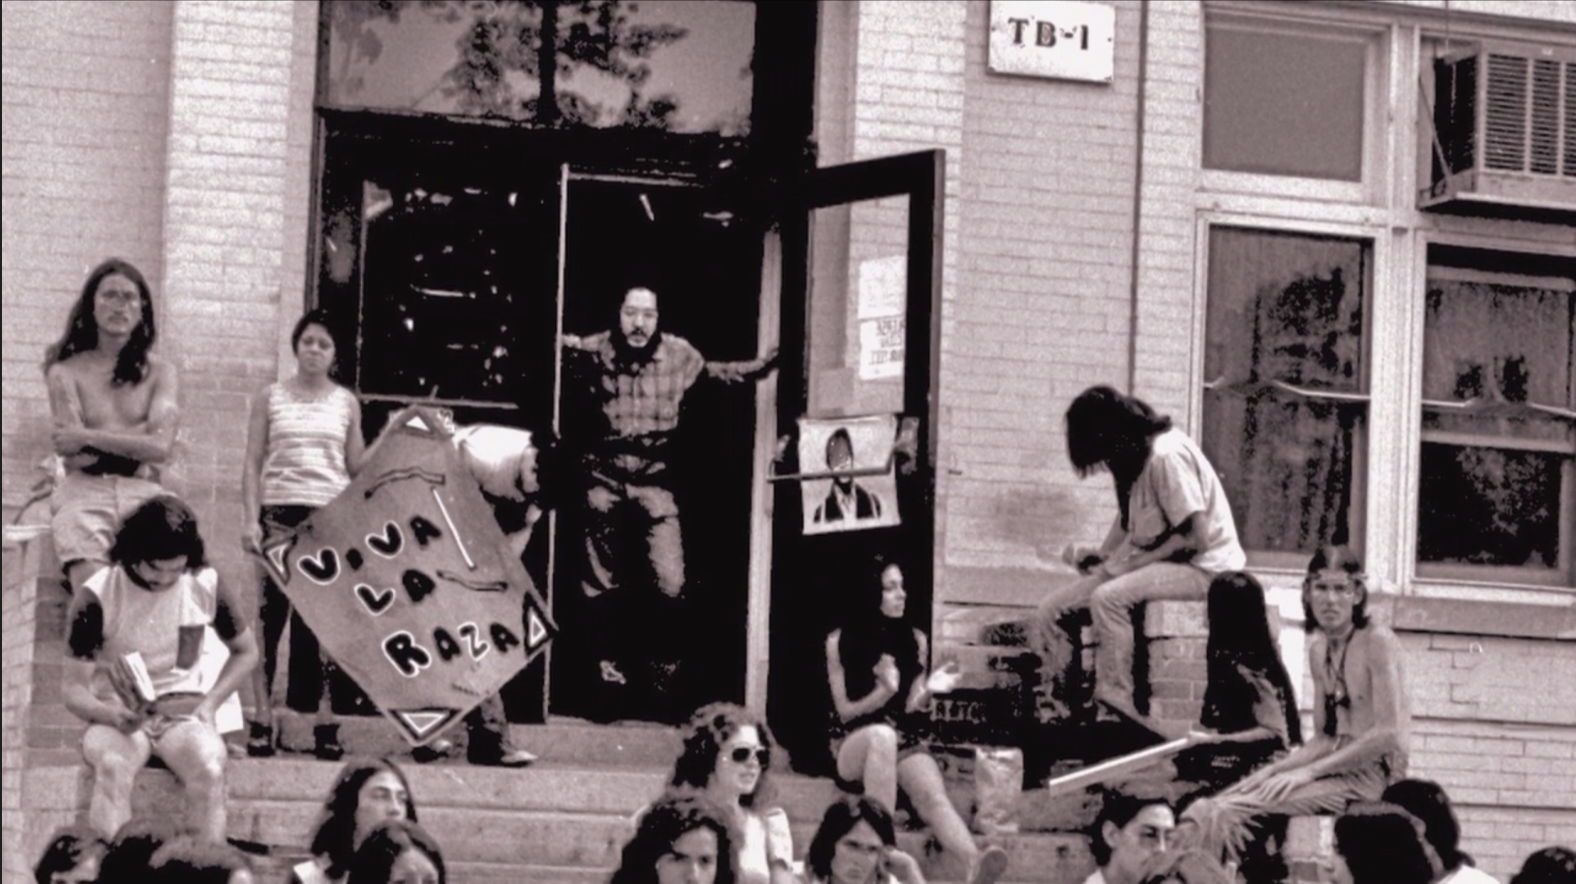
Featuring historic footage from the documentary, “Symbols of Resistance,” provided by The Freedom Archives.
In dedication to my mother and to all those who fought for our rights in El Movimiento Chicano.
As featured by ATLAS Institute, School of Engineering, and CU Boulder Today
Design Opportunity
How can we combine historic and contemporary content with projection-mapping technology to create a meaningful, immersive experiences for a diverse audience when the subject matter is something that the general public has very little to zero knowledge about?
When we are taught about the Civil Rights Movement in the United States, we really only learn about the Black Civil Rights Movement. However, the Chicano Rights Movement and the American Indian Movement (AIM) occurred right alongside the rest of the social movements in the 1960s and 1970s and these movements were centered in the American Southwest and, especially, Colorado. Most Chicanos don’t even know the word “Chicano,” let alone the history behind our social movement. Thankfully, I grew up with a family of educators and activists who took great pride in our Chicano and Indigenous heritage, and so these words and concepts have always been a part of my family’s lexicon and identity. This project is for them — mi familia — like my mother, who was a member of UMAS (United Mexican American Students) and marched for our rights back in her college days, or my grandmother, who received her Master’s Degree during a time when women, especially women of color, did not receive college educations, and my uncle, a proudly gay, dark-skinned Chicano artist and activist who died of AIDS right before I was born.
This project challenged me to convey this complex, obscure message — who we are, that we exist, that we are native to the Southwestern Region of the United States (which used to be part of Mexico), and that there was, in fact, an entire Civil Rights movement that occurred and for which people sacrificed their lives — without overwhelming my audience.
There were a million directions to go with this project. I could have focused on Los Seis de Boulder (six activist CU students who were killed on my campus, likely by police, here in Boulder, Colorado). I could have focused on the ways in which the Chicano Rights Movement failed or wasn’t intersectional enough or how women and LGBTQ+ people were mostly overlooked within the movement. I could have centered the entire project on my mom’s experiences as a student and activist during El Movimiento. Keeping my messaging simple and straightforward, while still creating something interesting and layered enough to capture the audience’s attention was my battle throughout this design process.
Design Statement
Process: It all started with Coors…
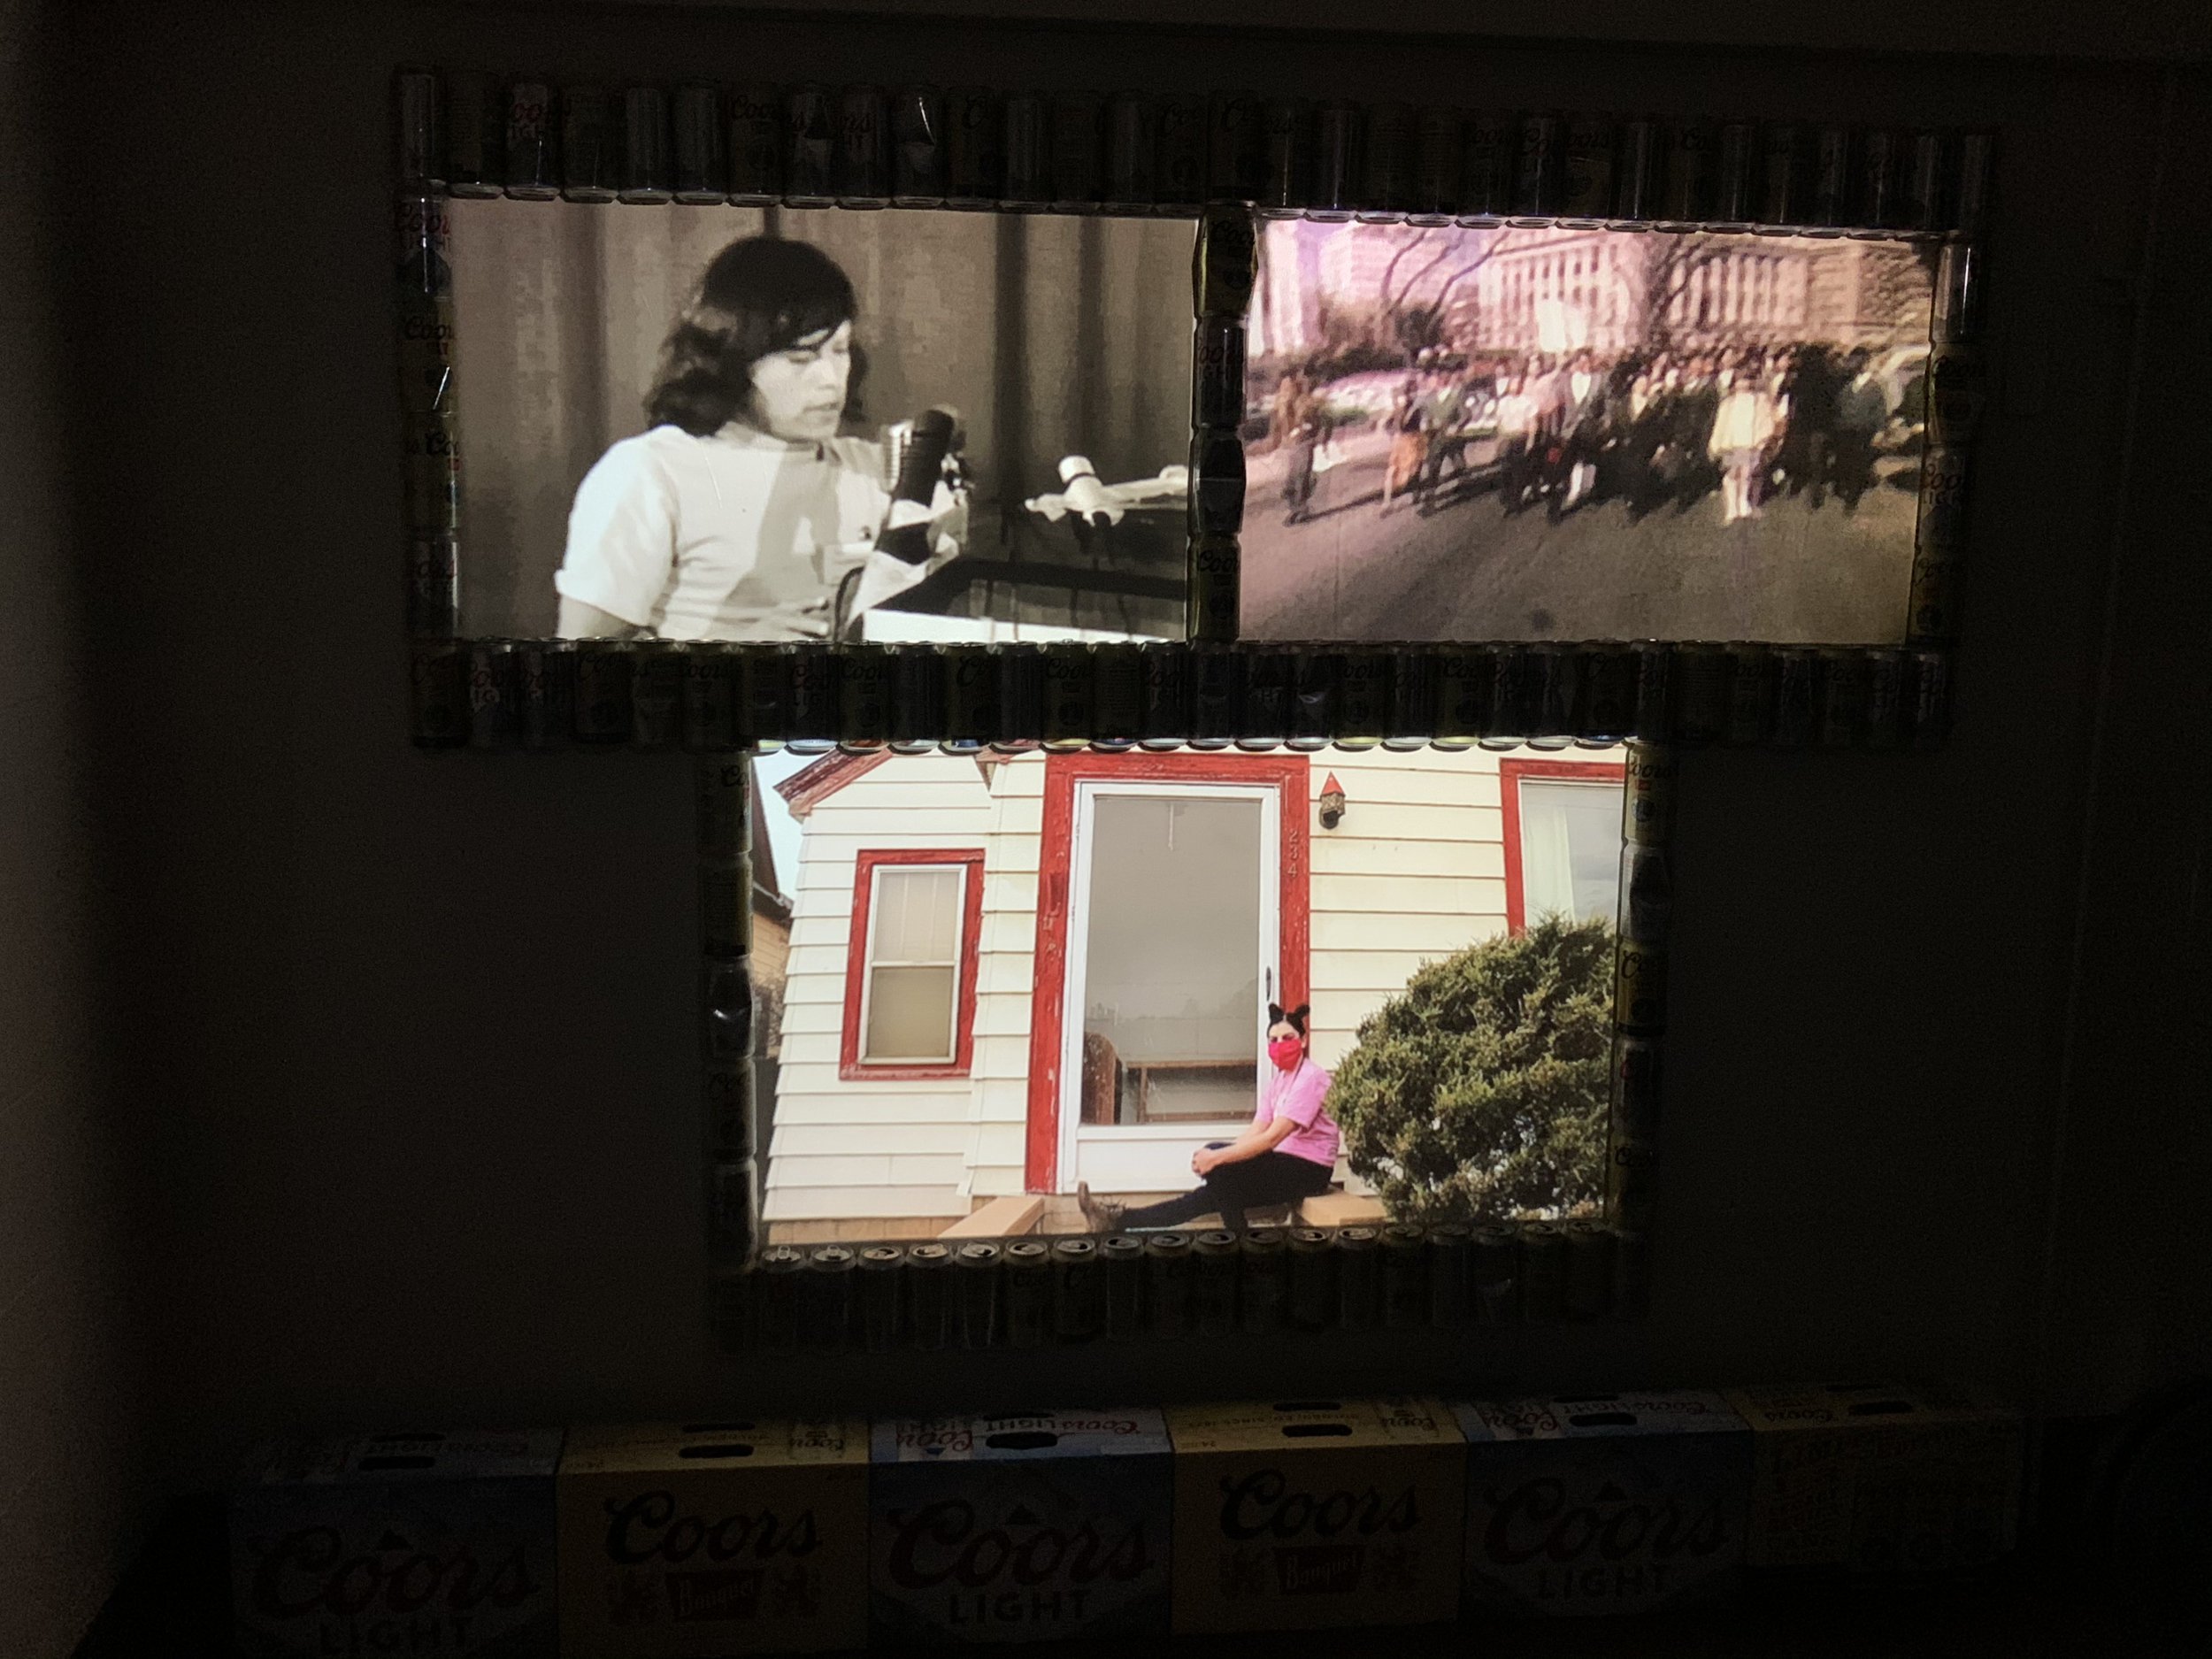
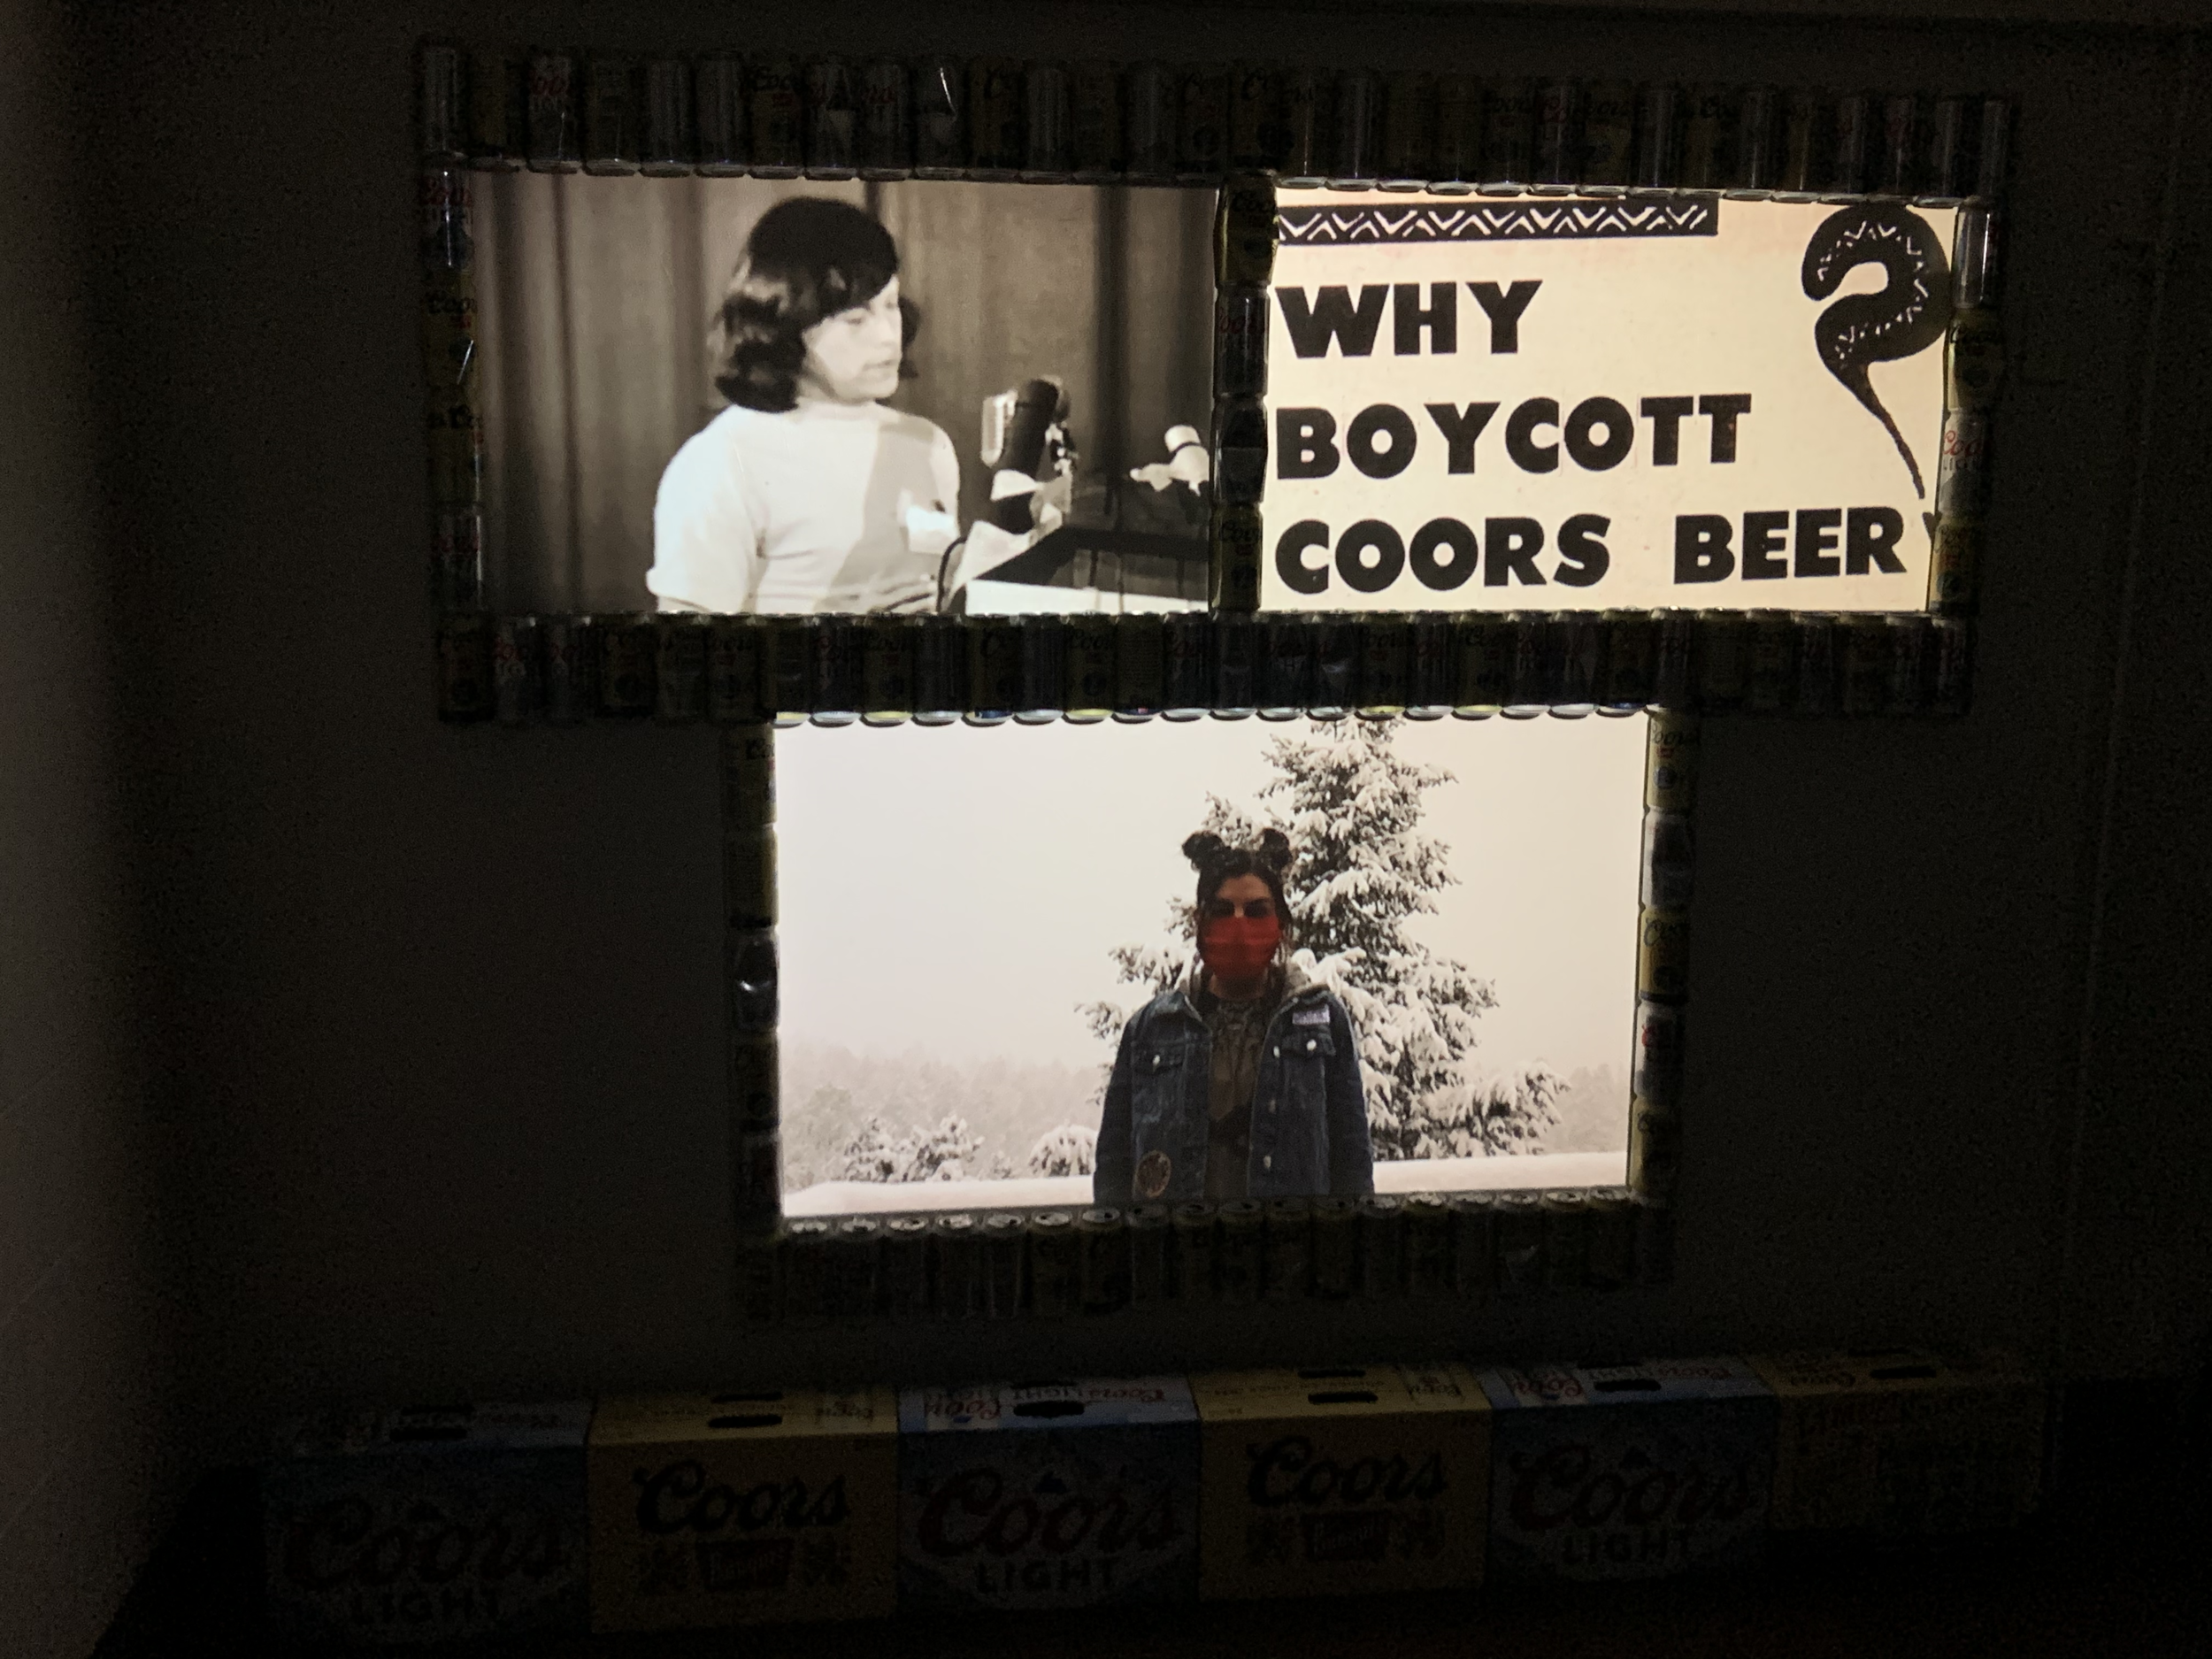
When I first settled on the plan to create something around Chicano culture, I rewatched the documentary Symbols of Resistance, created by The Freedom Archives. For some reason, even though it was by no means the most important aspect of the Chicano Rights Movement, the Boycott Against Coors Beer really stuck out to me. Maybe it’s because they were a client at the law firm I previously worked at, or maybe it’s because my mom always refused to drink Coors (she still refuses to this day). Somehow, the idea to take Coors Beer, a product that is viewed as iconically “Colorado,” with their logo being “as cold as the Rockies,” and use their ubiquitous nature to speak about the Chicano Rights Movement seemed interesting enough to me to just go with it.
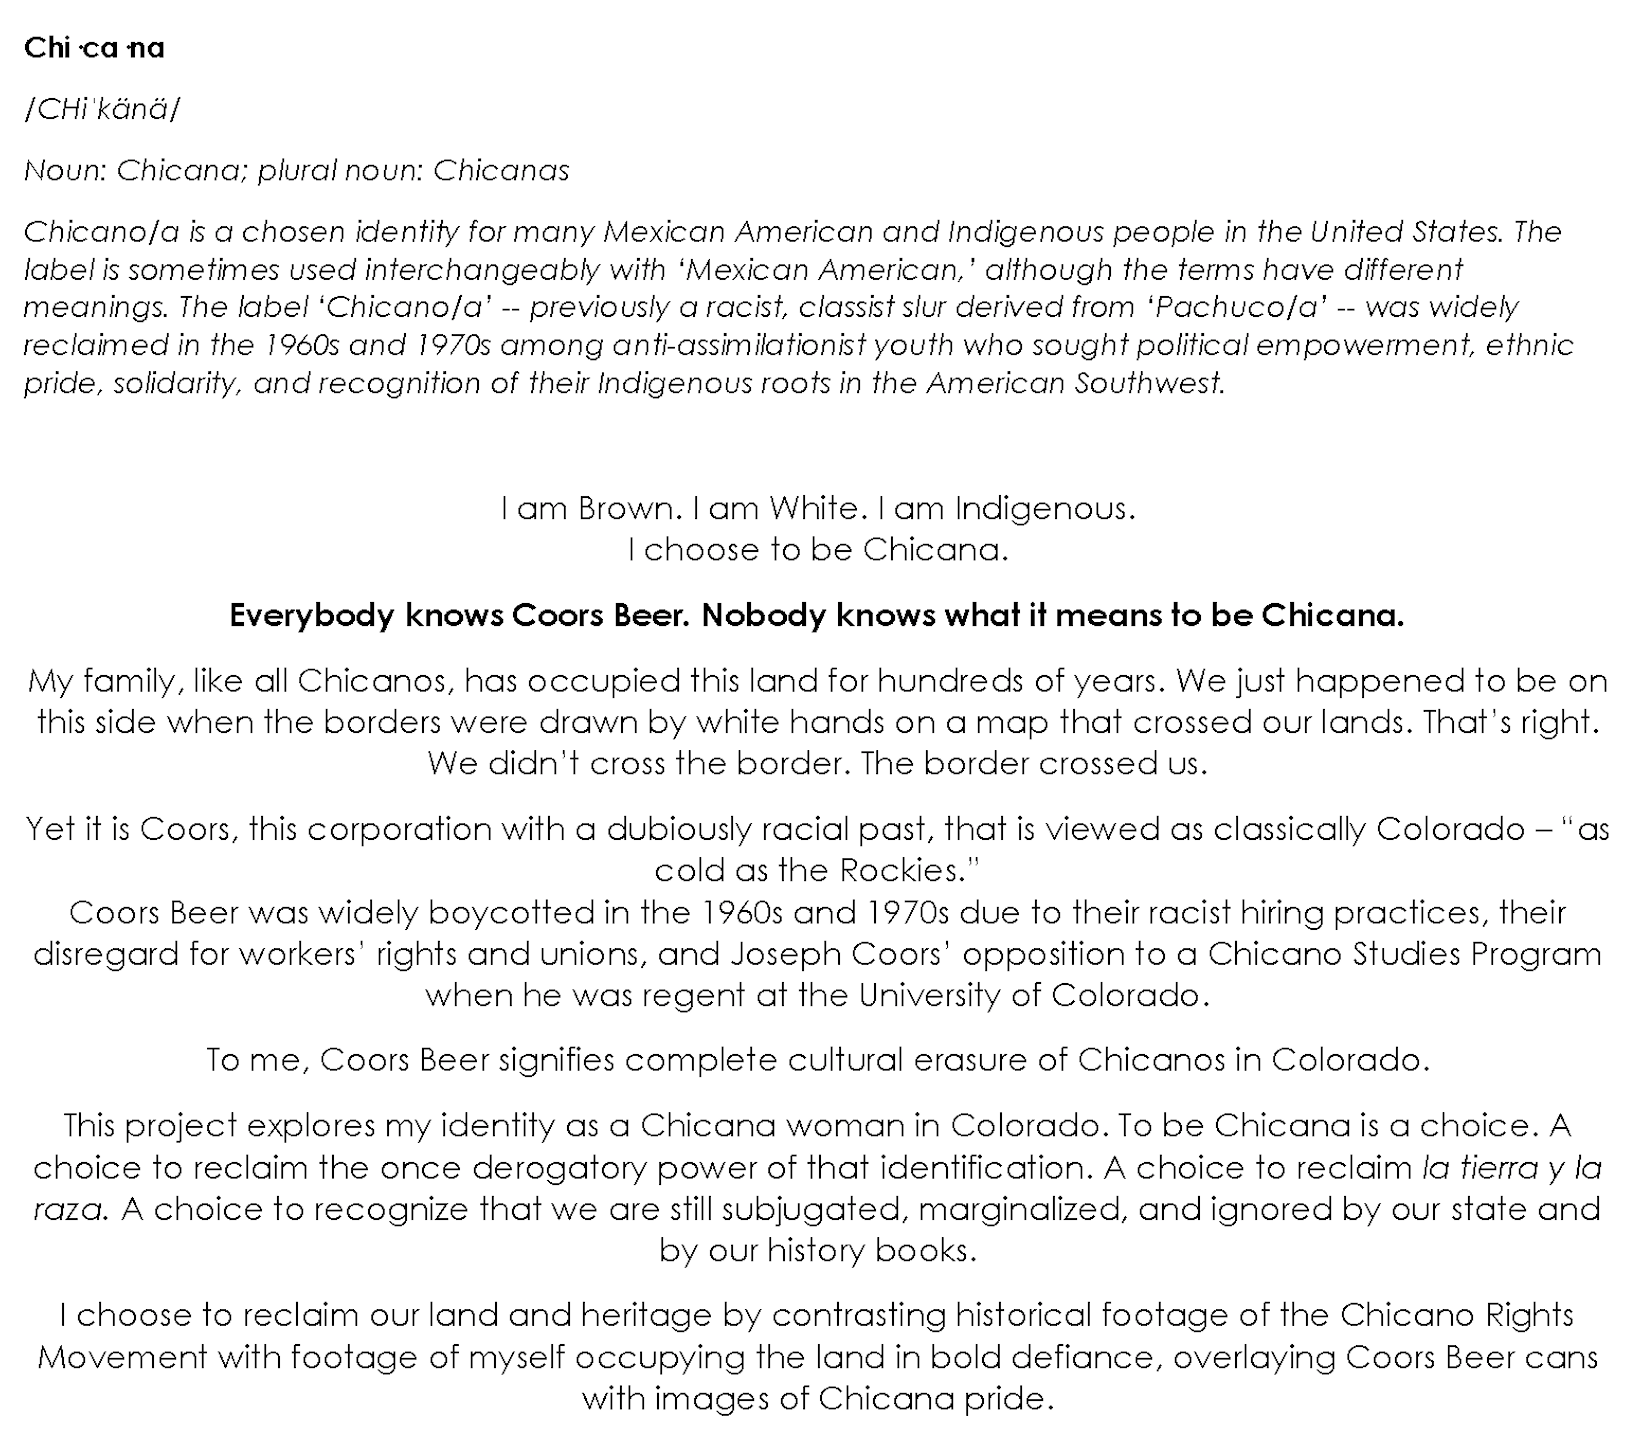
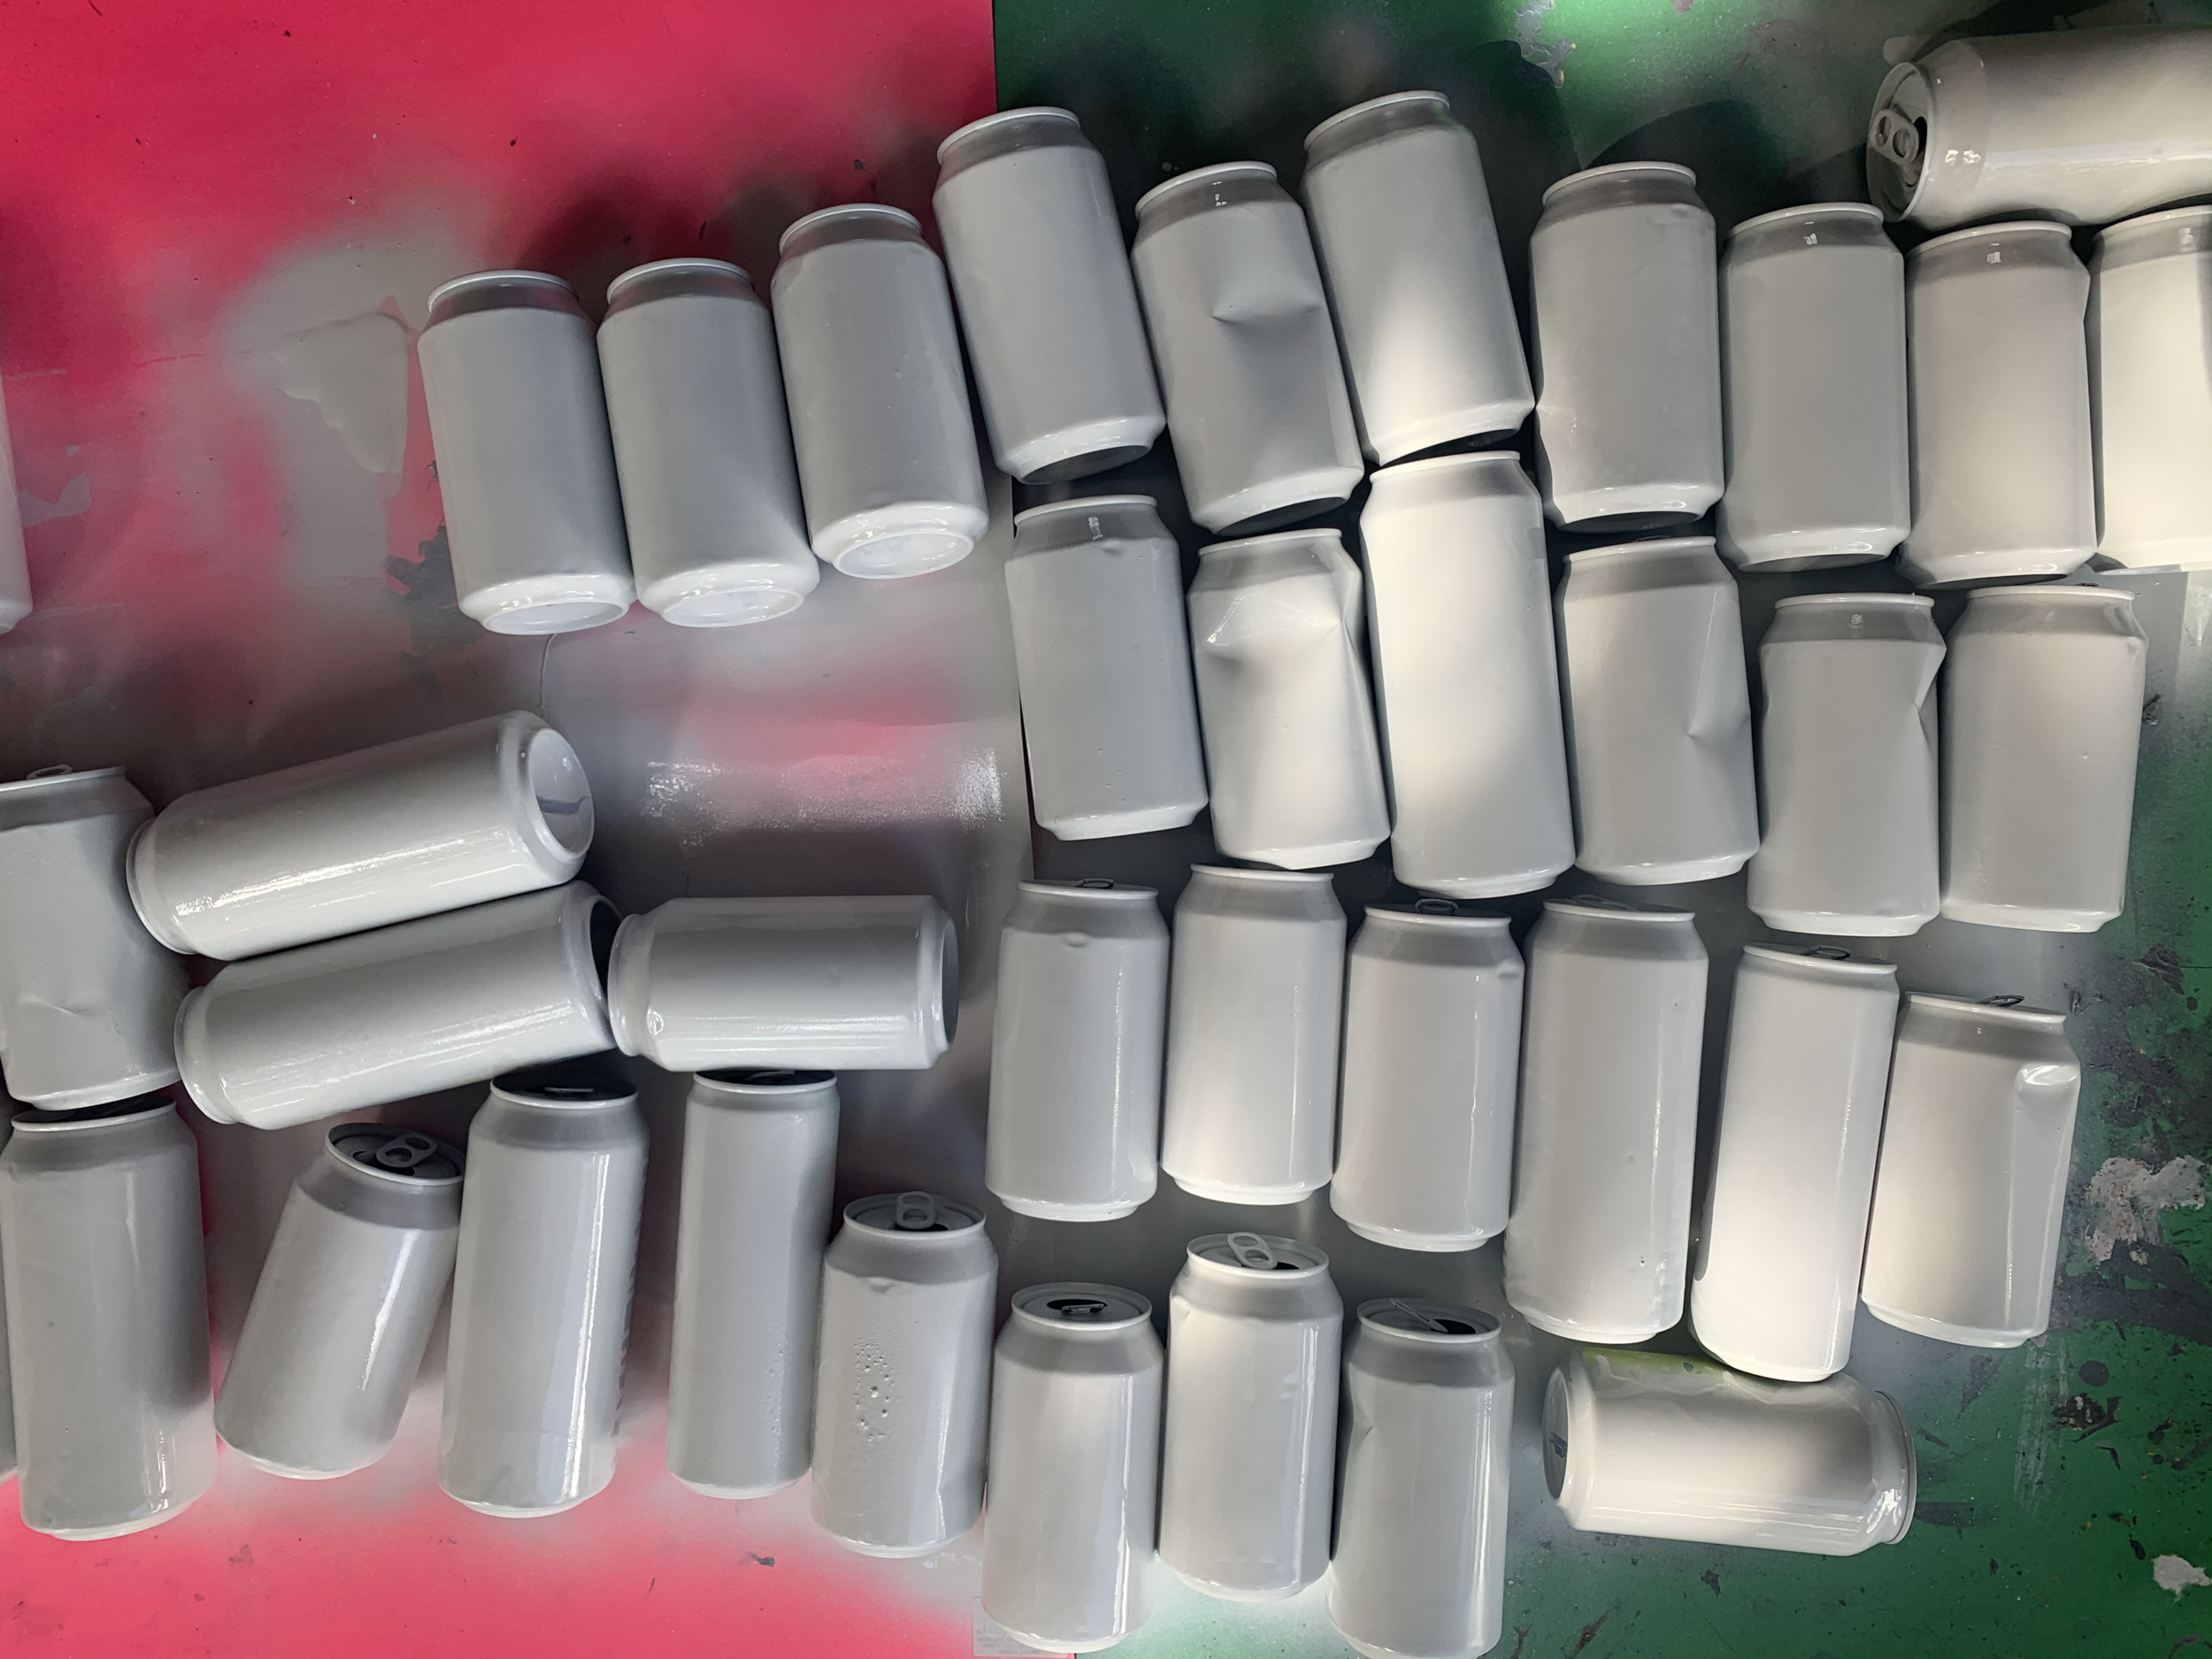
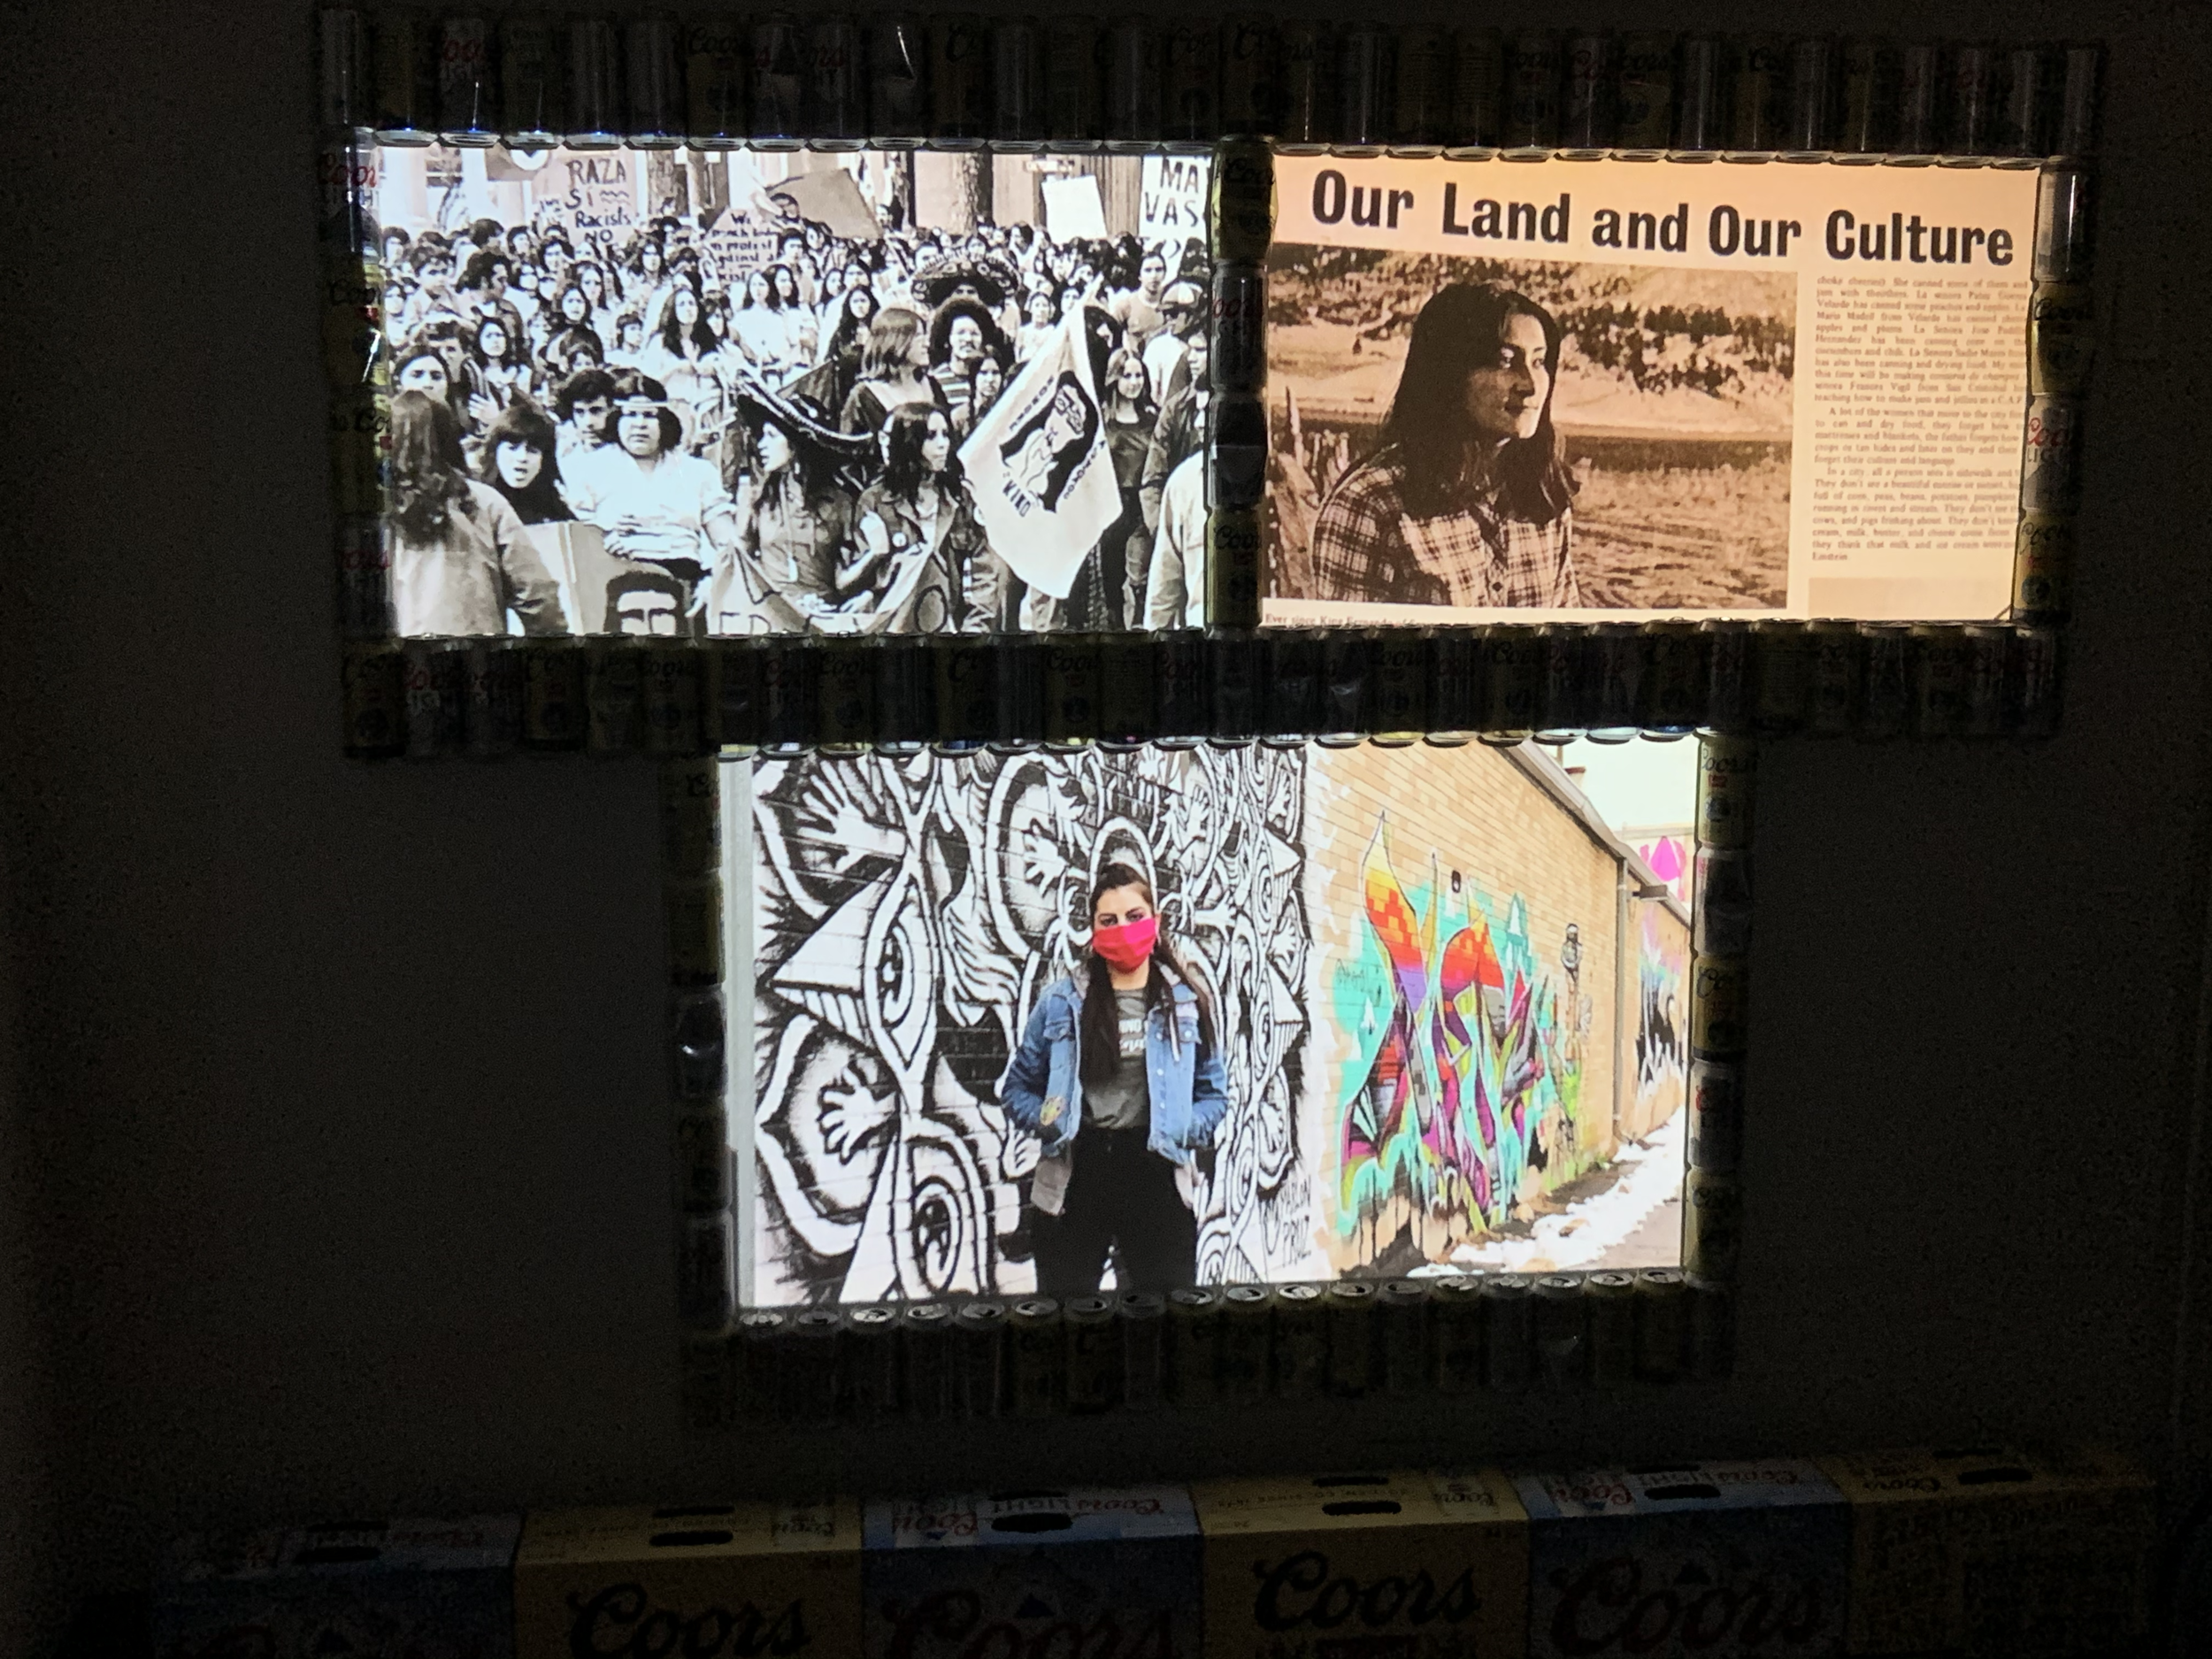
138 Coors Beers later and this is what I ended up with.
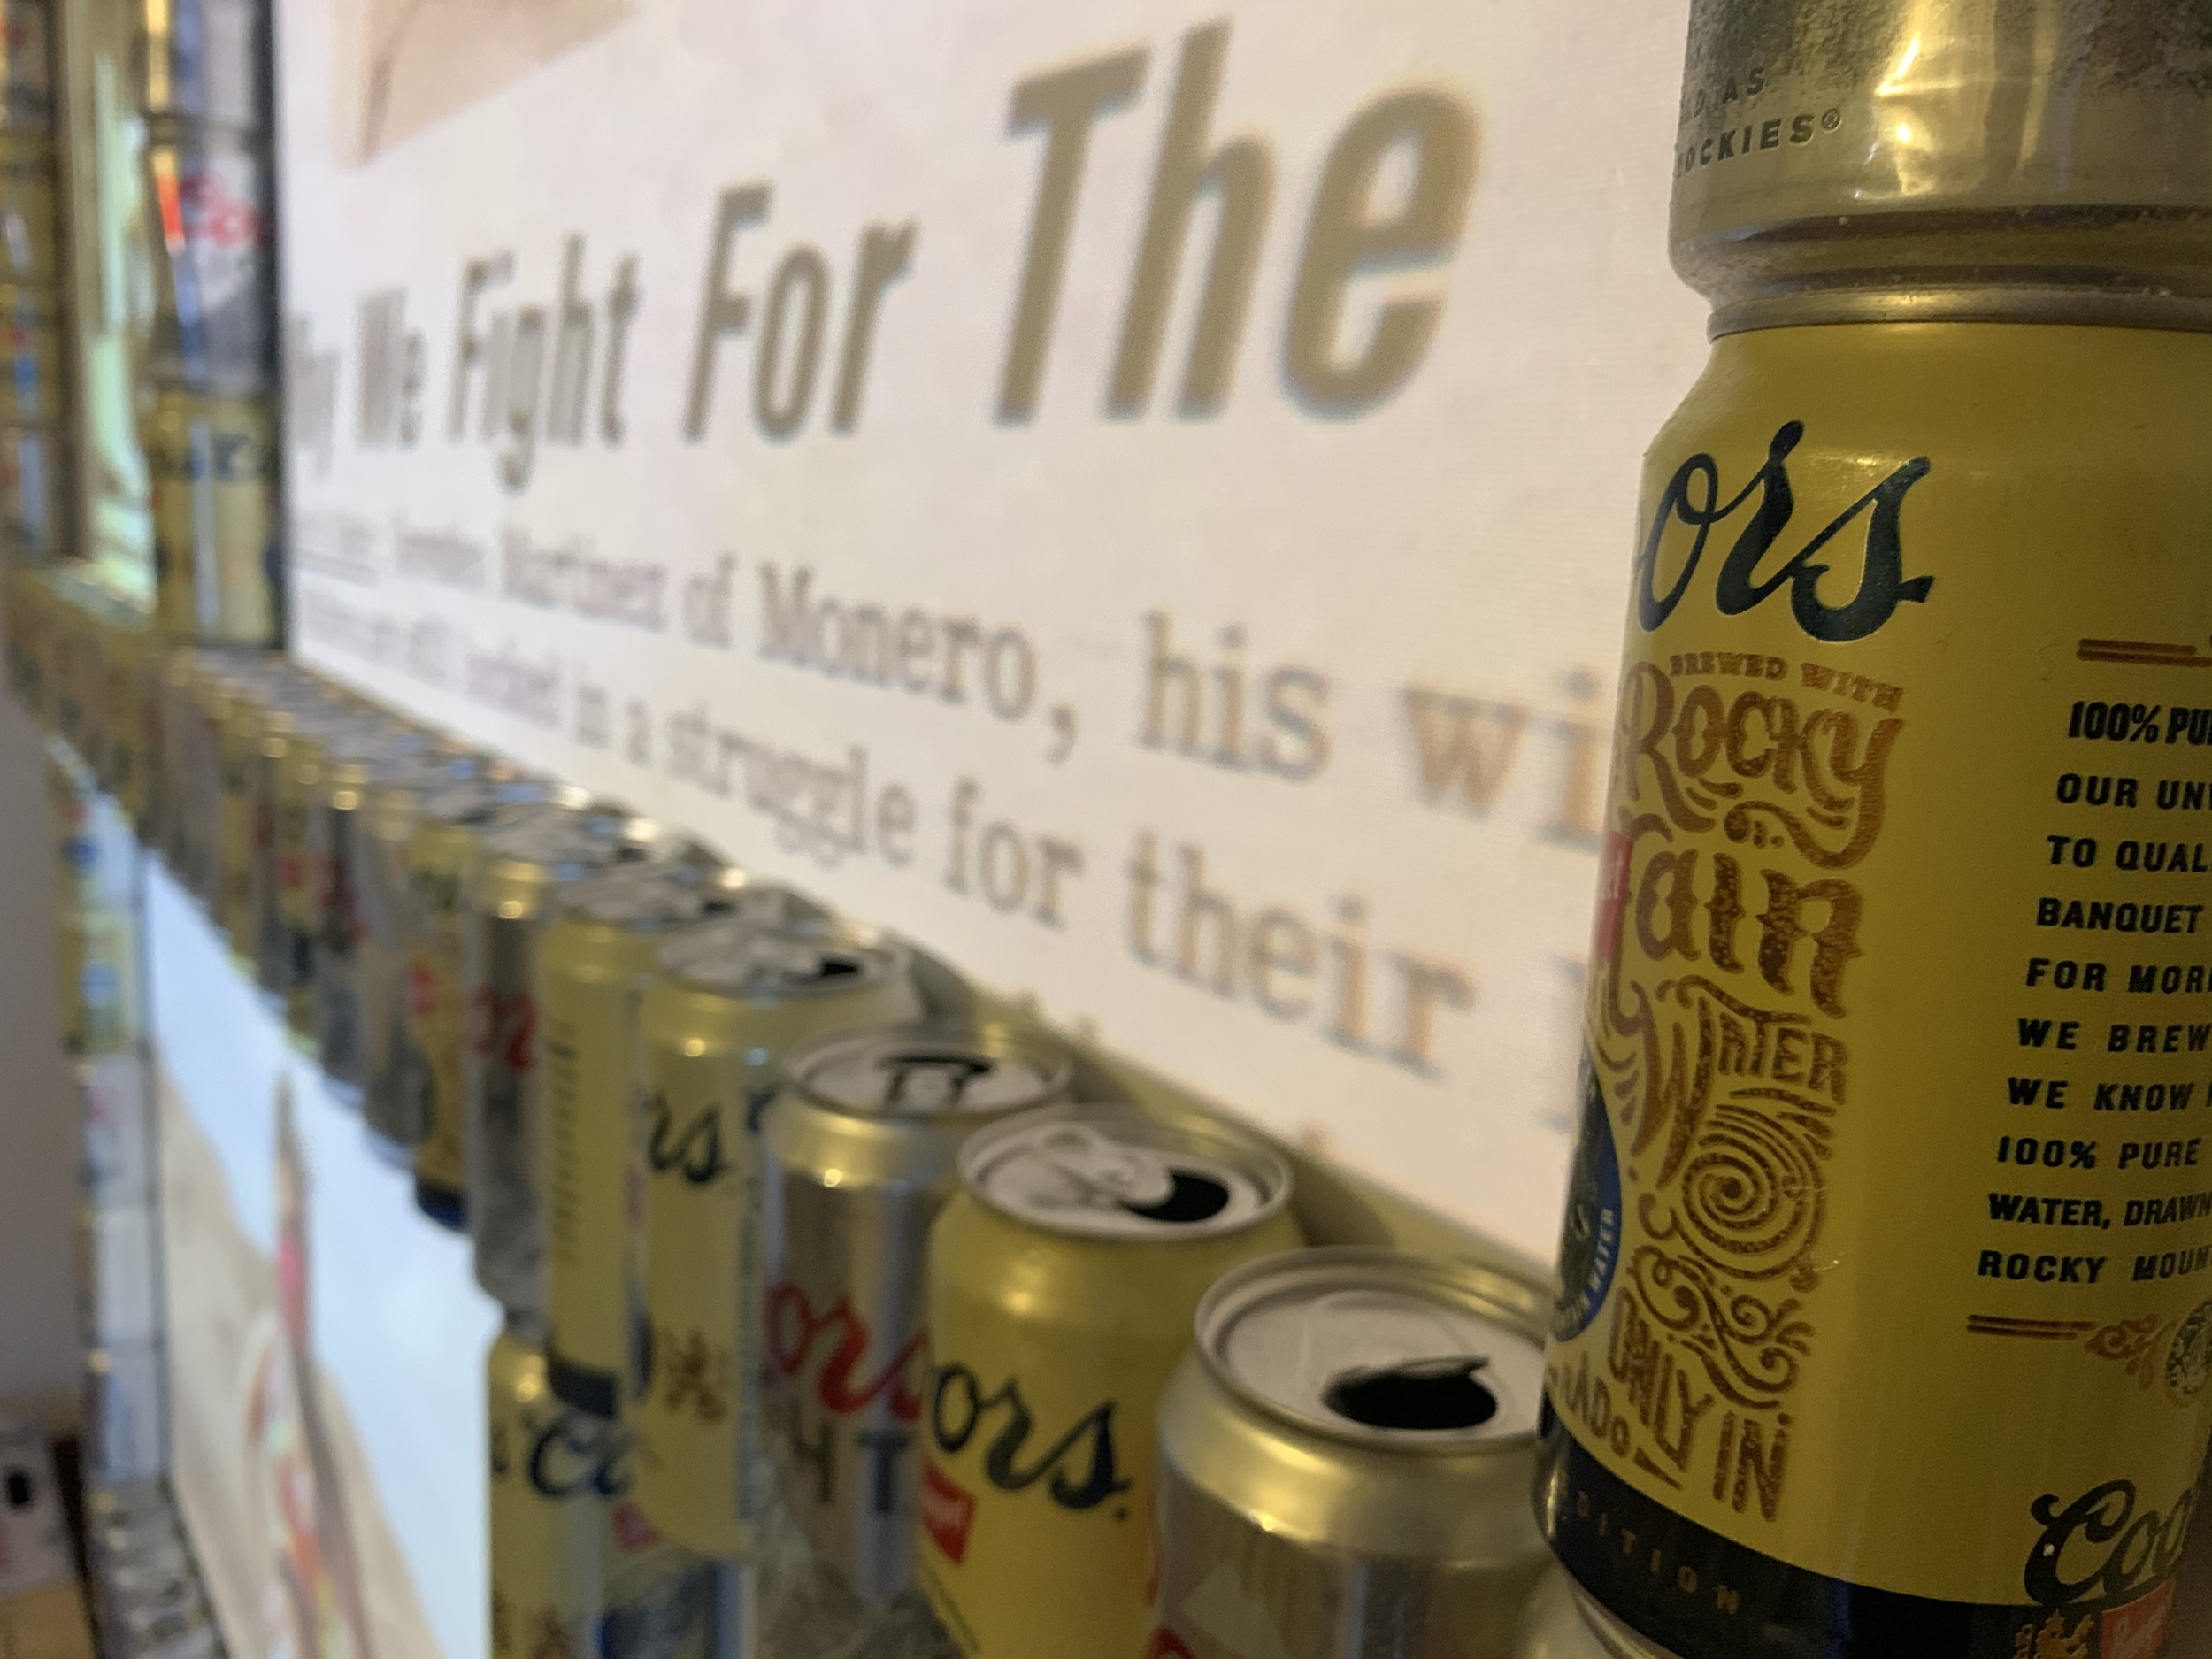
Initially, I planned on spray-painting all of the cans white then projection-mapping onto what was essentially a wall of cans. And, in fact, I did try this. When I did my first test run of projection-mapping onto the cans, the footage I was using was some of the high-quality footage I had been gathering as content. I neglected to consider that the historical footage that The Freedom Archives granted me access to is NOT the same quality as today’s film. Now, this may sound like a fairly obvious fact that I should considered, but when you’re working on a project with as many elements as this installation had, and you have time and budget constraints to consider, it’s far more difficult to think of everything. So I ended up spray-painting 138 cans before realizing that the grainy, black and white footage that I wanted to incorporate looked terrible when projection-mapped onto anything that wasn’t a completely flat surface. Luckily, I had only spray-painted the BACK of most of the cans and so was able to salvage them for the final product.
Process: Content Creation
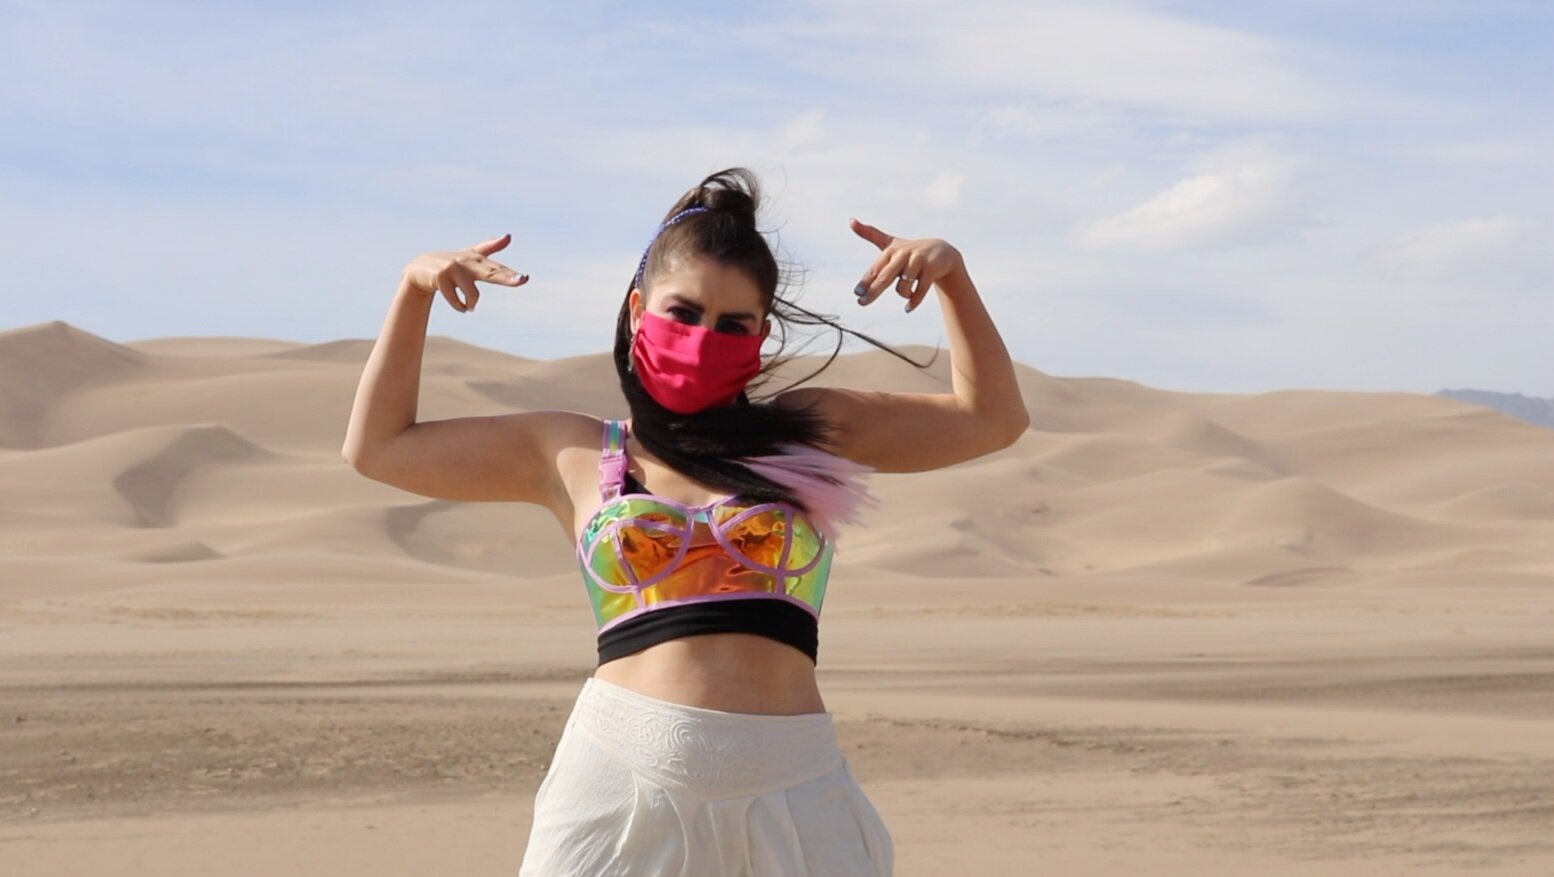
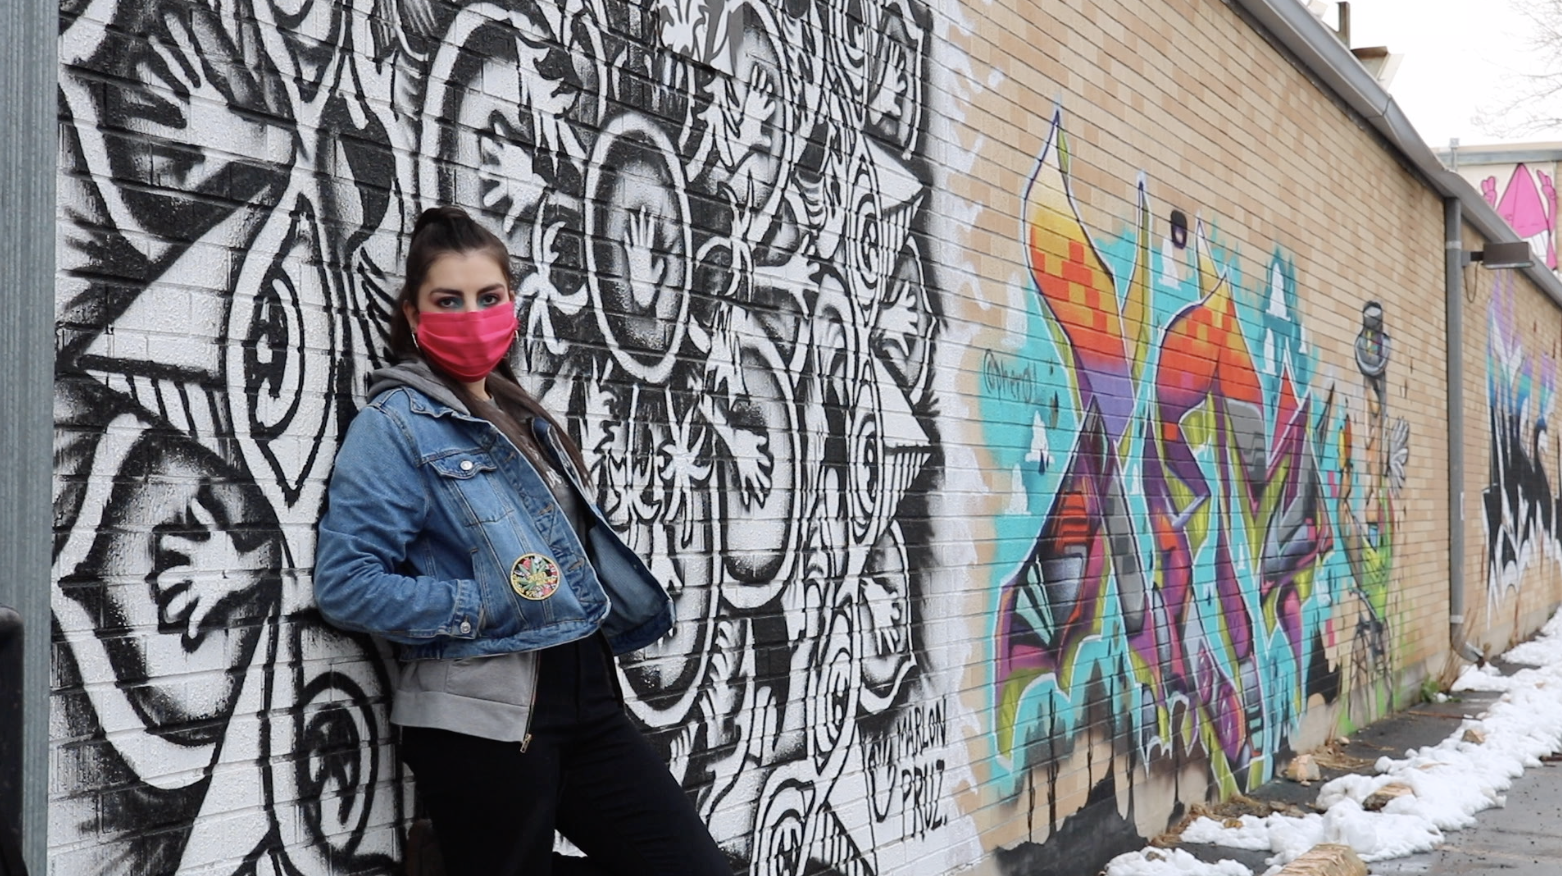
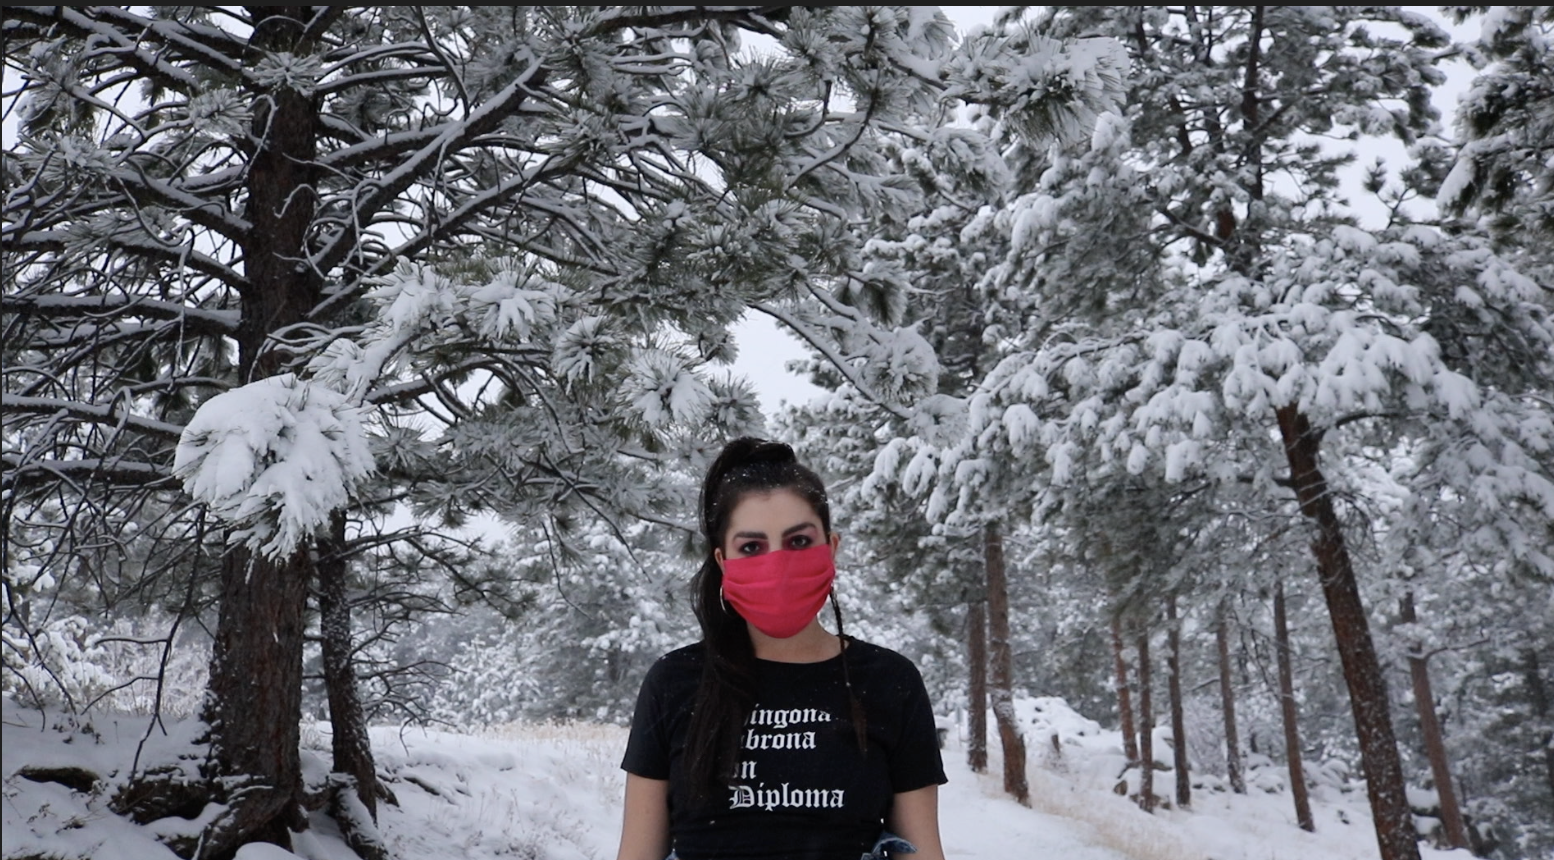
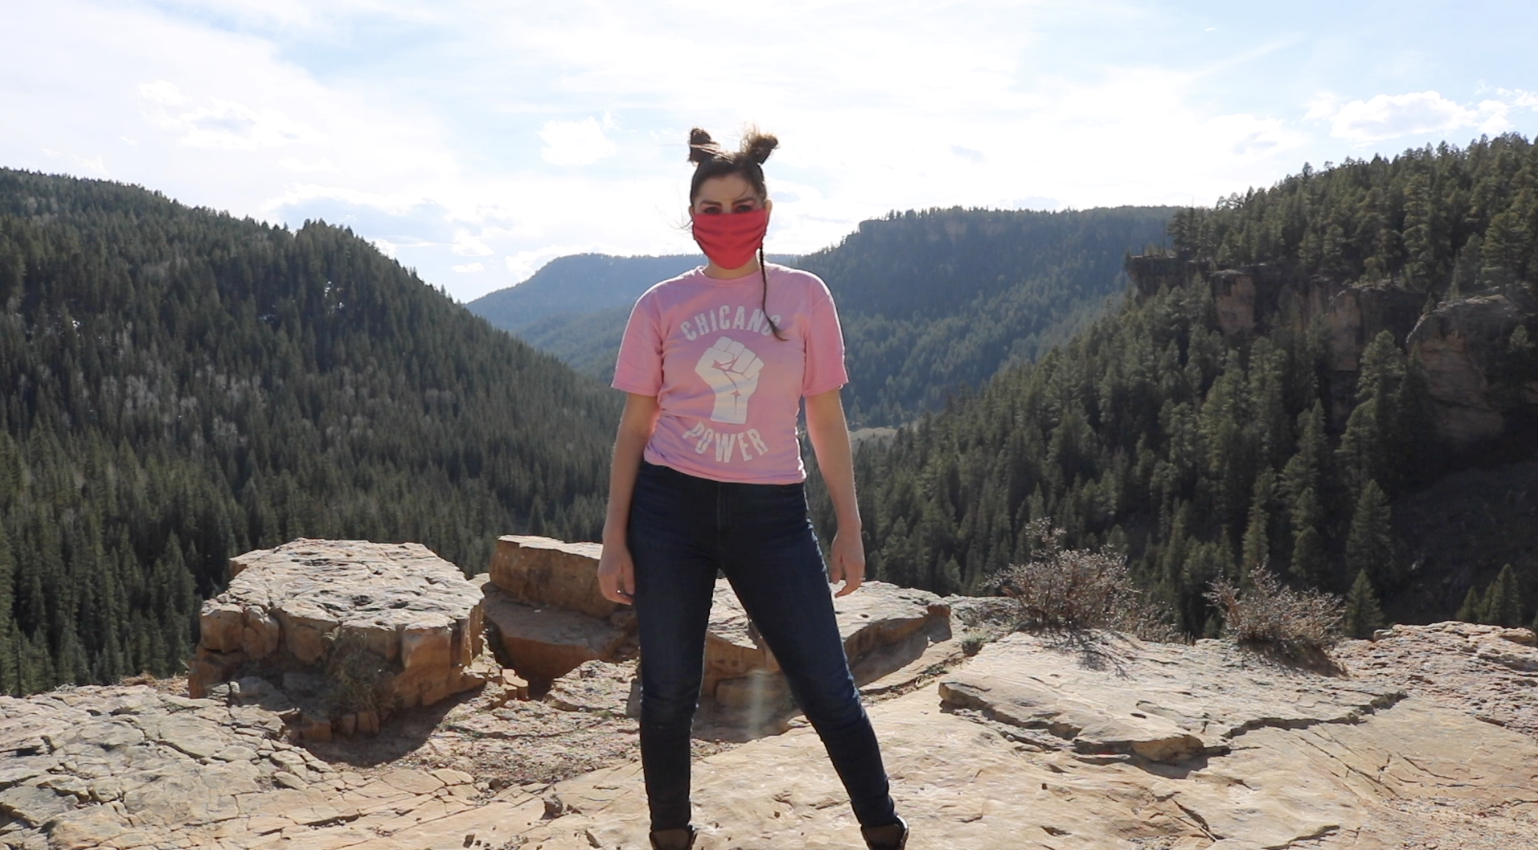
By the time I had decided to amass more Coors cans than I ever wanted or needed to see in my lifetime, I had also decided that I wanted to use footage from the Symbols of Resistance documentary and contrast their historical footage with footage of myself occupying and, therefore, reclaiming spaces in Colorado.
I was heavily inspired by the Grimes music video, “Oblivion,” which speaks to her experience of sexual assault. In the music video, Grimes, this petite woman, is just standing in the middle of these heavily male-dominated spaces — a motocross race, a football game, a men’s locker room, the weight-lifting room at the gym. In interviews, she discusses how much filming this music video helped her to overcome the intense PTSD and anxiety she had developed as a result of her assault.
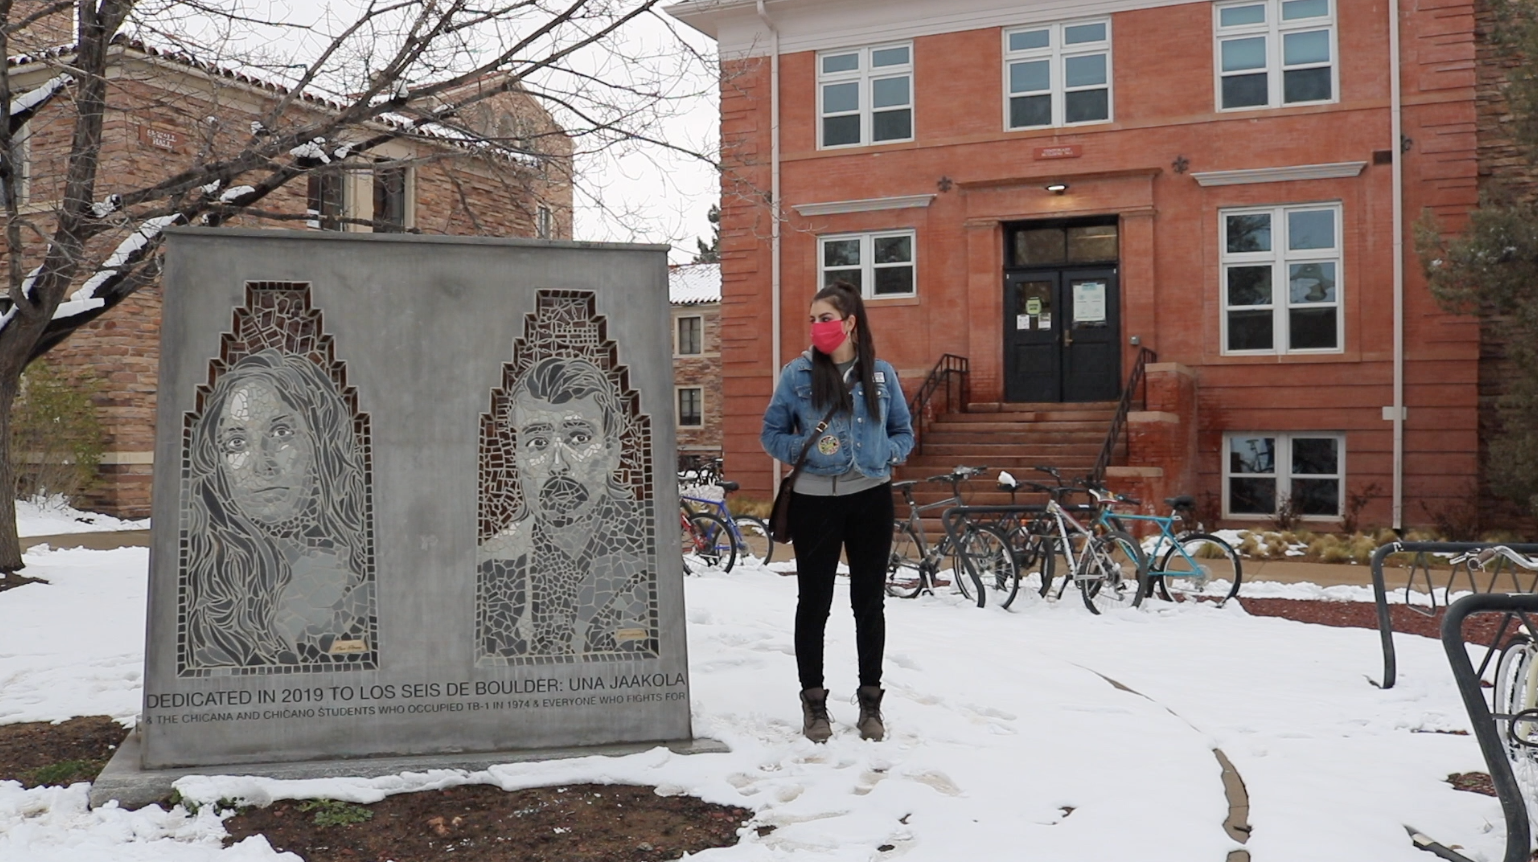
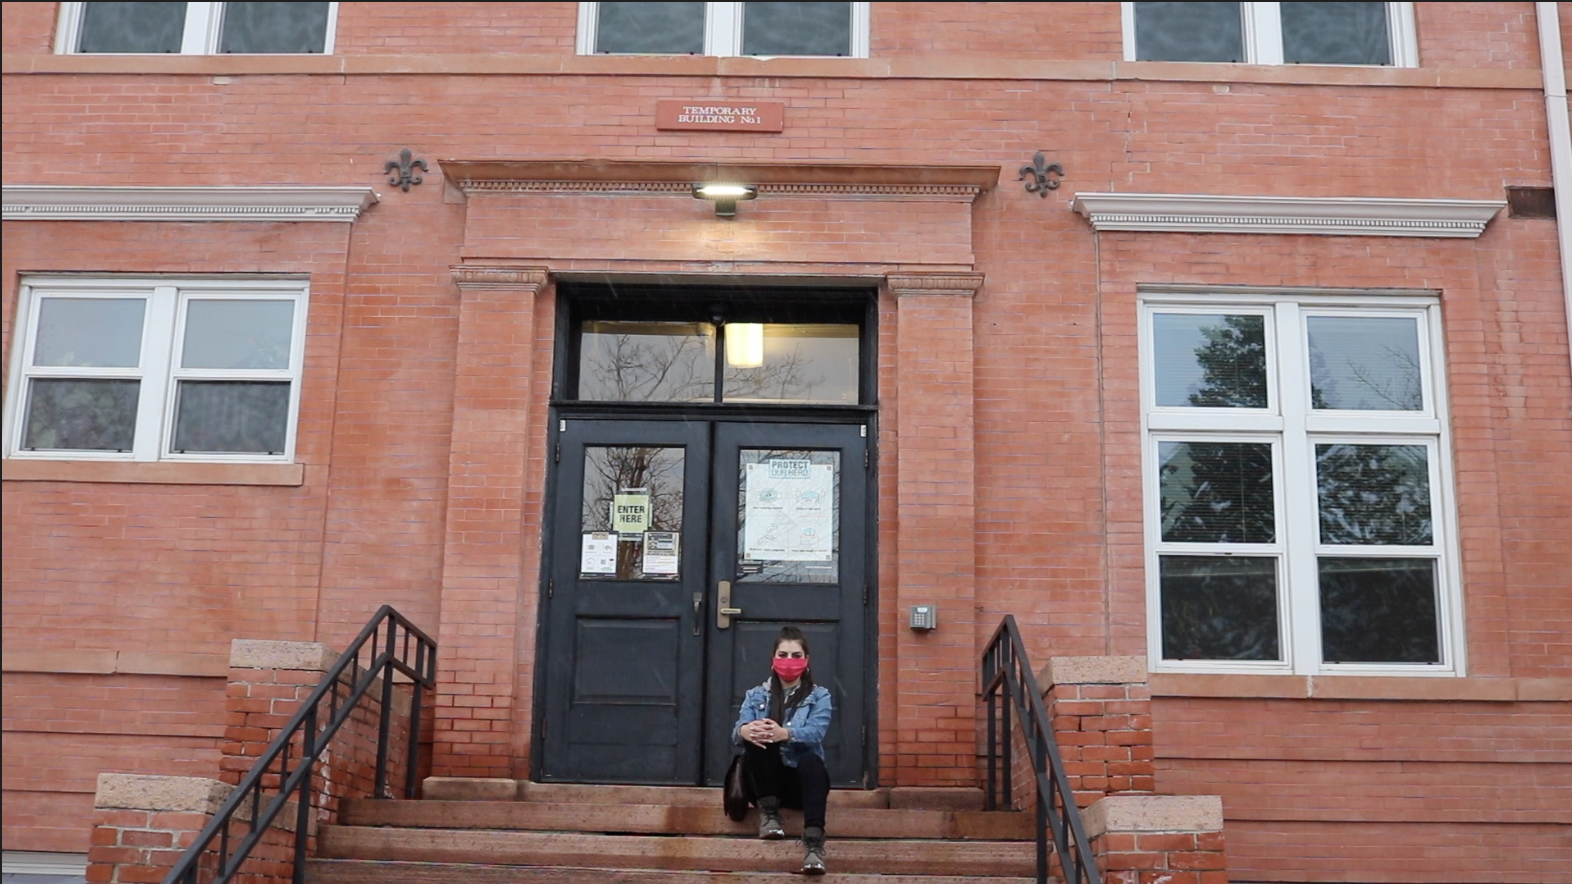
In learning about my own culture and inherited loss, I feel assaulted. Therefore, I love the idea of reclaiming spaces by simply occupying them physically. So, I took this idea and ran with it. My partner and I went on a whirlwind road trip around Colorado to film myself occupying our stolen lands. We traveled down to Pagosa Springs, my hometown, where I filmed myself in front of my grandmother’s house (the last residential property on the downtown mainstreet). I filmed myself out in the snow, rain, and intense winds. I visited the places in Boulder that are connected to the Chicano Rights Movement, such as the TB-1 Building that UMAS activists occupied for weeks when protesting the withholding of financial aid. I filmed in front of the Los Seis Memorial Sculpture in front of TB-1, which was erected in honor of those six CU students who were likely murdered.
We went to the Sand Dunes, to the beautiful canyons and forests in my hometown of Pagosa, and behind liquor stores where the graffiti created a great backdrop. To make the whole process more enjoyable (one can only dance or stand staring into a camera for so long), I bought some Chicanx Pride shirts, some ponytail extensions, and some oversized hoop earrings. It was fun to pretend I was in a Grimes music video, have super long hair, and wear crazy outfits. But what surprised me was just how empowering this process was.
The simple act of occupying space on land that’s been stolen from our people was impactful. Whether I was simply staring into the camera, or doing my ridiculous little dance moves (really just hand movements — I’m not a dancer), I felt beautiful and powerful being filmed in these spaces. I’m not normally someone who enjoys being filmed, so this was a surprisingly pleasant aspect of this project and made the endless driving, filming in 40 MPH wind at the Sand Dunes (yes, the wind was really that terrible and I’m still finding sand in all of my clothes), or filming out in the snow behind a liquor store much more bearable.
The other half of the content, the footage from the Freedom Archives, also ended up being serendipitously easy to acquire. I looked up the makers of the documentary and just called them up (they’re based in California). Much to my surprise, the person who picked up the phone was the Co-Director of the foundation, and he was happy to discuss my project and help me gain access to the film I wanted to use.
The largest issue, then, became going THROUGH all of this content to create cohesive, engaging films and audio. I have hundreds of hours of content, and have now seen Symbols of Resistance at least eight times all the way through. I knew I wanted two videos of the historic footage and one of myself to create this high-contrast that I thought would be a compelling layout. That meant I had to edit down the documentary three times through — twice for the two films I created from it, and once for the audio (which was also mixed with a recording of my mom speaking). Then there was all of the footage I had of myself. I just bought a friend’s old Canon camera setup, and, while I can take a decent photo, I’m fairly new to photography and film. So, out of an abundance of caution I would essentially film for the entire time we were in any one location. That left me with hours upon hours of film to work through to create what ended up being about a nine minute video.
Still, I’m very proud of the content I created for this installation, and really think it’s the heart and soul of the entire work. I would do it all again in a heartbeat, sand and all.
Process: Technology and Installation
I’ve used MadMapper in the past, so had somewhat of a familiarity with it. However, it had been almost a year since my last project that involved projection mapping, so I was a little rusty with the logistics of a projector and the sort of quirky tools in MadMapper (it’s a bit of an oddly-designed application even though it is the industry standard for projection mapping). Having a friend or my partner in the space with me when aligning things really helped. If I was working alone (which I was most of the time), the process of getting things to lay out perfectly takes much longer.
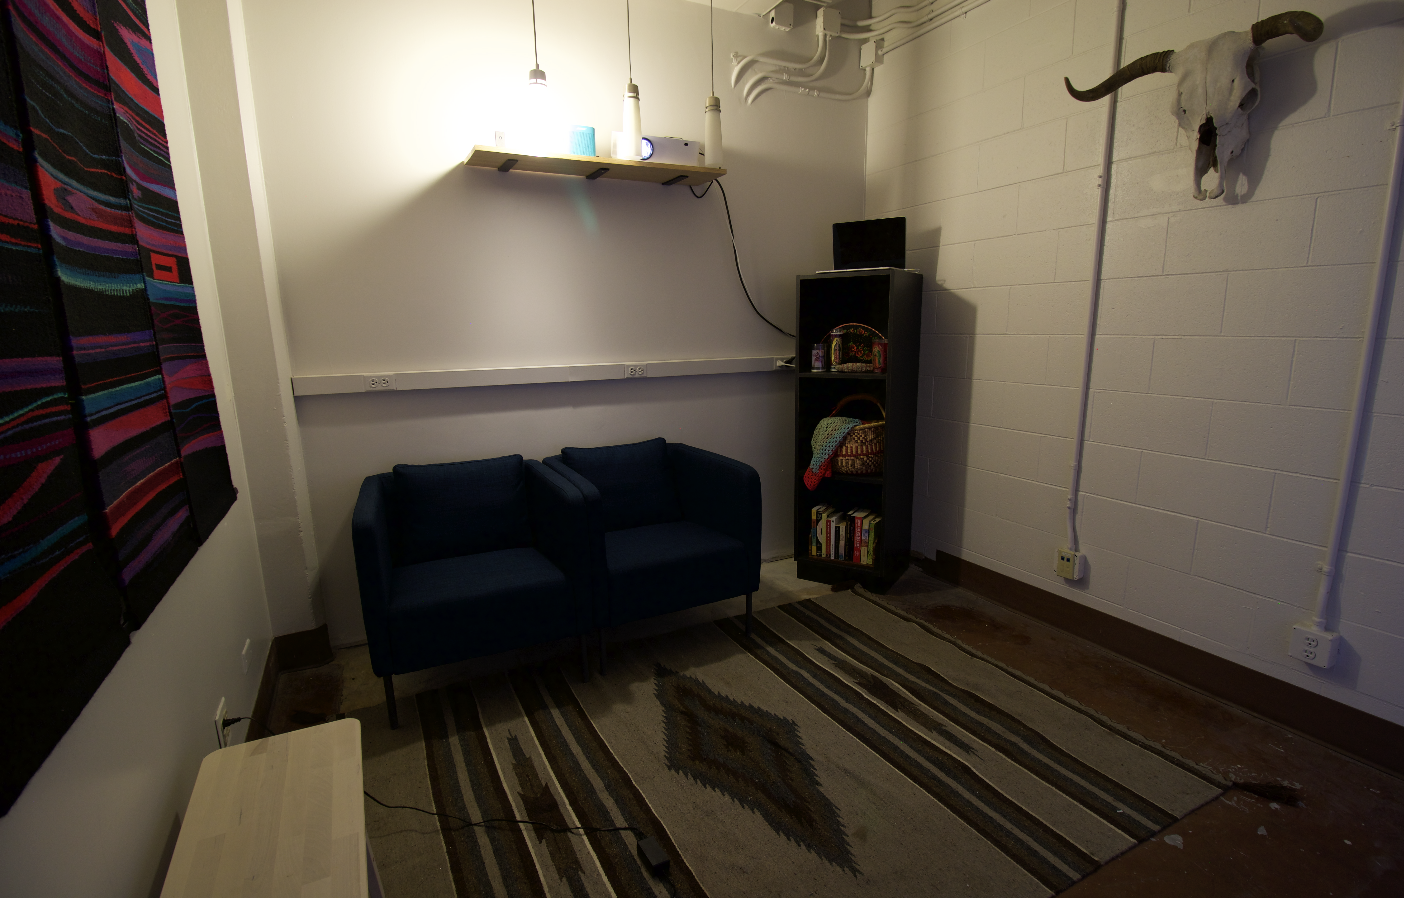
I was happy that my concept only required one projector, and knew that I wanted to stick with that simplicity. Installing the wall-mounted shelf for the projector was actually the most challenging part, just because projectors are extremely finicky and have to be in exactly the right position to work well with MadMapper. Unfortunately, walls are not designed with shelves for future projectors in mind, so finding the studs in the wall and places the shelf brackets while trying to put the projector where I needed took a LOT of time and troubleshooting. Eventually, though, we got it!
One aspect of this project that I really liked conceptually and for simplicity was to have all of the videos, as well as the audio, on individual loops. This meant I could just focus on creating compelling video and soundscapes without worrying about them matching each other. Plus, it means that every viewer gets a different combination of audio and visuals, and so each user experience is unique. It also meant less concerns about potential audience members with hearing or visual impairments — the audio and video were separate and therefore did not need to be perceived in conjunction with one another. The result was really impactful, and almost everyone who’s seen the project has commented that they could have just sat and watched it all day.
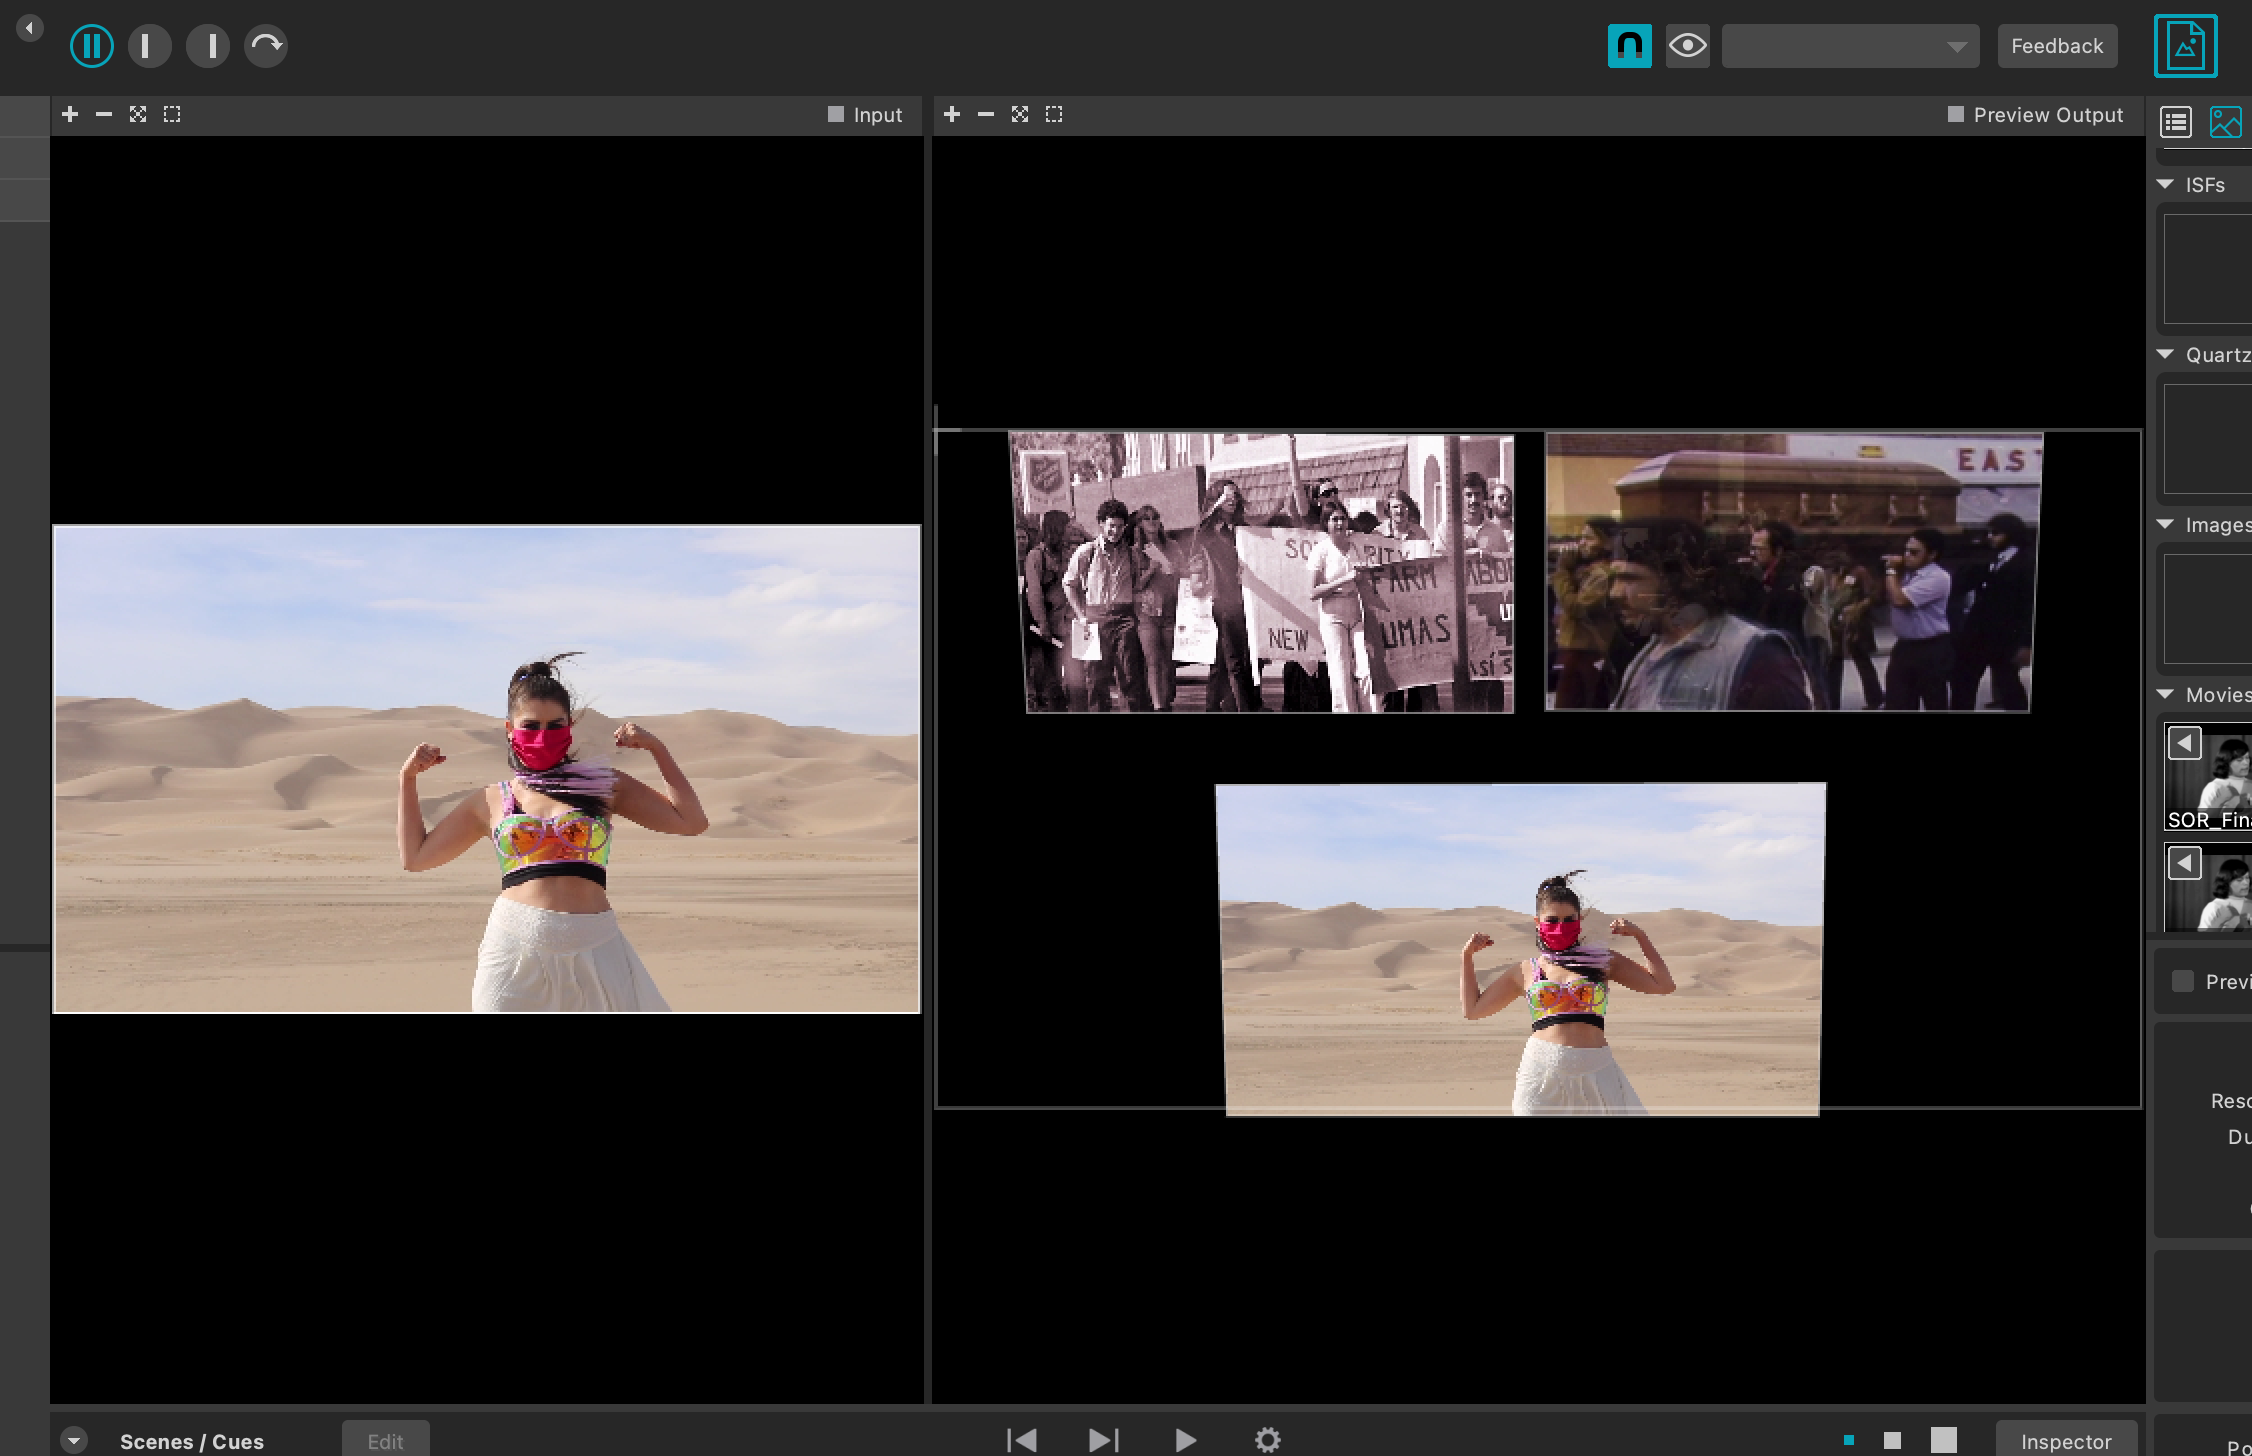
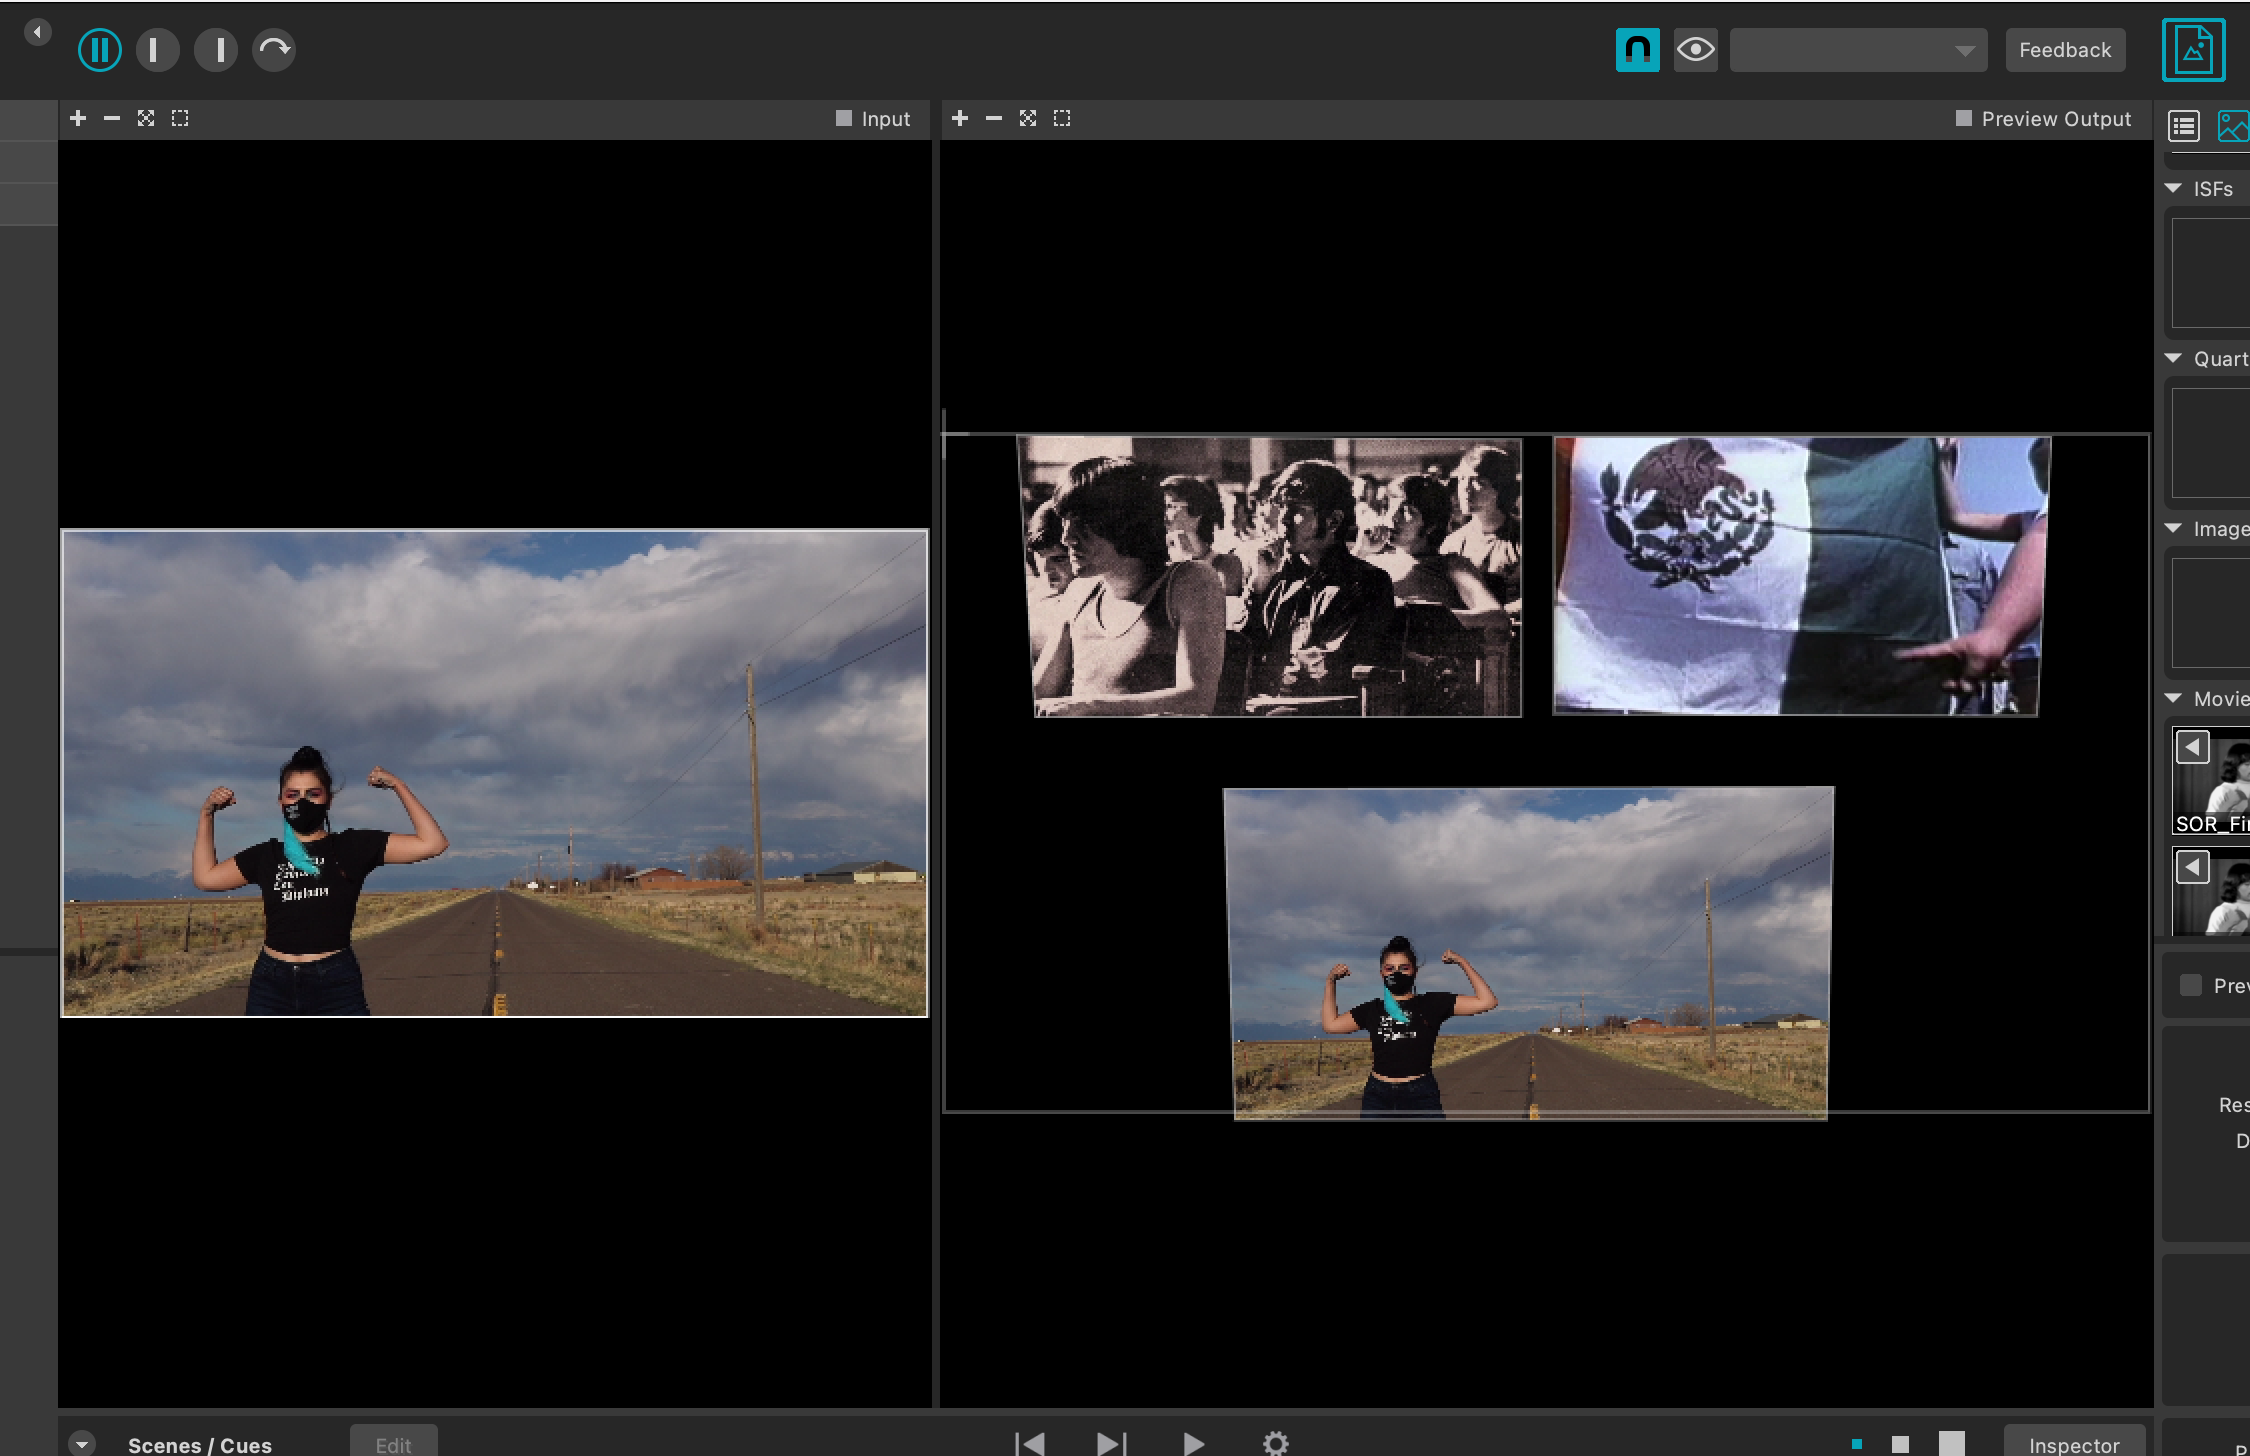
Below, you can see the MadMapper layout (in the middle column) and how each video is on its own loop. Note, the frames look skewed because the projector had to be tilted downward, and therefore I had to use the Mesh Warping function to create straight edges on the real-life projection.
Process: Creating a Living Room that’s also a Gallery
In thinking about what I wanted the user experience to look and feel like, I immediately jumped to my grandmother’s living room (her house is the white and red one in the photos above — the only remaining residential property on Mainstreet Pagosa Springs). When she was alive, my grandmother and I were very close. I would walk to her house after school, and she was the one who taught me how to crochet, taught me about Chicano culture, and stressed to me the importance of getting a good education, saving money, and being self-sufficient. Essentially, she will always be my badass Chicana role model in life.
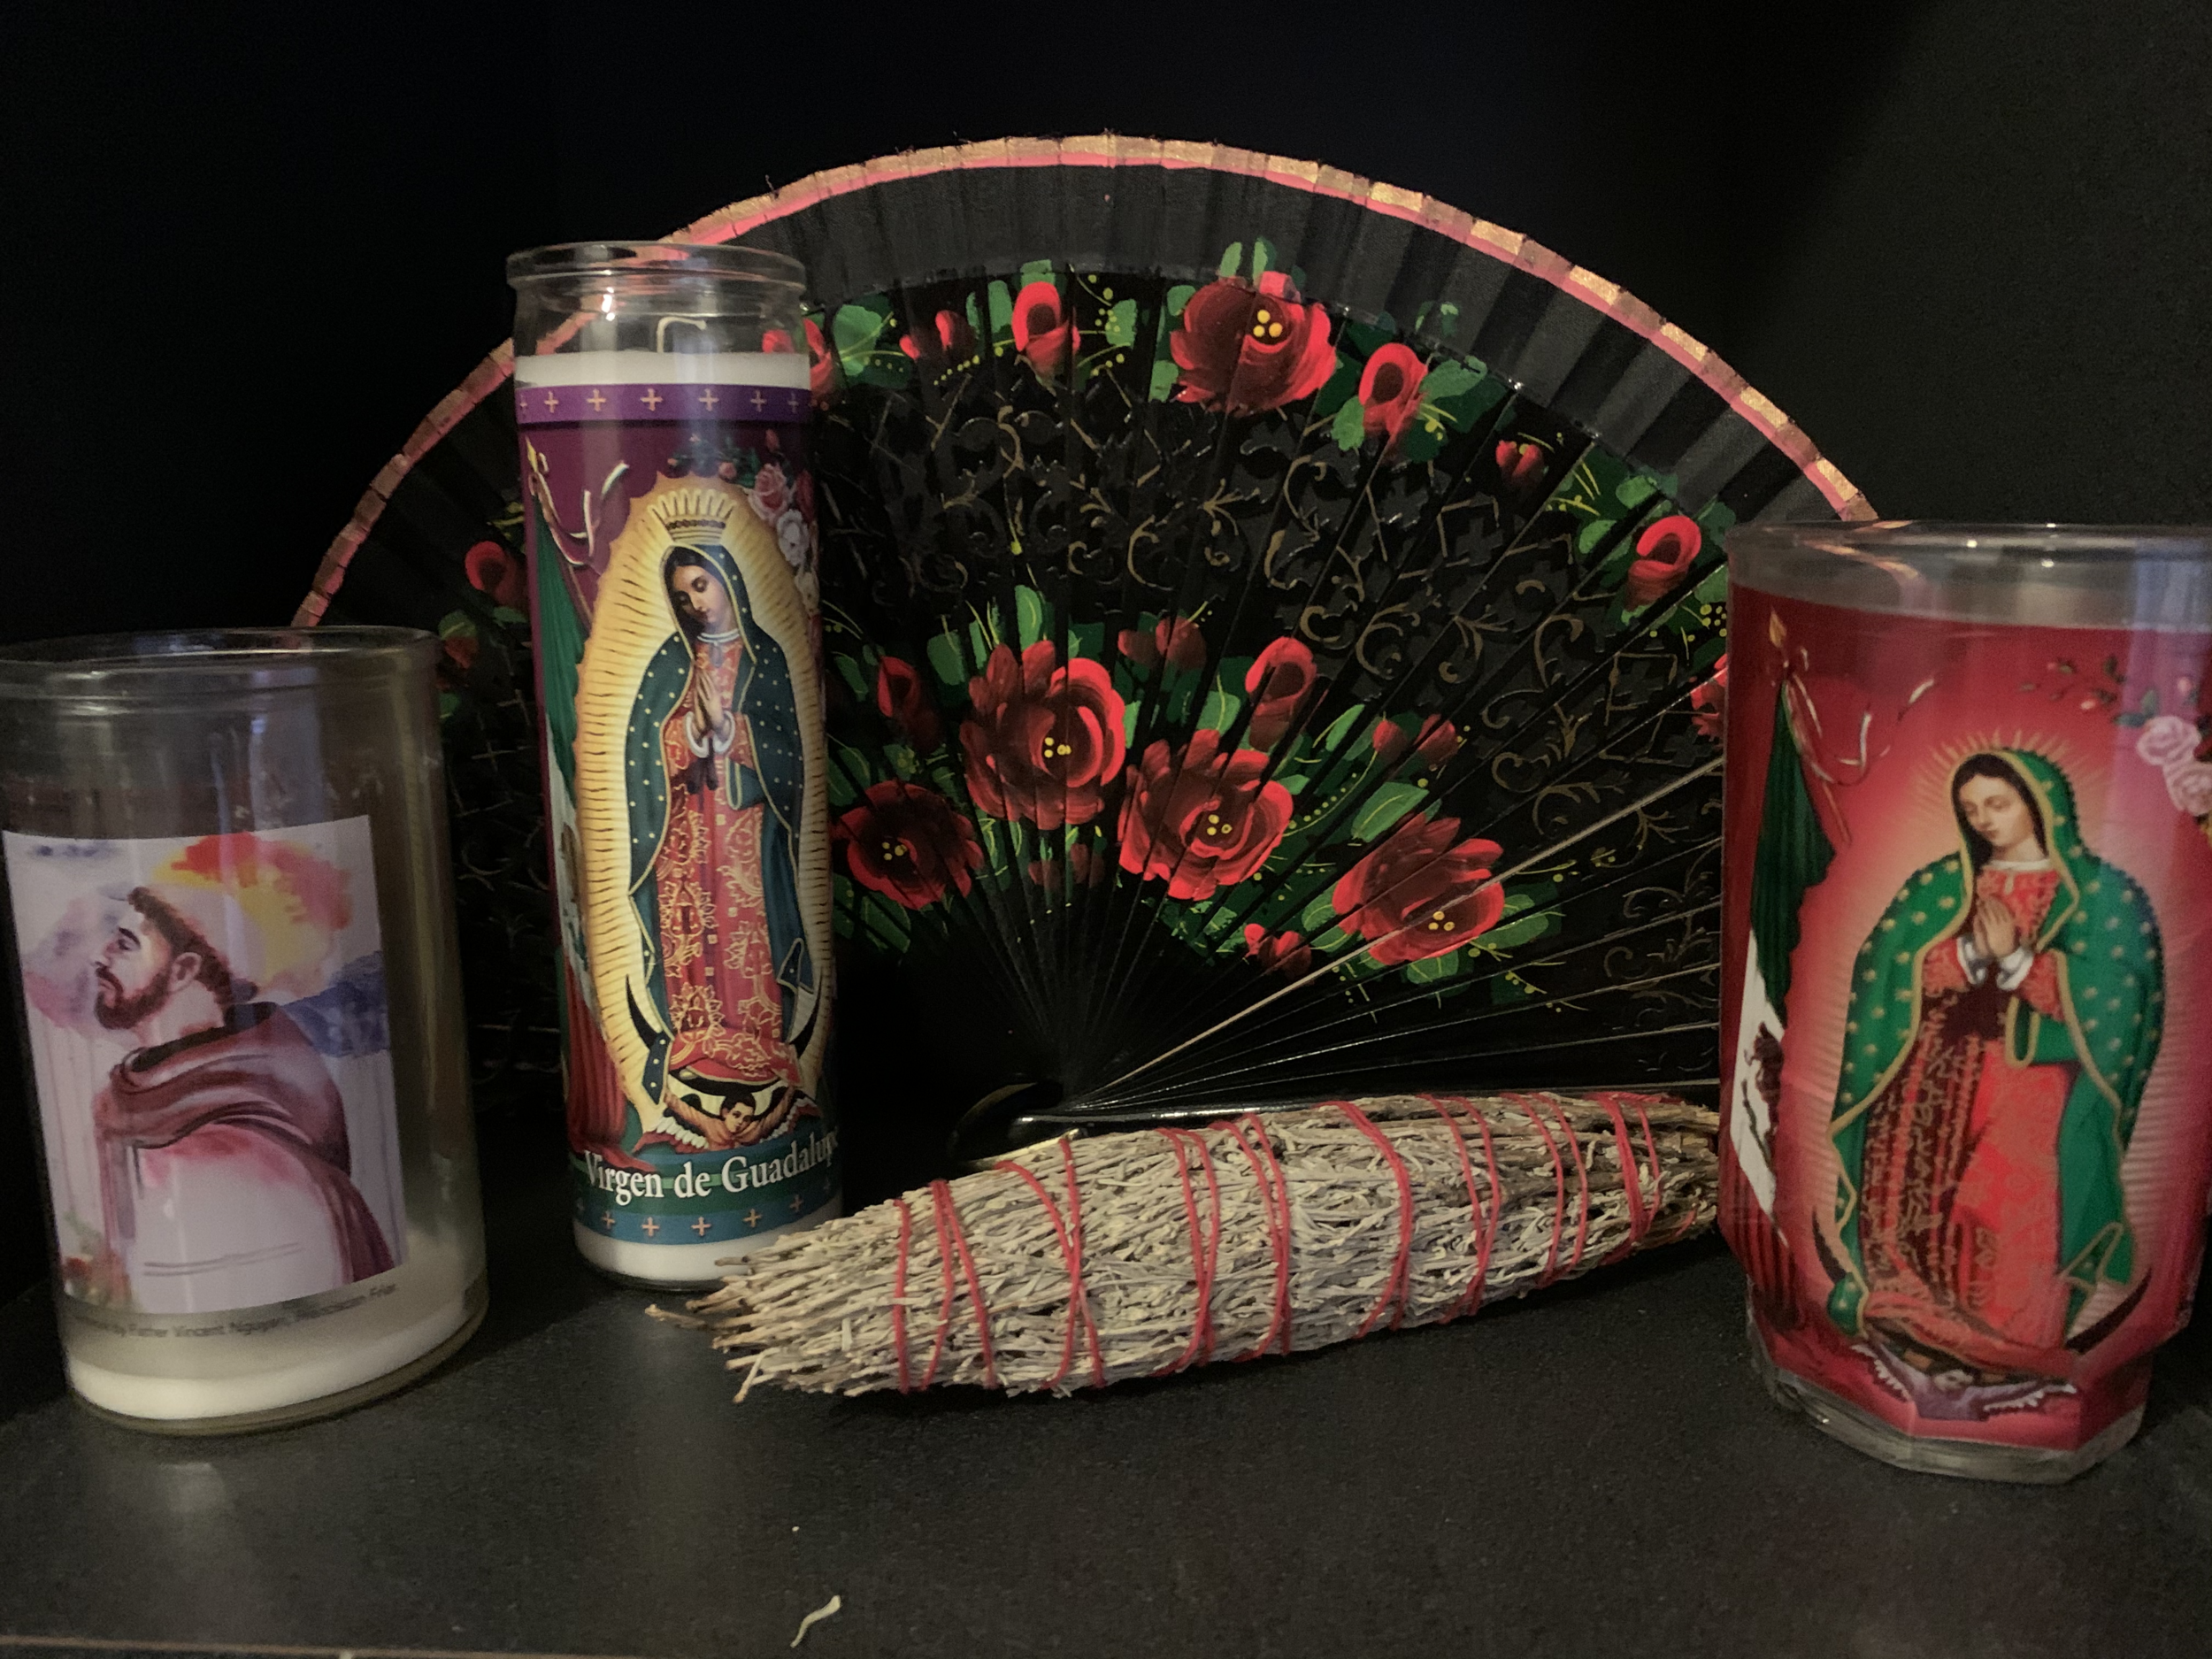
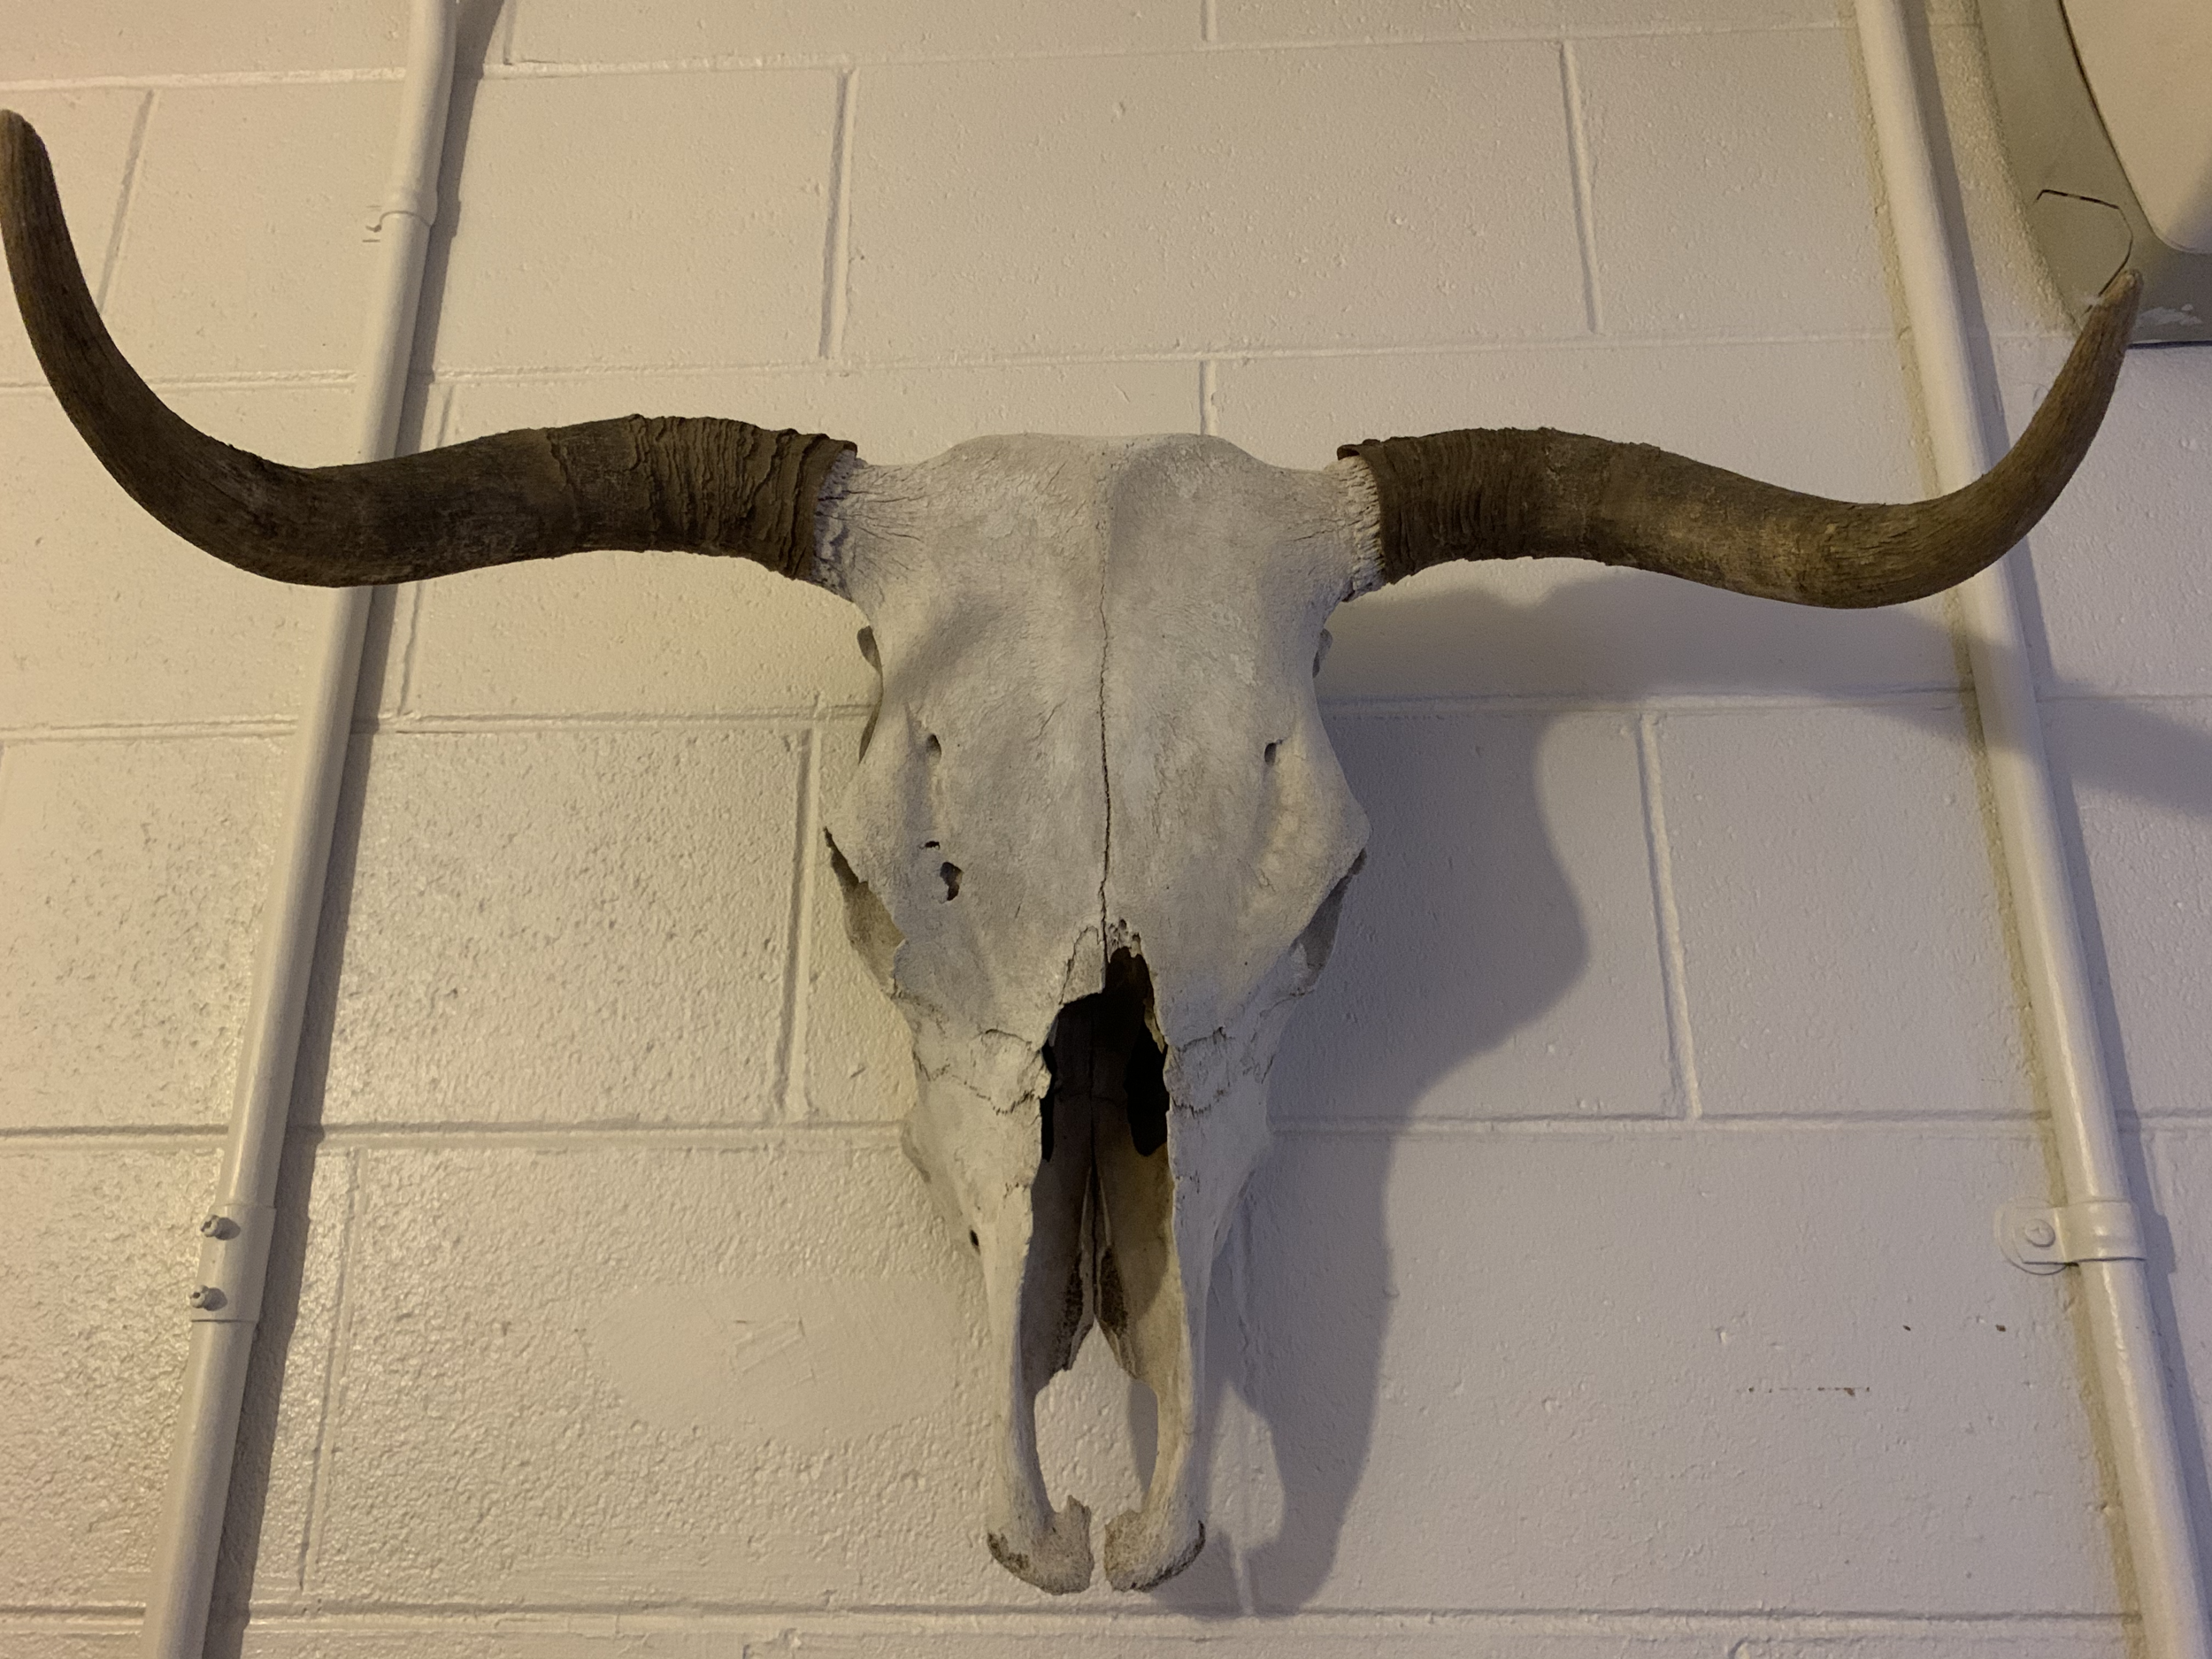
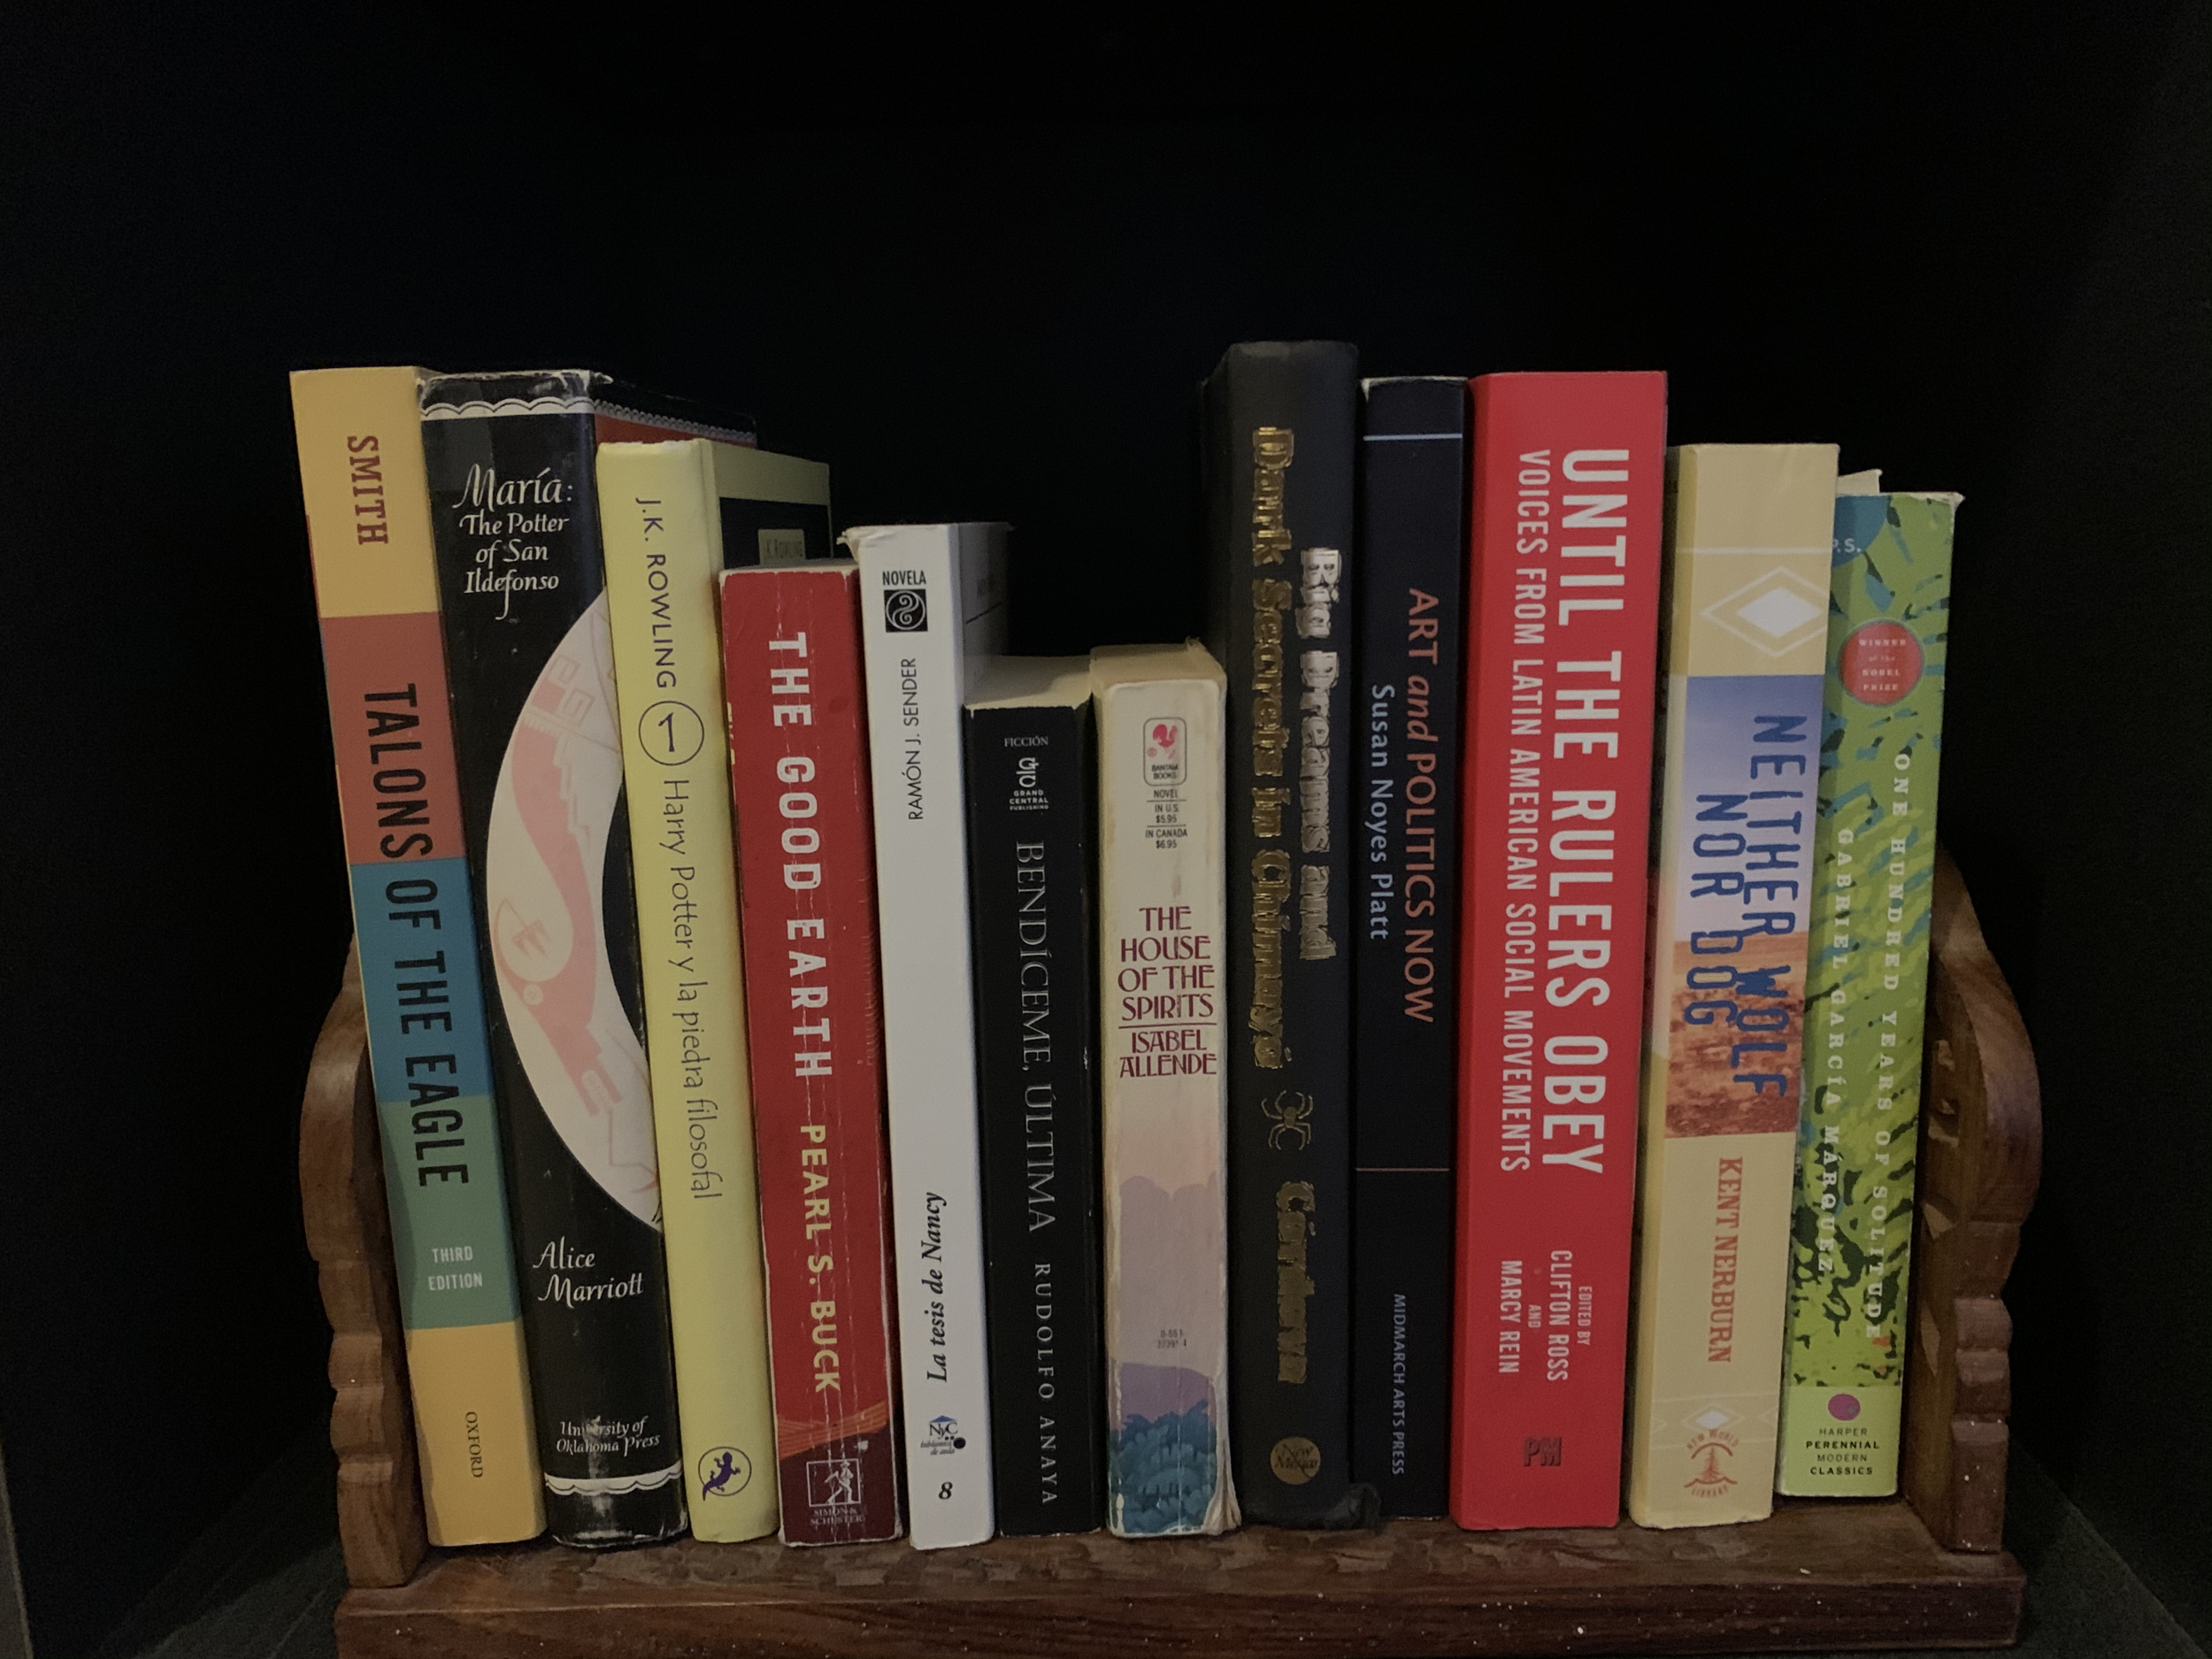
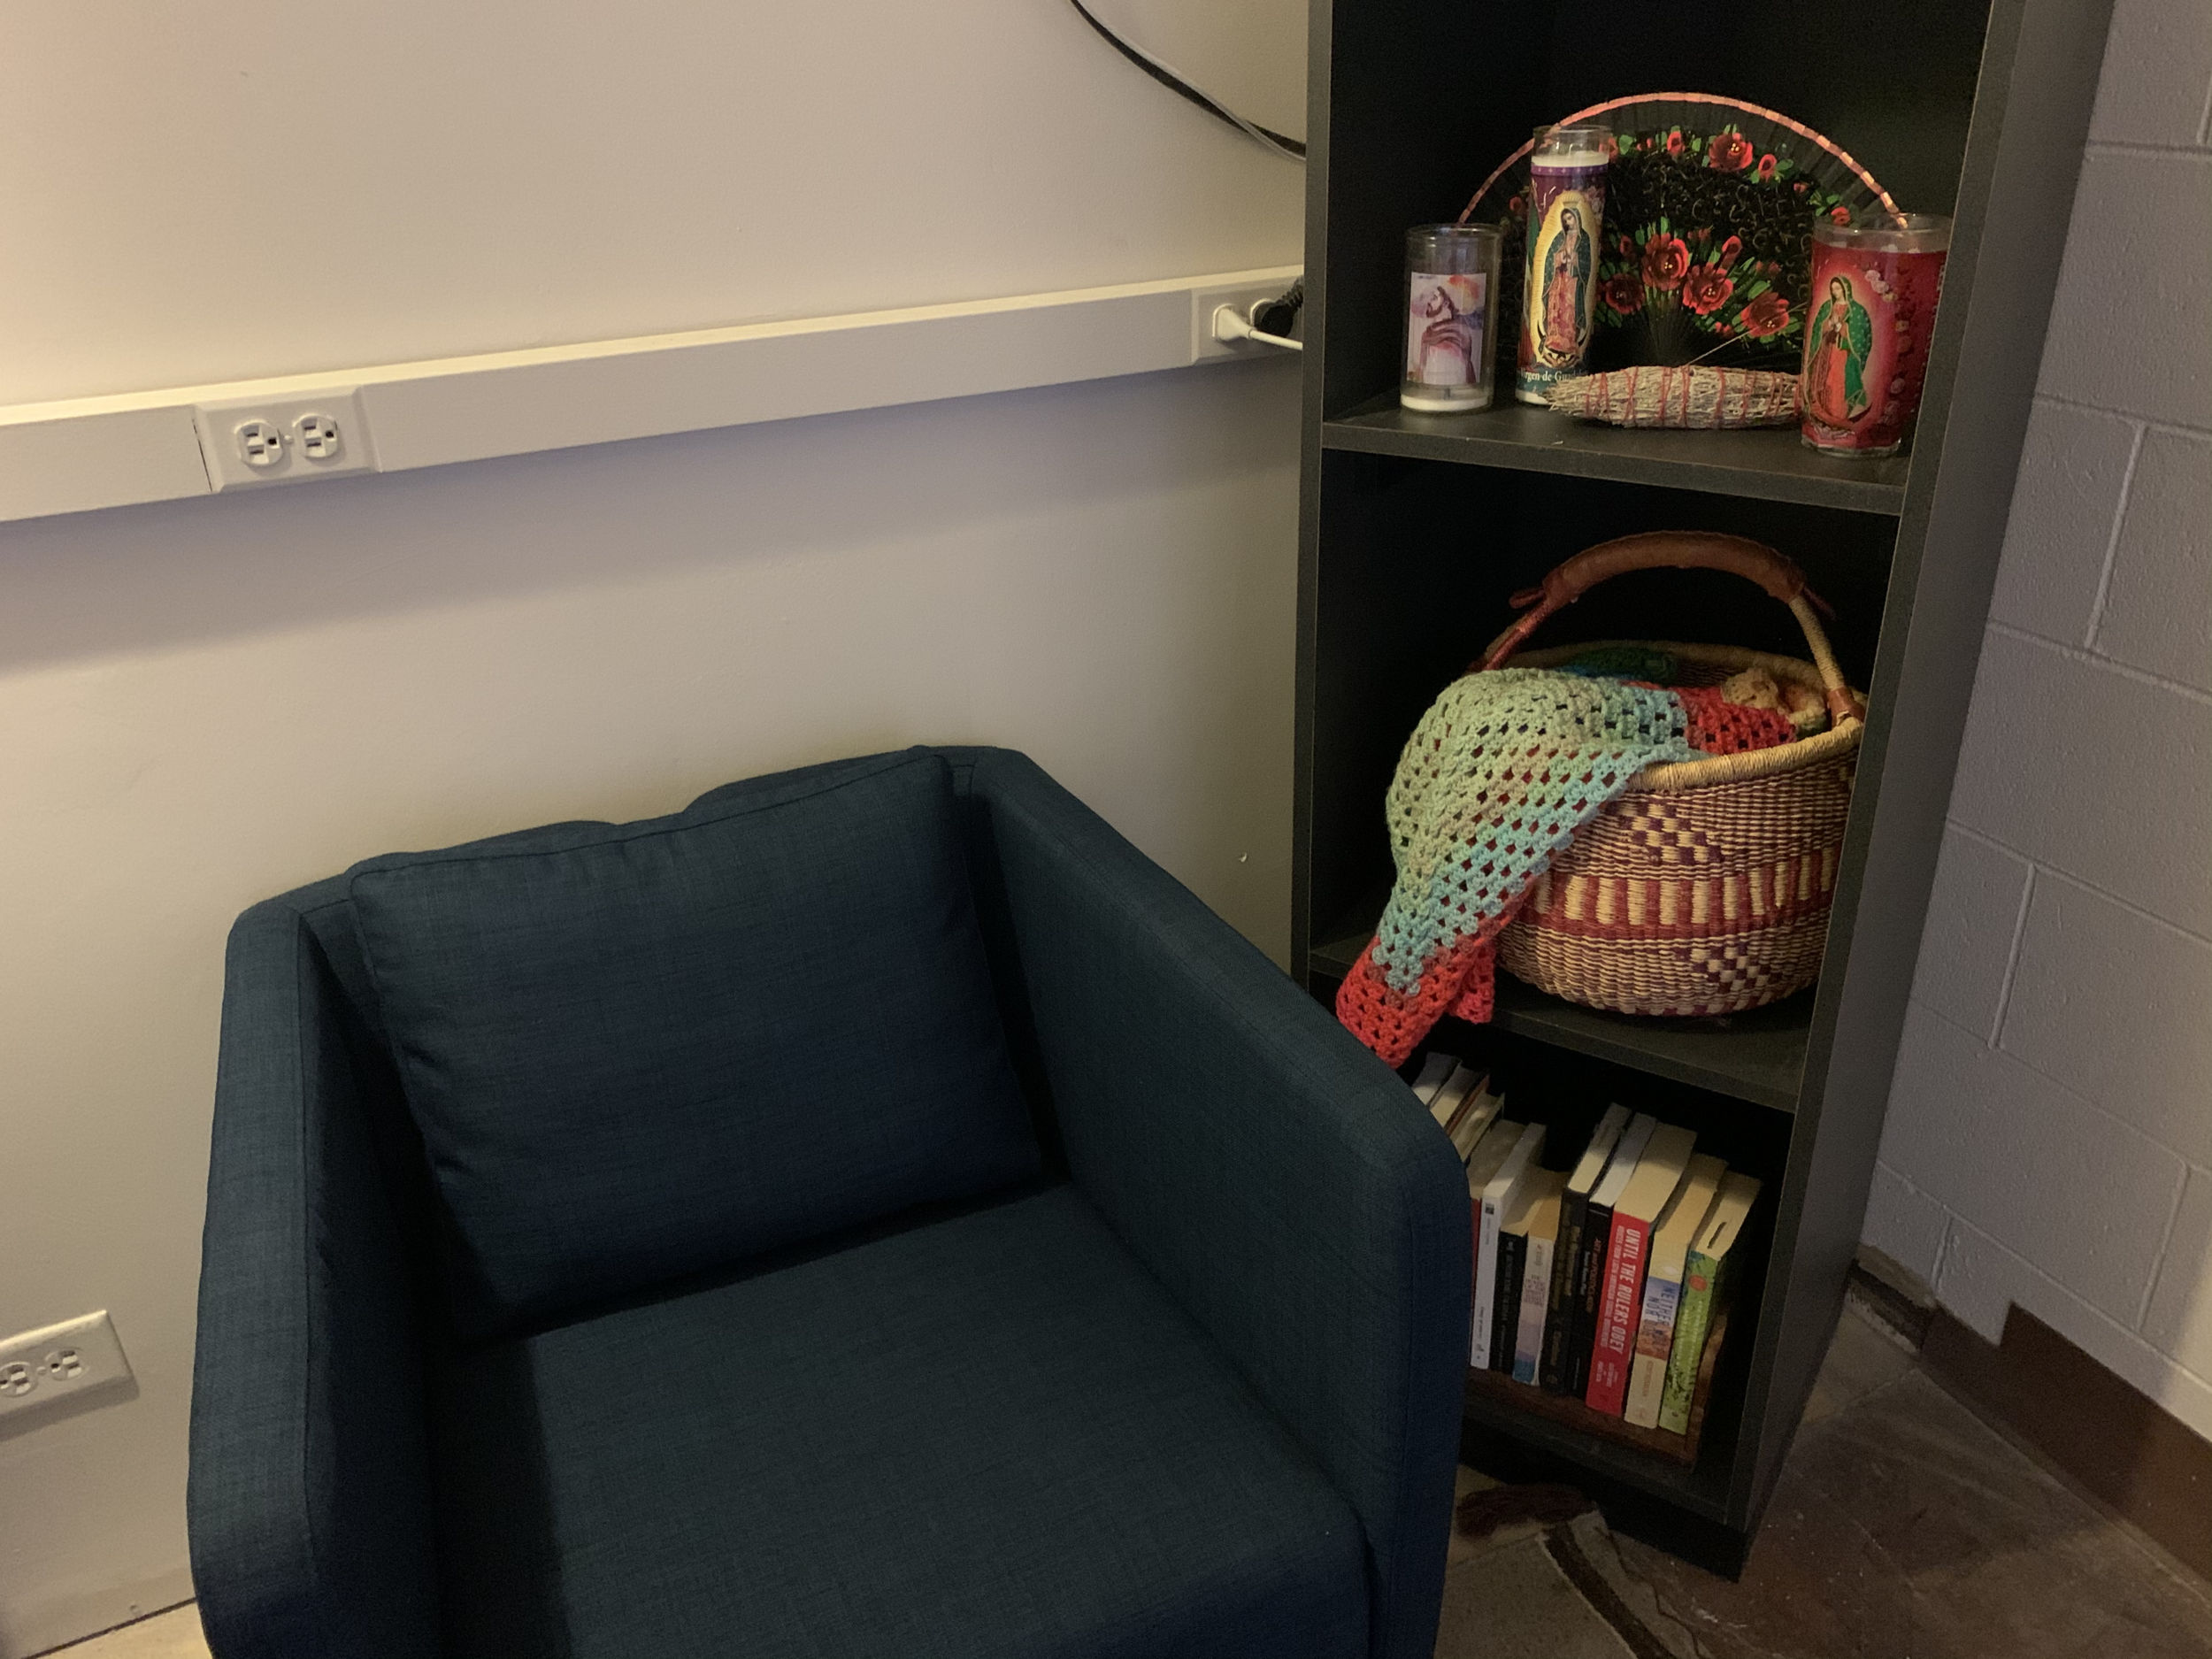
I couldn’t recreate the 70s wood paneling or the shag carpet or even my grandma’s little sofa that she would sit on when she prayed her daily rosary. So I just went with elements that could add a sense of heritage — a mini “altar" with Catholic Saint candles and Our Lady of Guadalupe, a basket full of hand-crocheted afghans, a Southwestern feel to the room. The huge Navajo rug on the floor was my grandma’s — she had them all over her house and I ended up with them.
I think these added elements really helped to tie the entire project together and created a sense of being in a “living room” of sorts, which I hoped would add to the user’s physical comfort and sense of Chicanx culture. In thinking about COVID-19 safety, I also wanted to create an intimate situation that would force a limited number of people in the room, with obvious choices for where to sit. The additional concern with creating a comfy and “safe” environment came from some of the imagery and concepts I was portraying. There are scenes of police violence, people talking about discrimination and hate crimes, and all of the disturbing content that tend to go along with social movements. I hoped that the “living room” vibes would help offset some of that discomfort and allow the user to be more receptive to the audio and visual messages.

